There is a lot of nicely self-contained data – I track usage and membership stats to track adoption and predict future capacity needs, and a single list contains everything I need to know. But sometimes it’s not possible to keep complete records in a single table – two different processes update the information, and there is a need to isolate access to the more confidential information. As an example, I have a process that updates employee e-mail addresses in PeopleSoft. I don’t have any reason to read employee evaluations or payroll information. Even where it is possible, it can be inefficient. Data duplication can be eliminated by keeping the information in separate tables.
In a relational database, this is called normalization. Instead of maintaining a single table with orders where the customer’s name, address, contact person, phone number, etc are stored on every single order … you create a table with order-specific data (what did they order, how many, how much did it cost) and include a single column for customer number. Another table has the customer number and their contact information. If the customer moves their office, you don’t have to go through and update hundreds of orders – just go into the customer table and update their record. All orders will use the new address. To retrieve an amalgamated record, use JOIN in the query (or create a view using a JOIN query).
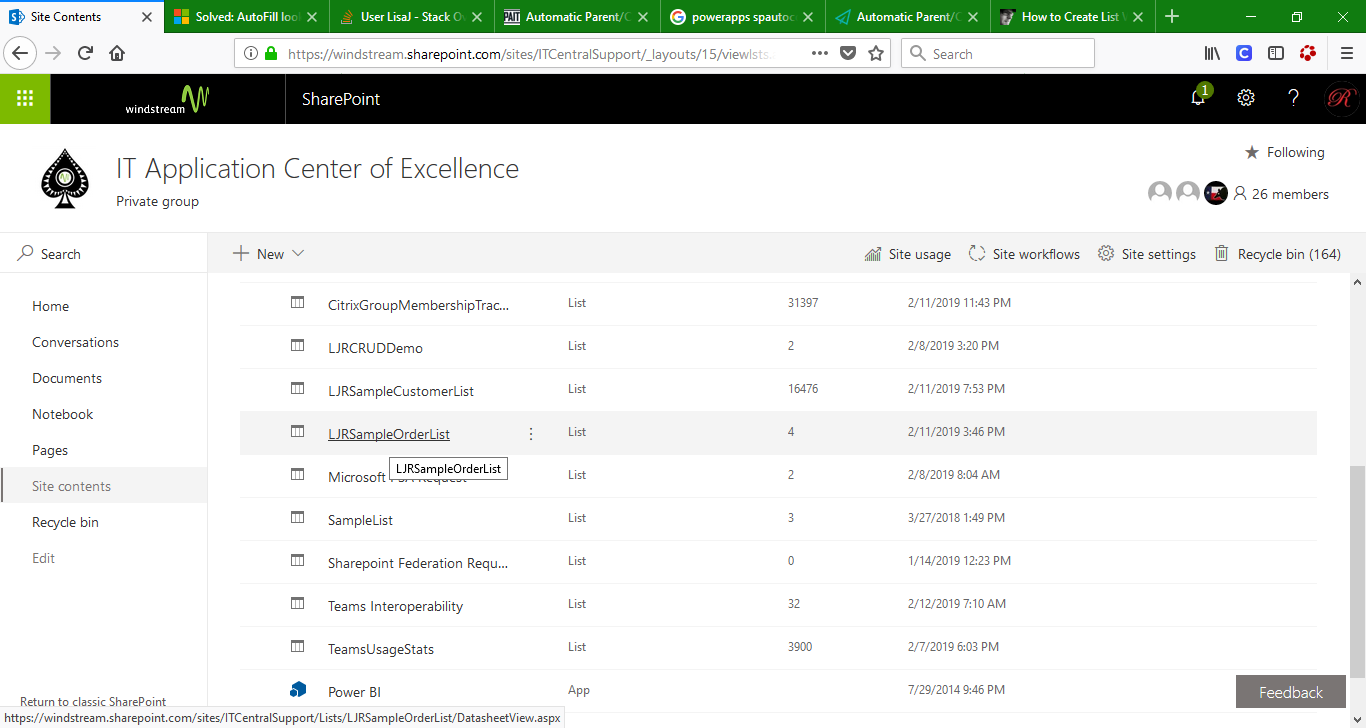
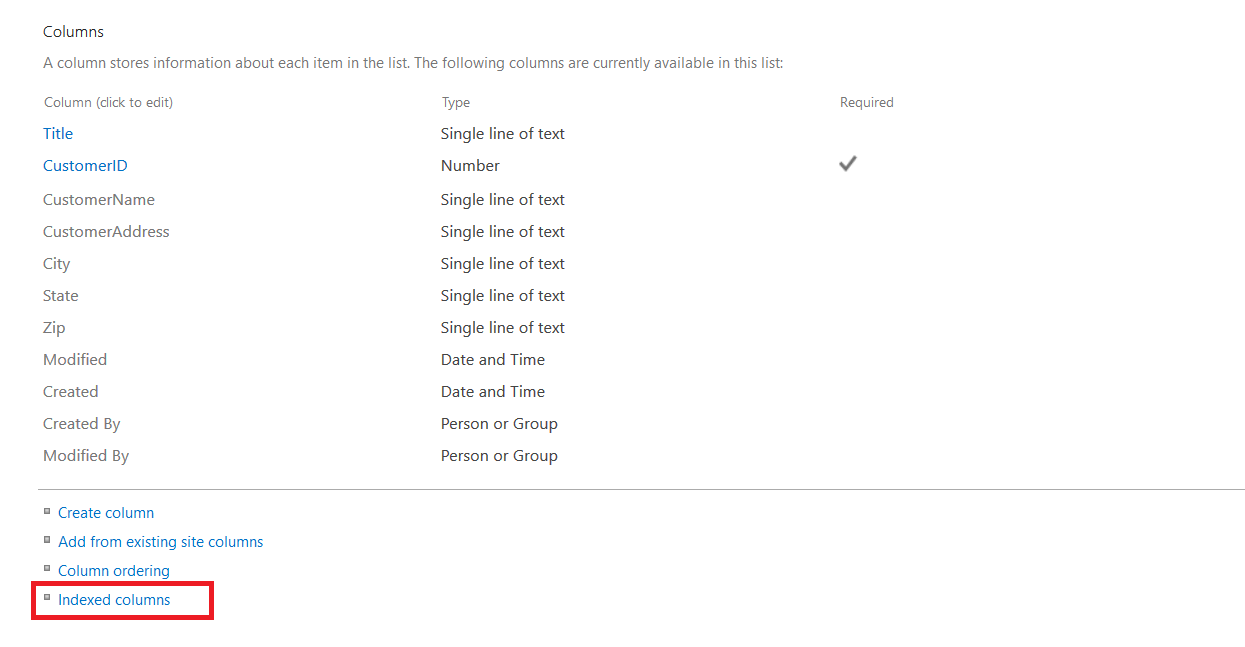
You can do something similar with SharePoint lists. As an example, I will use lists with customer contact information and a list with orders. First, we need a list with customer information. Add an index for the column that will be used to find the customer record – in this case, it is CustomerID. Click on “Indexed columns”.
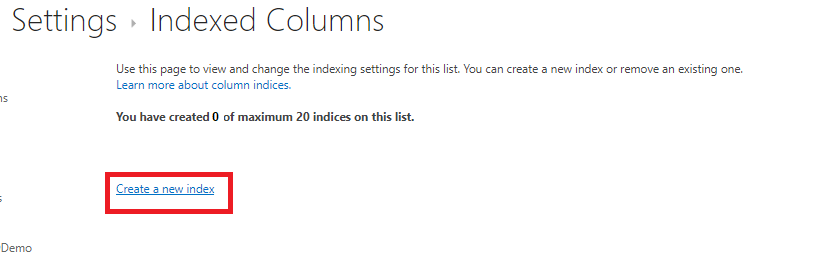
Click “Create a new index”
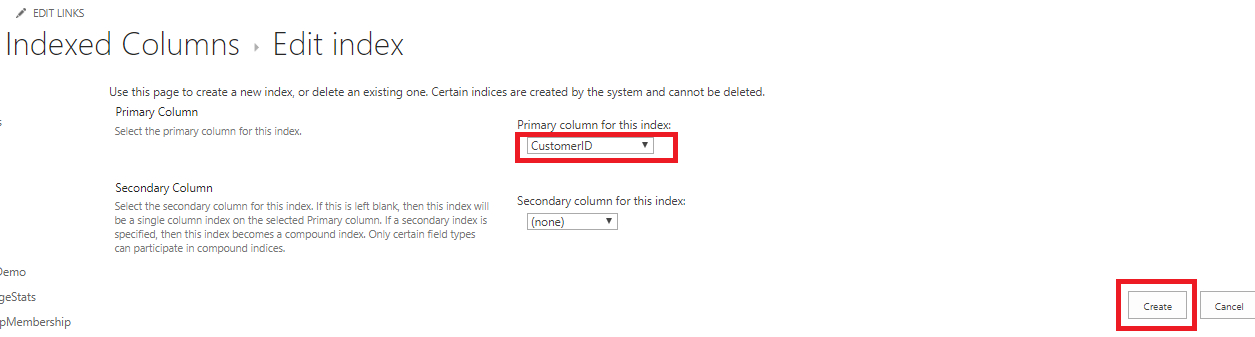
Select the column to index and click “Create”
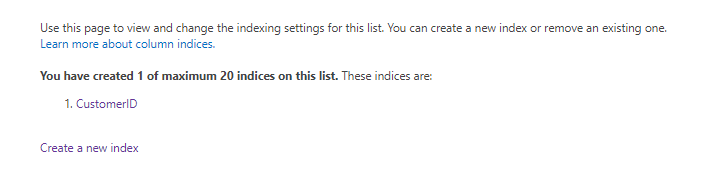
You now have an index – something to speed up searching your list for CustomerID.
We’ll also need a list with customer orders. Create all of the columns that aren’t populated by lookup *or* the field on which the lookup occurs. Then Add lookup column using “Add Column” and selecting “More”
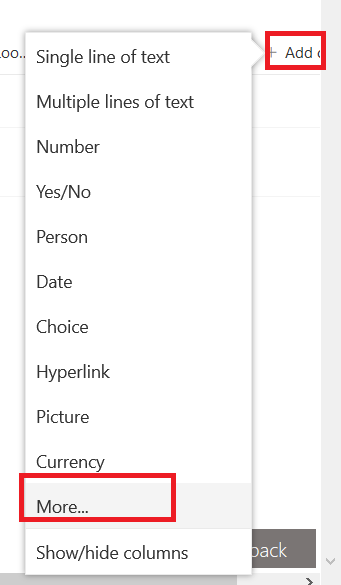
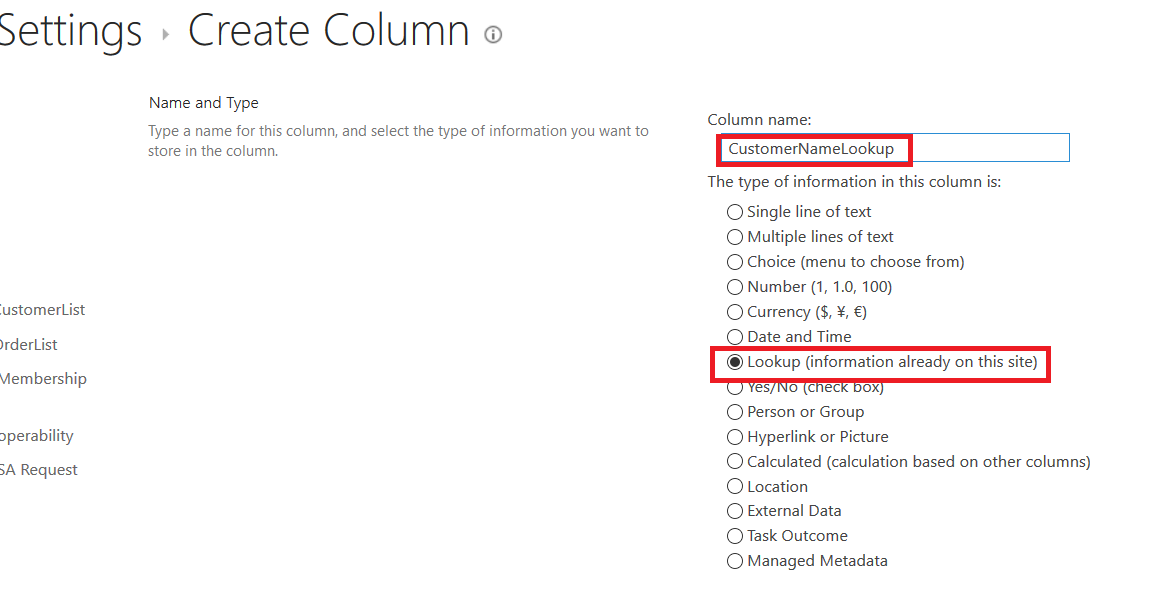
Name it & select “lookup” as the data type.
Some of the column settings will depend on your particular use case. Requiring data: are there going to be orders where the site isn’t known yet? Should the values be unique (in this case, no, since I hope my customers return and place a second order!).
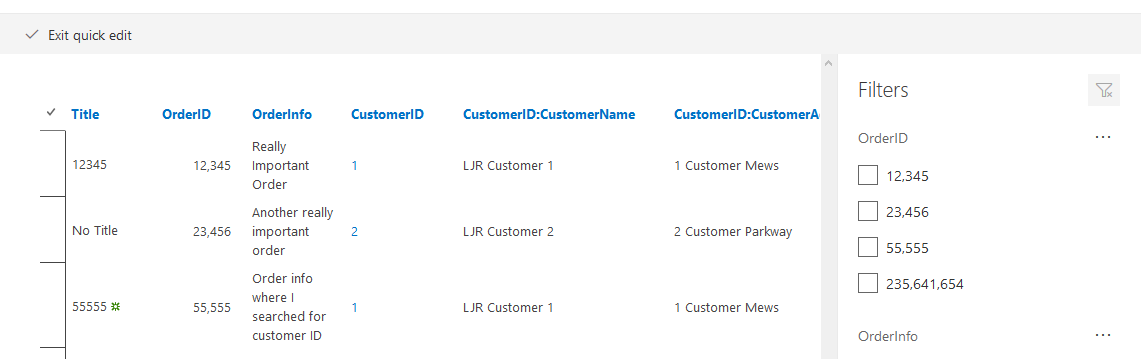
From the “Get information from” drop-down, select the table that stores the associated information. The page will reload; from the “In this column” drop-down select the value you want to store in this lookup column – what information is being cross-referenced? Here, it’s the customer ID number. Then check all of the columns you want to populate based on the lookup field. Here, I’m pulling in the customer’s name and mailing address details.
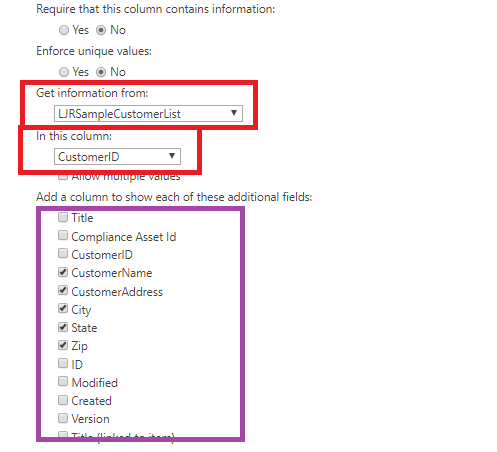
I specifically configure this table’s records not to be deleted if the record gets pulled from the lookup table. Again, this will depend on your use case. Hit OK to create the column.

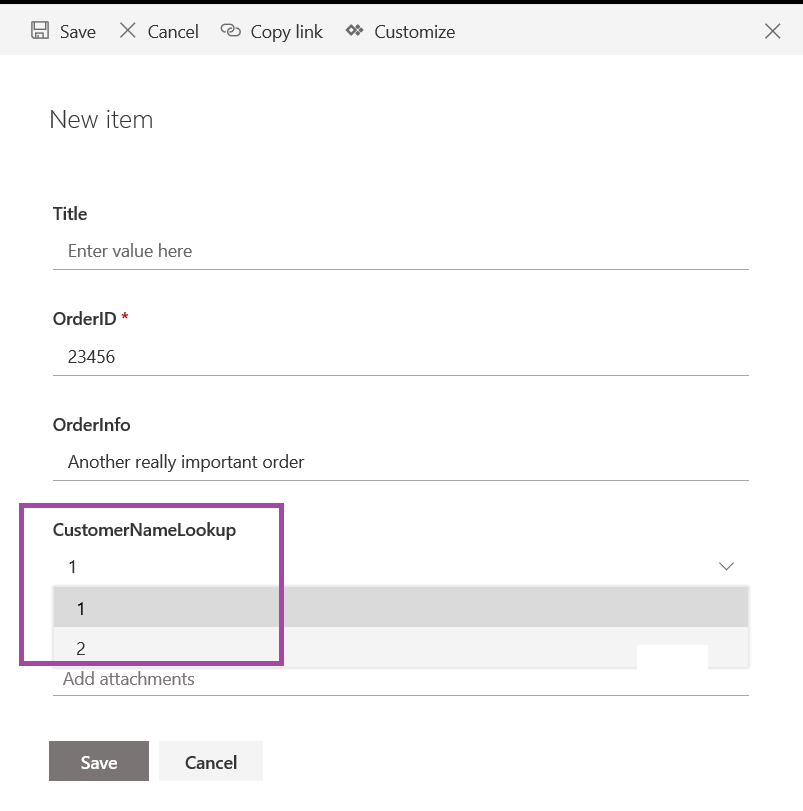
When creating a new record, you won’t even see the columns we’ve checked above – there will be a drop-down where you can select the data on which the lists are correlated.
When you save the record, the remaining columns display information from the customer information table.

What if you don’t want a drop-down with ten thousand customer numbers? (A perfectly reasonable request – I’ve loaded a few thousand customers in my list and there’s no way I want to scroll through all of those numbers and hope to get the right one).
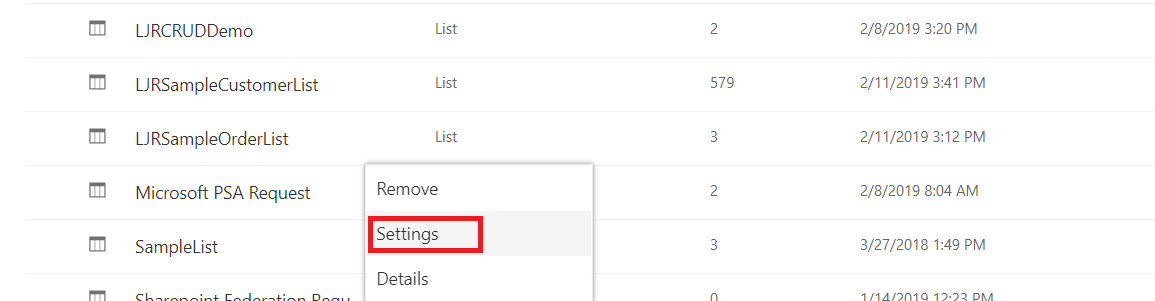
You can turn the drop-down list into a searchable drop-down by using PowerApps to customize the input form. Click the not-quite-a-hamburger menu between the list name and “List” and select “Settings”
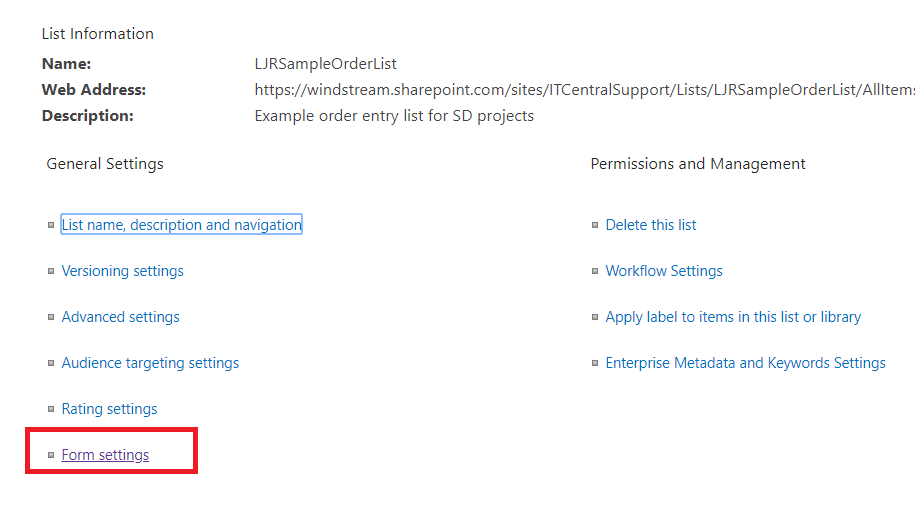
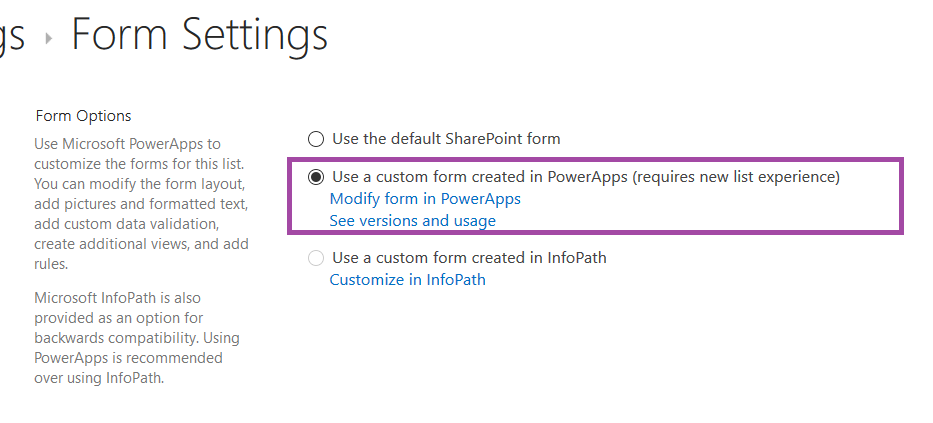
On the settings page, select “Form settings”
Click the “Customize in PowerApps” hyperlink. 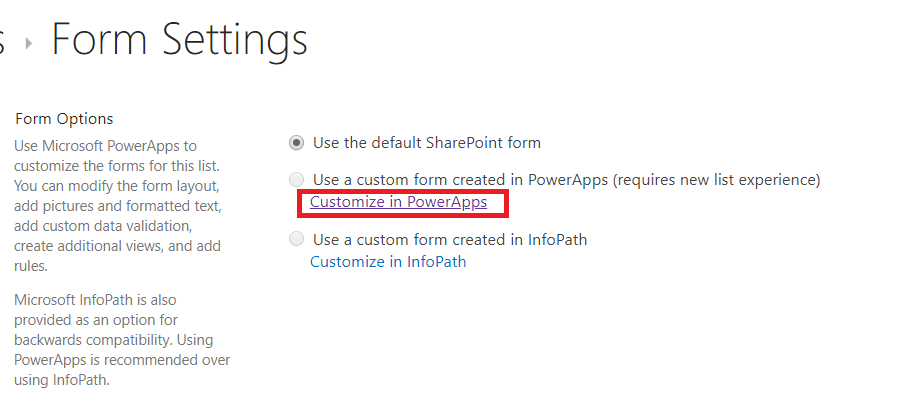
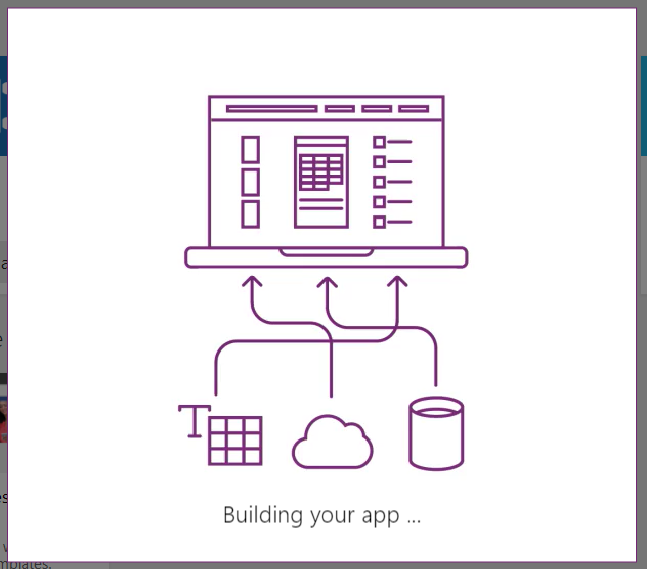
Wait a minute as the new app is built.
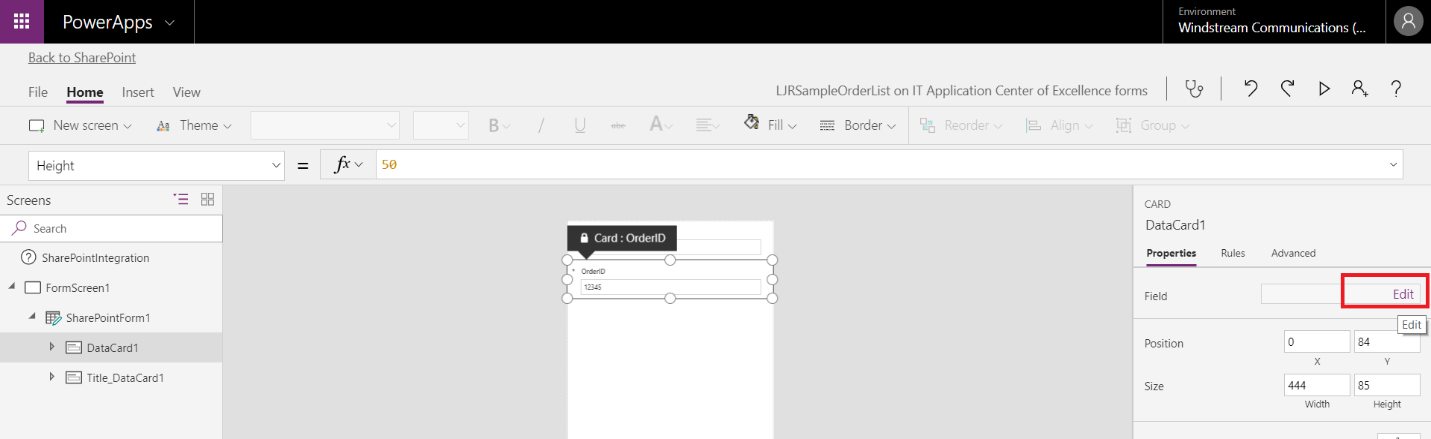
In the right-hand tool bar, find the “Fields” section and click “Edit”.
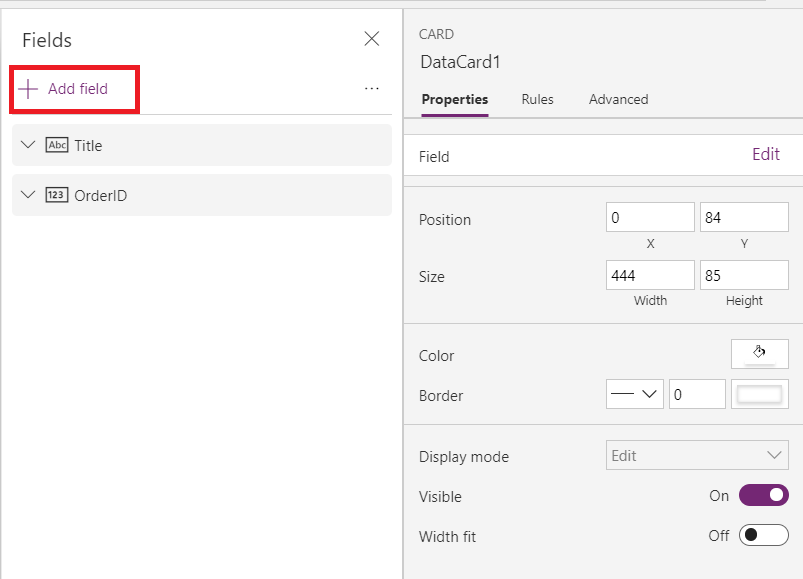
On the menu that flies out to the left, click on “Add fields”
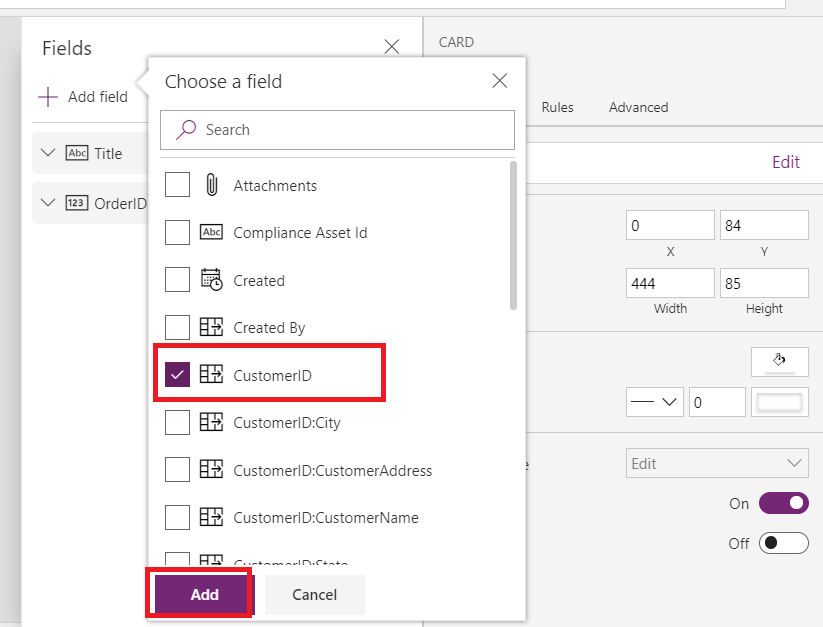
Select the fields for the input form and click “Add”
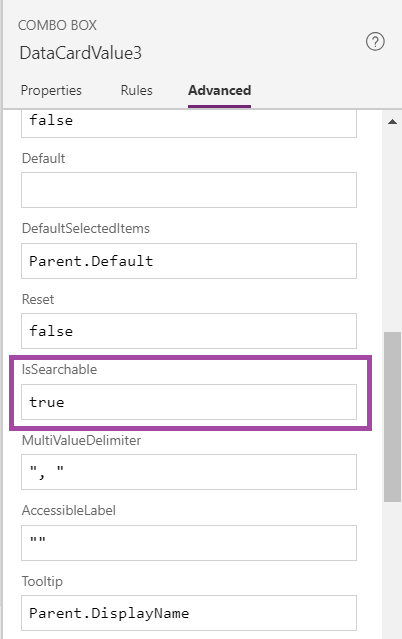
The drop-down box in PowerApps is searchable
In the ribbon bar, select “File”
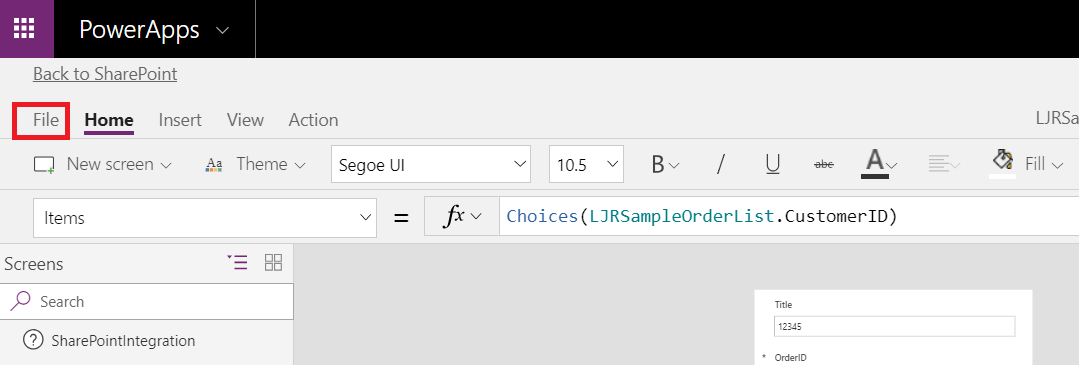
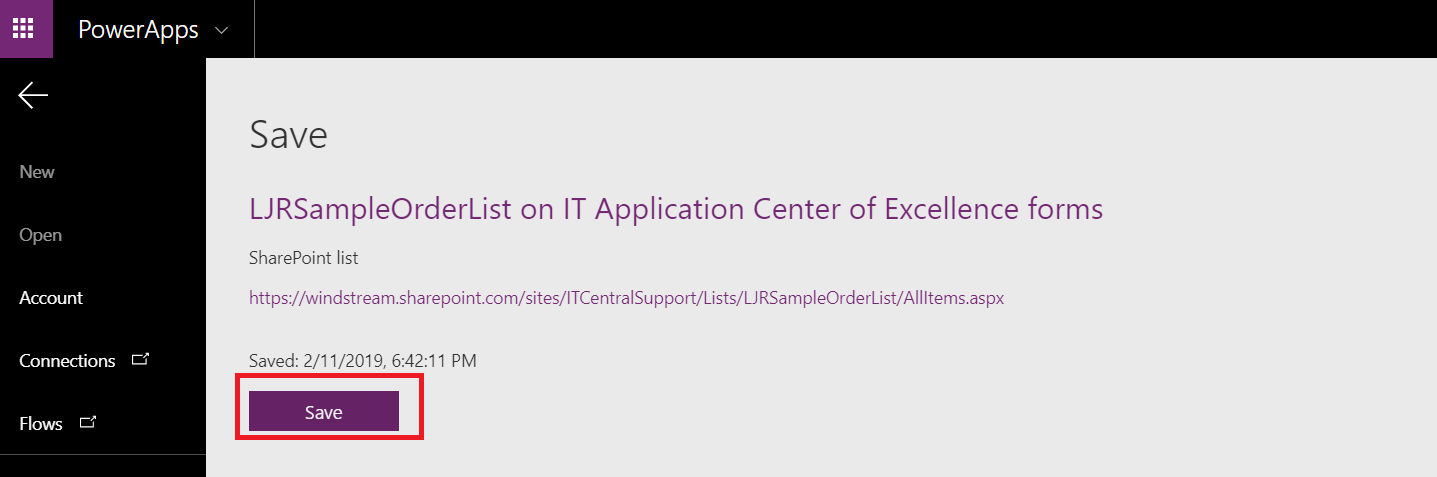
Click “Save” to save the app
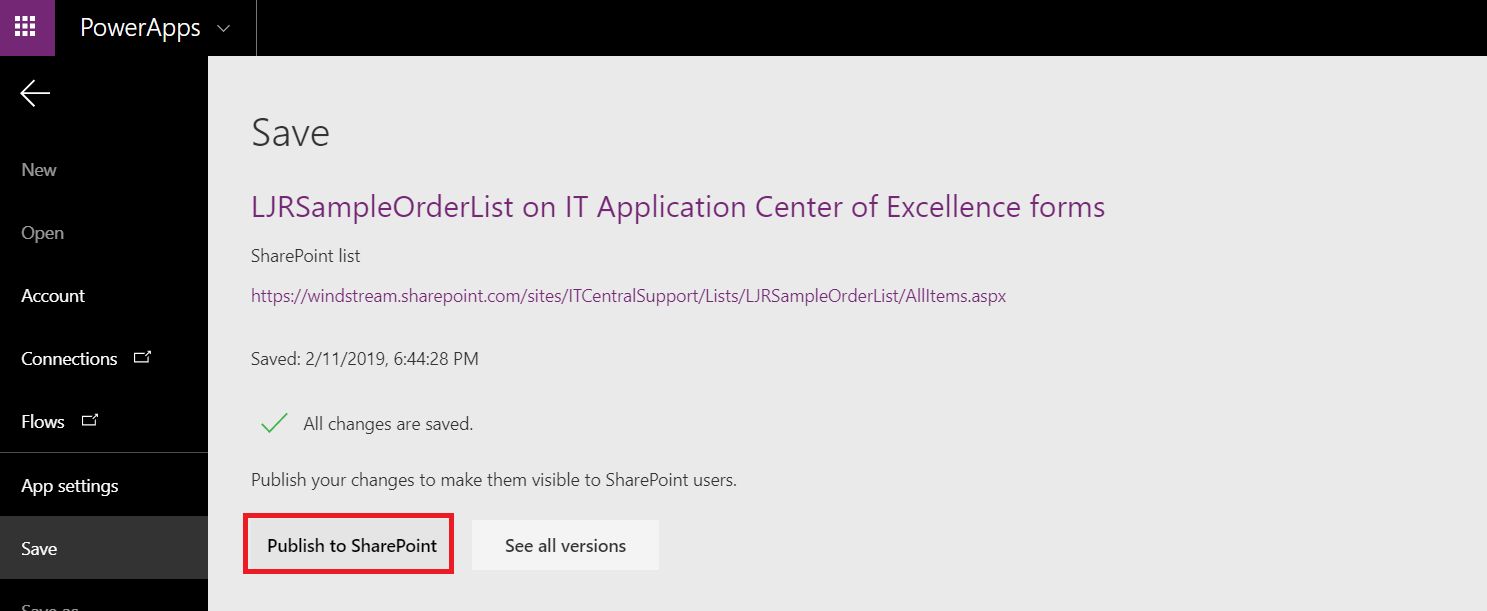
When the app has saved, click “Publish to SharePoint”
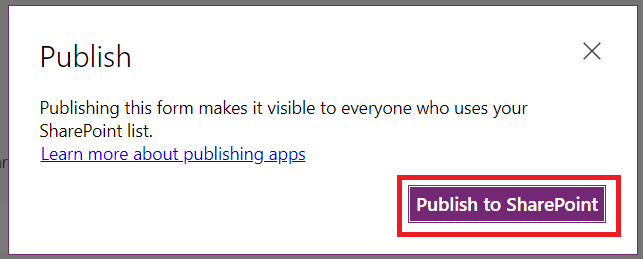
You will see a warning that publishing the app to SharePoint makes it visible to anyone who uses your list. Click to continue publishing the app to SharePoint.
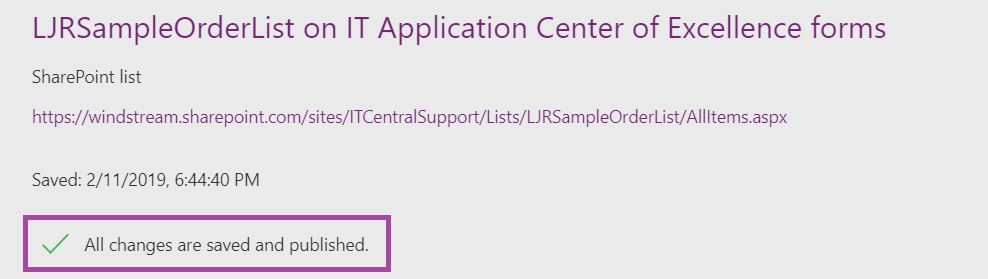
Verify that the app is published successfully.
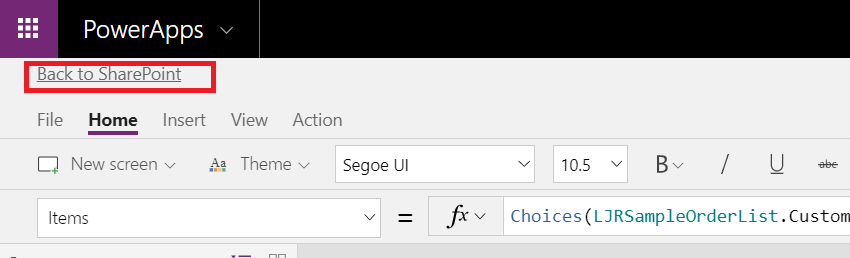
Click “Back to SharePoint” to return to your list.
In the list settings, verify that the custom form is selected for your list.
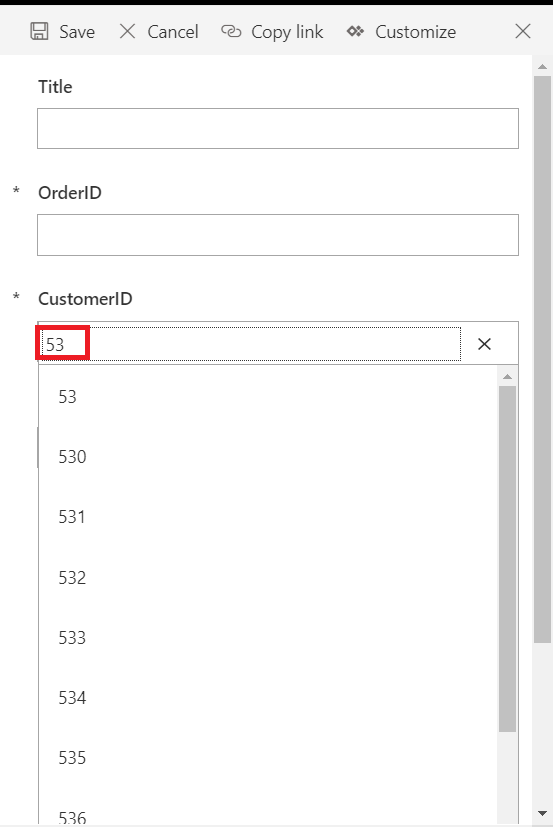
On the data entry card, you will see that the drop-down is now searchable.
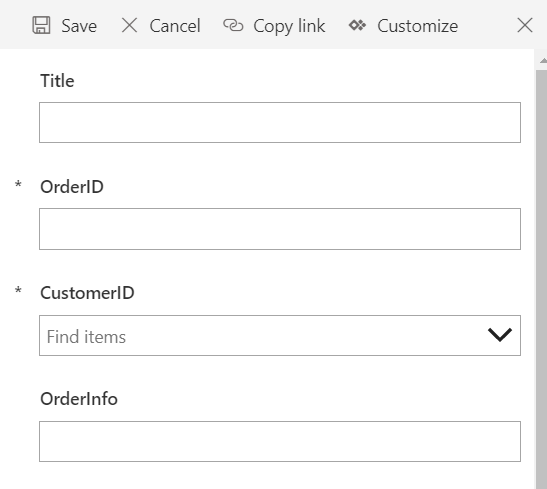
When you type some text into the drop-down, you will see a filtered list of options.
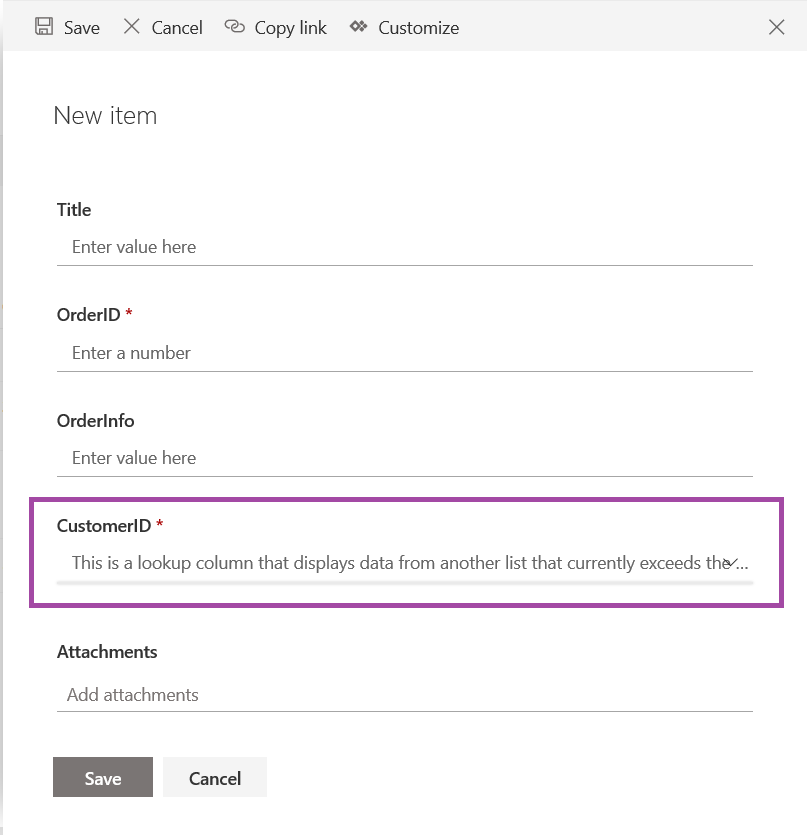
** This works provided the list against which the lookup is performed (in this example, my customer list) contains 5,000 or fewer records. If you see an error like this, then you’ve exceeded 5,000 records in the lookup table.
There are a few options – the generally recommendation from Microsoft is to break the list into multiple lists. This may mean breaking the data into different, unrelated lists. Or it may mean establishing a parent/child list relationship (e.g. a customer list that has multiple entries per customer reflecting their various offices could be a parent list of customers and a list for each customer reflecting their sites). You may be able to use a view, filtered to a subset of records, for data entry. Writing a custom web input form and using the SharePoint REST API to read and write data would allow you to populate the searchable drop-down with data retrieved from the lookup target (in this case my customer table) – as the column is indexed, the threshold should not be exceeded as you search.