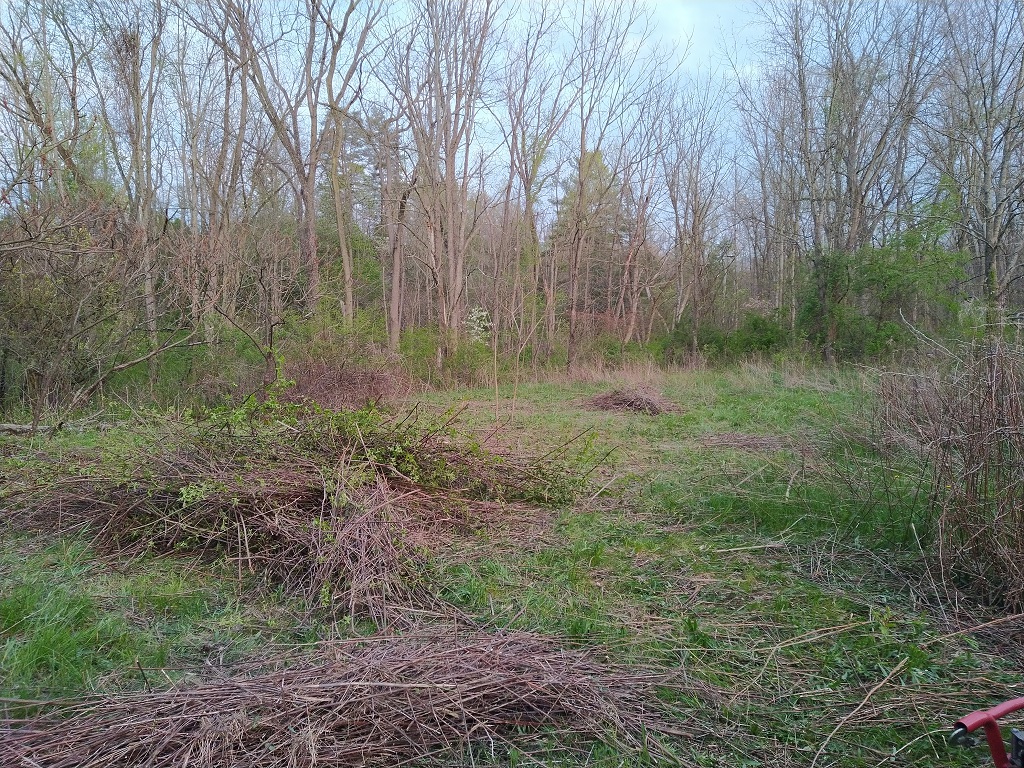
Before deciding to buy (or not buy) a tractor, we decided to take the mower and brush cutter down to the farm property and see how much work it is to clear. We got a large swath cleared and raked into piles … but, yeah, it’s a lot of work!
Before deciding to buy (or not buy) a tractor, we decided to take the mower and brush cutter down to the farm property and see how much work it is to clear. We got a large swath cleared and raked into piles … but, yeah, it’s a lot of work!
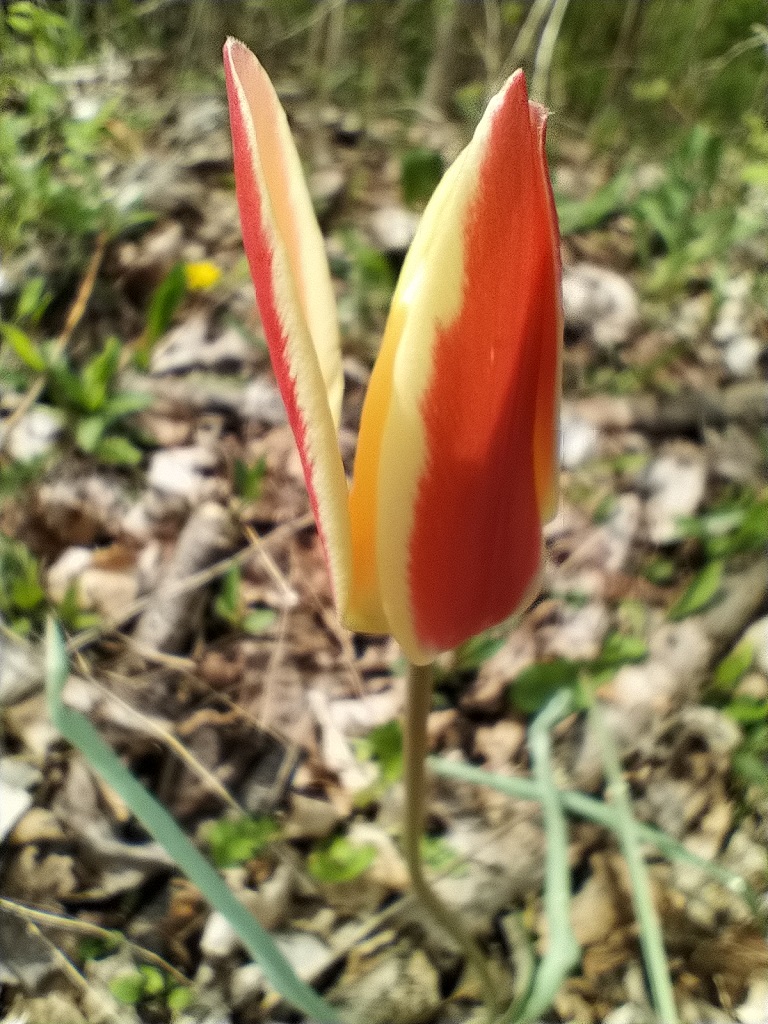
The old school (like before the Netherlands started selectively breeding them) tulips are blooming!
Luckily the apple blossoms seem to have come out after the last frost of the year.

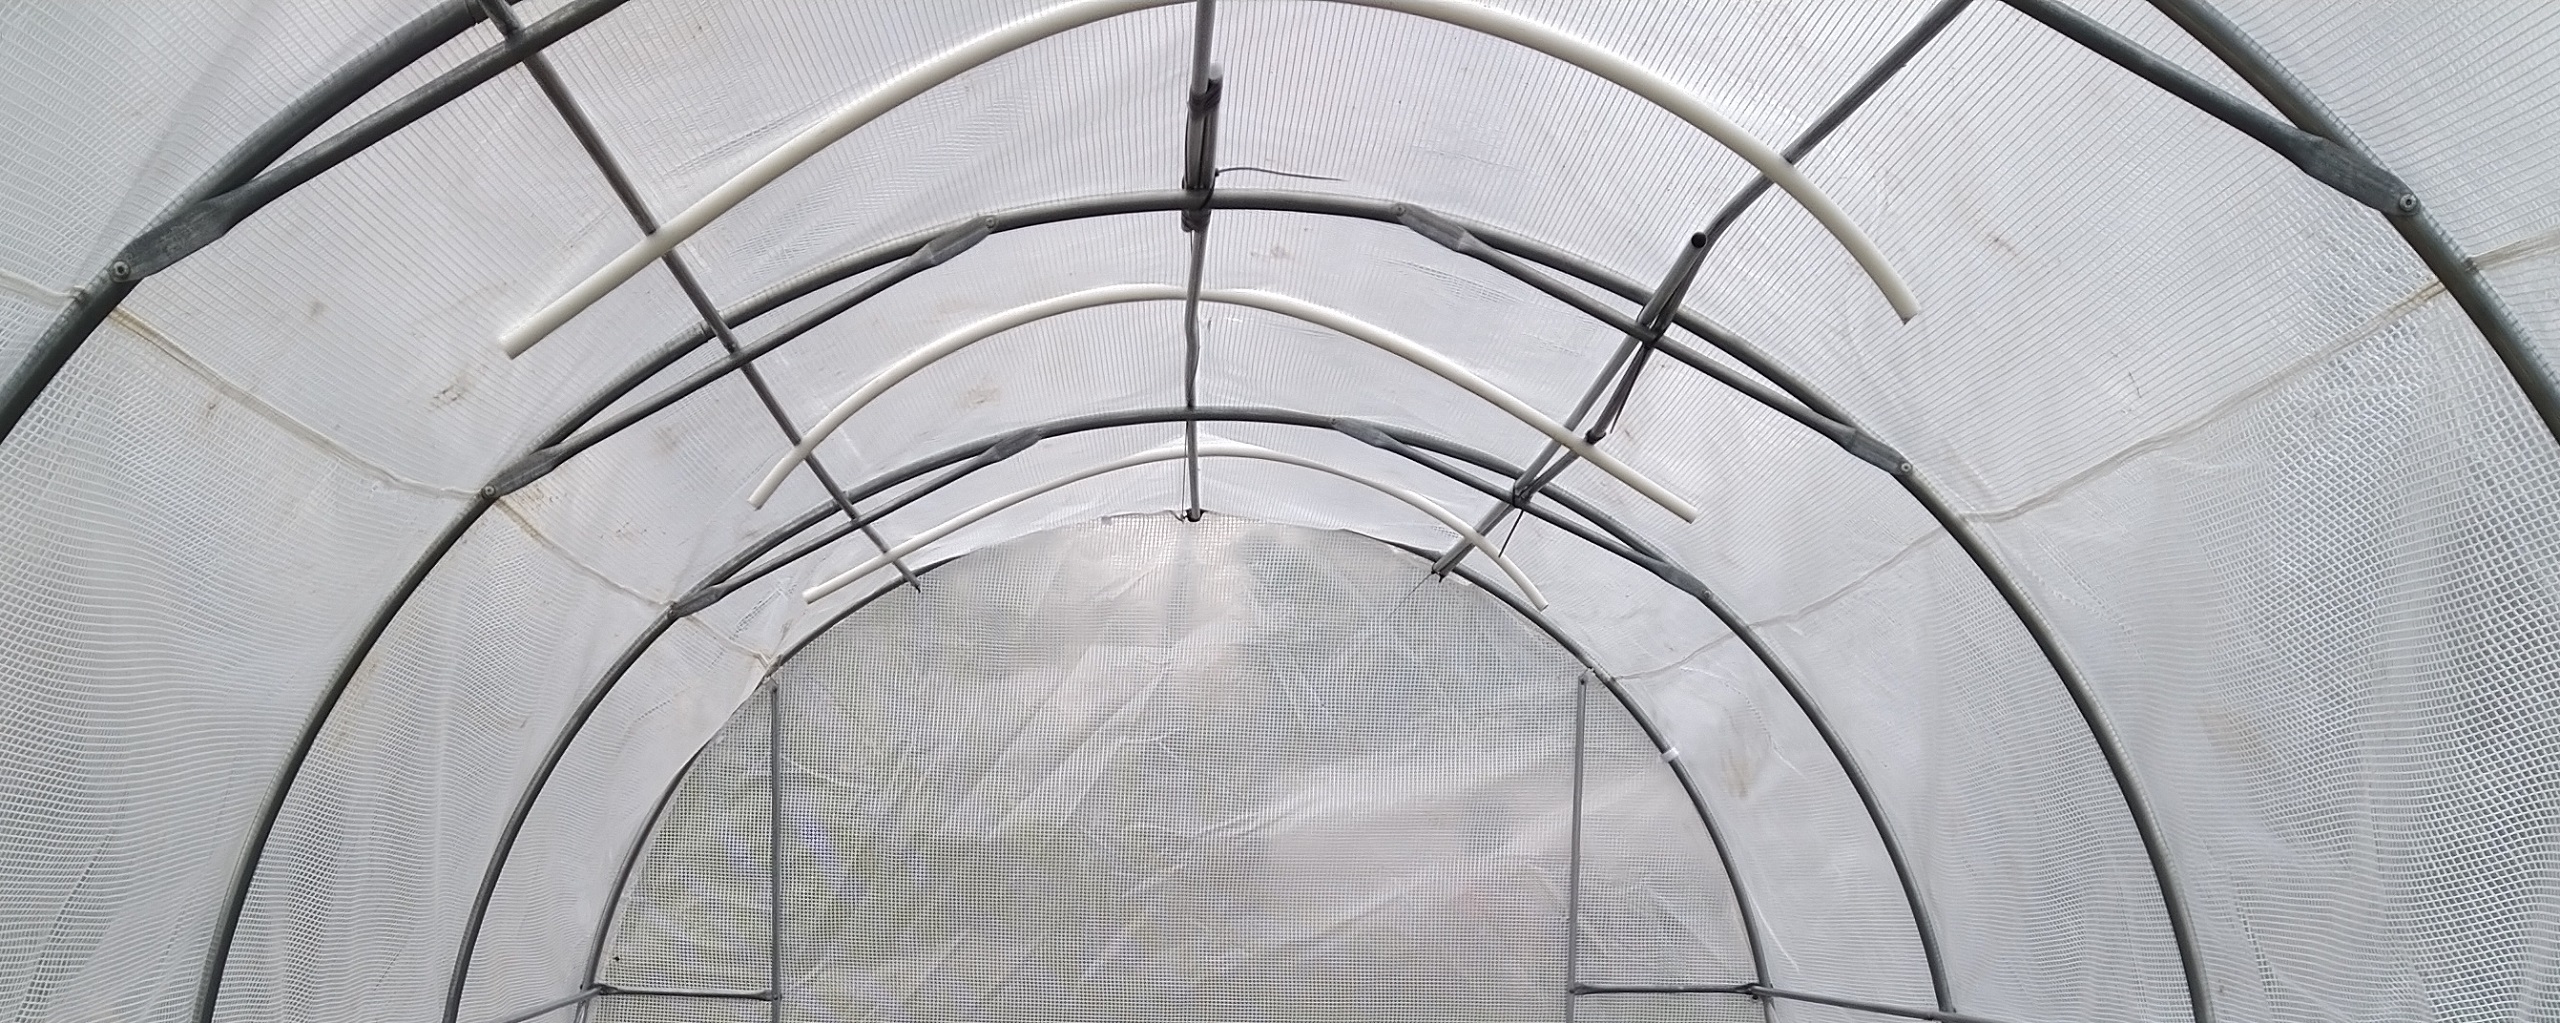
The biggest problem I’ve seen with the cheap metal frame / plastic covering high tunnel greenhouses is that water will pool up on the top, and the weight of the water will collapse the whole thing.
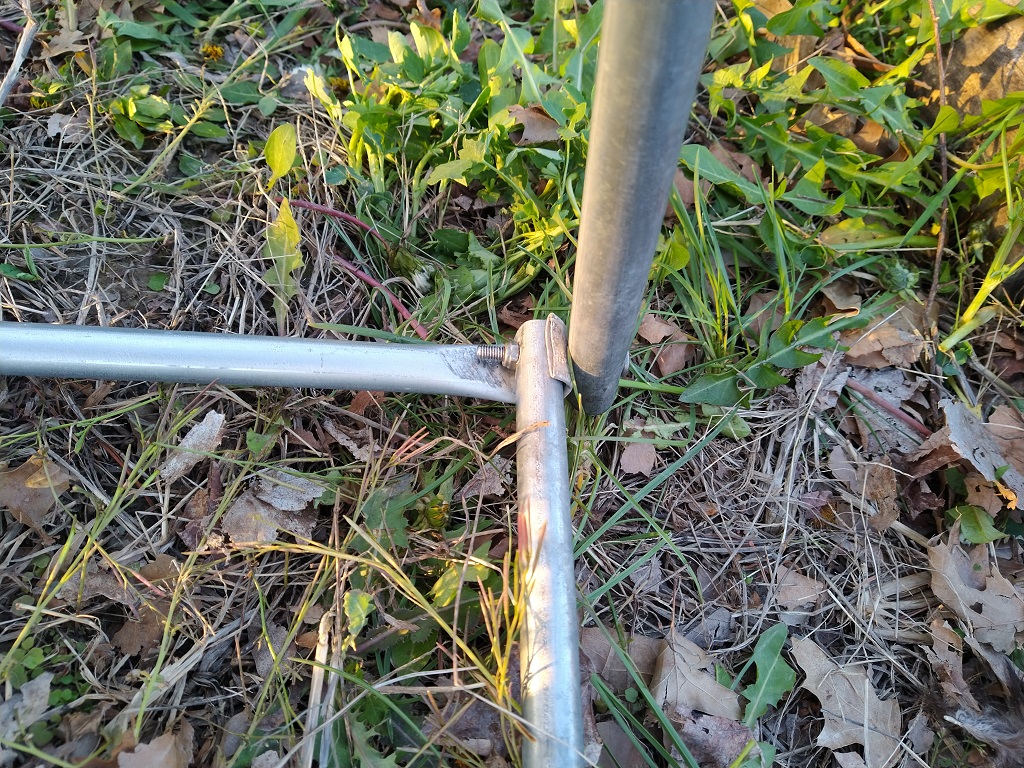
I’ve seen a few different approaches to preventing the plastic from forming a dish and holding gallons of water. We opted for a simpler route that has, thus far, proven effective. We bought three EMT tubes — metal tubes — to create a firmer ridge-line in the greenhouse. I had 1/2″ CPVC tubing from the low tunnel greenhouse. From being held in an arch over several seasons, it was permanently bent. We cut those tubes in half, and placed them above the ridge line tubes. The ends were then pulled under the next set of horizontal bars of the greenhouse frame. This holds them in place firmly. They prevent water from pooling — the last section of the greenhouse still does pool, so I will eventually add something else in that section. It is, however, a small enough weight that the greenhouse frame can support it.
Last year, we built a 26′ greenhouse in the garden. It took a few days to get everything sorted, and we tried a few different methods to adhere the thing to the ground without any stunning successes. As we disconnected our most recent attempt, our phones blared a weather alert. A severe thunderstorm was headed our way! Looking to the west, it was really close. Rain started to fall and thunder cracked. We ran inside. For the next half hour, we all stood at the front windows watching the greenhouse not budge in this storm. Until …
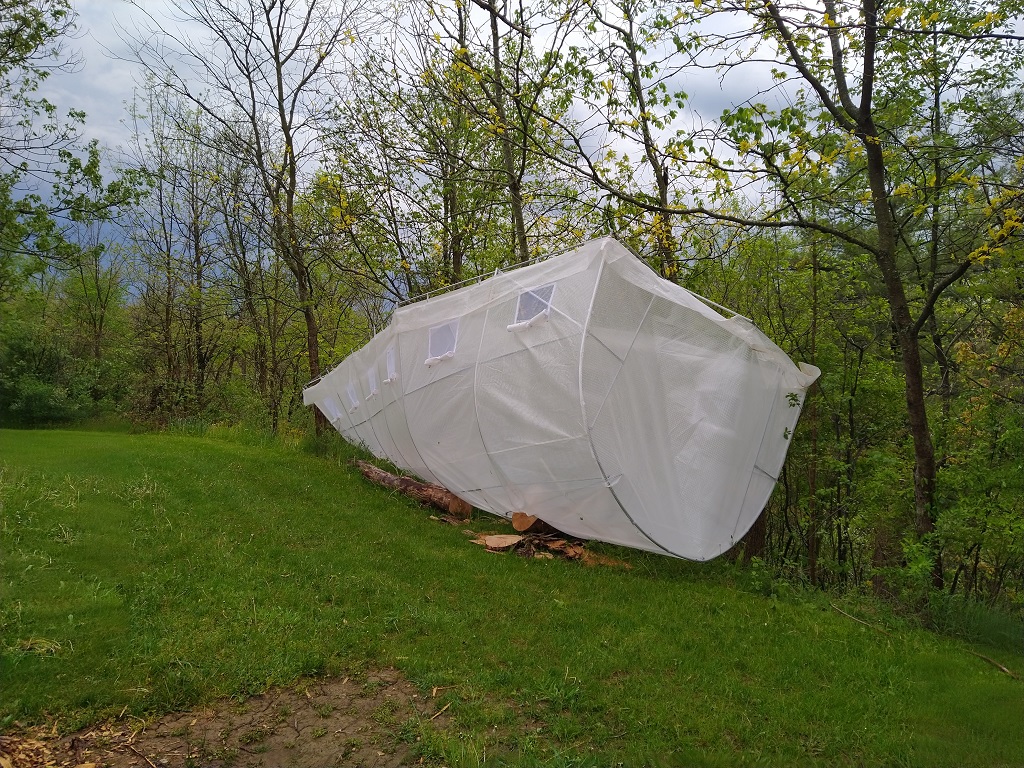
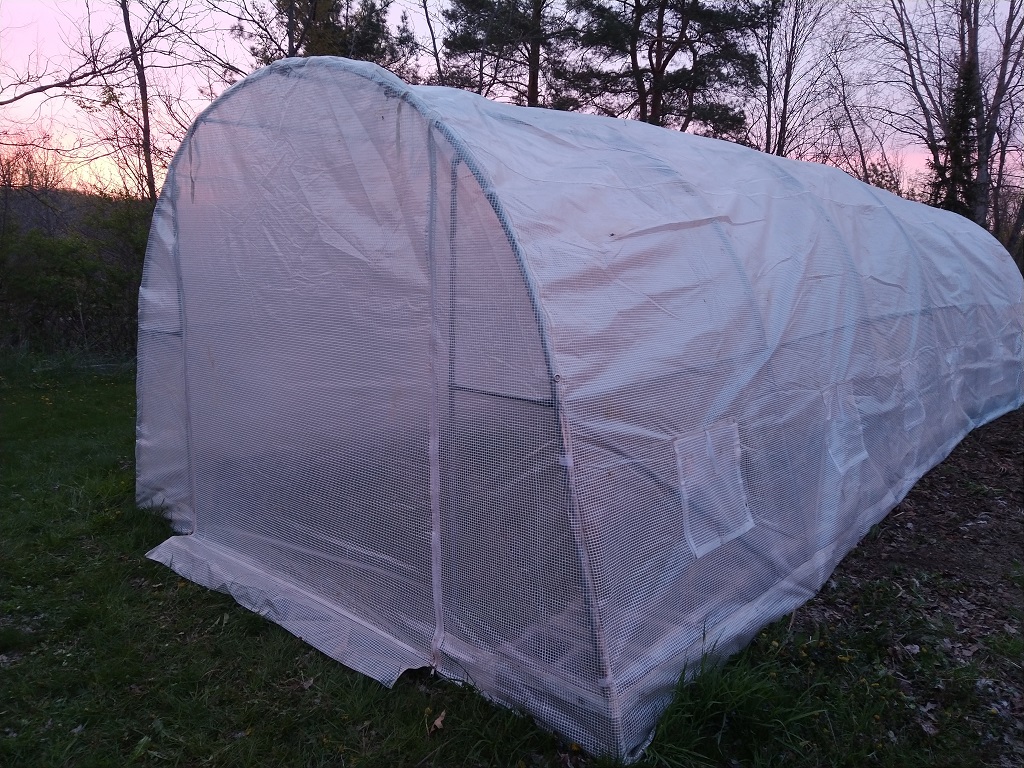
My lovely greenhouse went somersaulting across the yard and became impaled on a tree. We extracted it and checked it over — some bent metal tubes, a broken tube, and several holes in the cover. It was so late in the year that we decided we didn’t actually need a greenhouse for the year & left it as a project for early spring this year. We did, however, purchase a few sections of 10′ EMT last year in preparation for the repair. Well, it’s early spring!
Scott pounded the end of an EMT and bent it in the vice, then drilled it to recreate the broken bottom pole. We fastened an EMT to a few bent tubes.
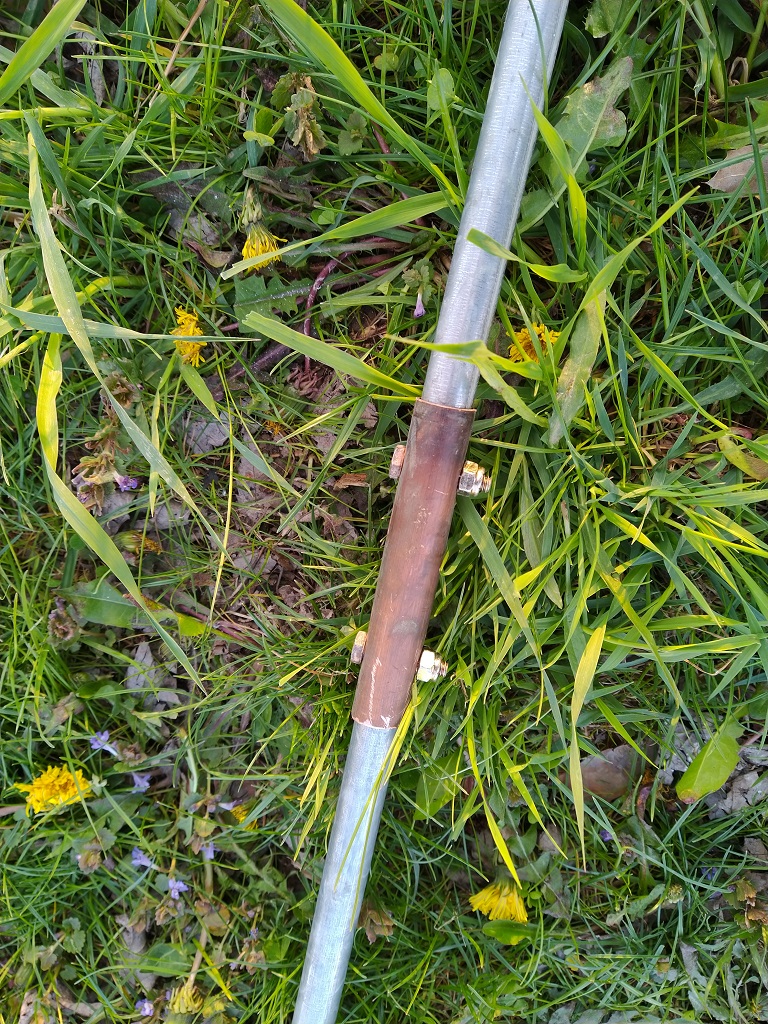
He then cut a section of copper tube and cross-drilled it so it could fit across the two sides of a broken tube.
A little more bending and straightening, and we were ready to put the cover on again. This time, there are dozens of concrete blocks holding it down. It’s been up for more than 24 hours … so we’re doing better than last year! Tomorrow, we’ll move the started plants into the greenhouse.
I guess with everyone moving to magic cloudy pay-per-month Exchange, this isn’t such a concern anymore … but for those still running on-premise Exchange:
(1) Before you can restore your AD system state, you’ve got to build a server & bring up a temporary domain. There’s a “System Configuration” program that lets you select to restart in safe mode / directory services restore mode without having to time the F8 key or anything.
(2) The system state backup of a domain controller backs up a lot of stuff — including the registry which tells the server what software is installed and services. This means it is not possible to just run the Exchange setup.exe with the disaster recovery option. Fortunately, I was able to copy the Exchange folder from program files off of a backup. Unfortunately, the Exchange services wouldn’t start because DLLs couldn’t register. Did a diff between old server backup & new one — copied any missing stuff from c:\windows\system32 and c:\windows\syswow64 and, voila, Exchange is starting. Couldn’t mount the ebd file, though …
(3) Which brings me to eseutil an attempt to replay the transaction logs (eseutil /r) and then repair the database as much as possible (eseutil /p) got me an EDB file that the Exchange server could mount.
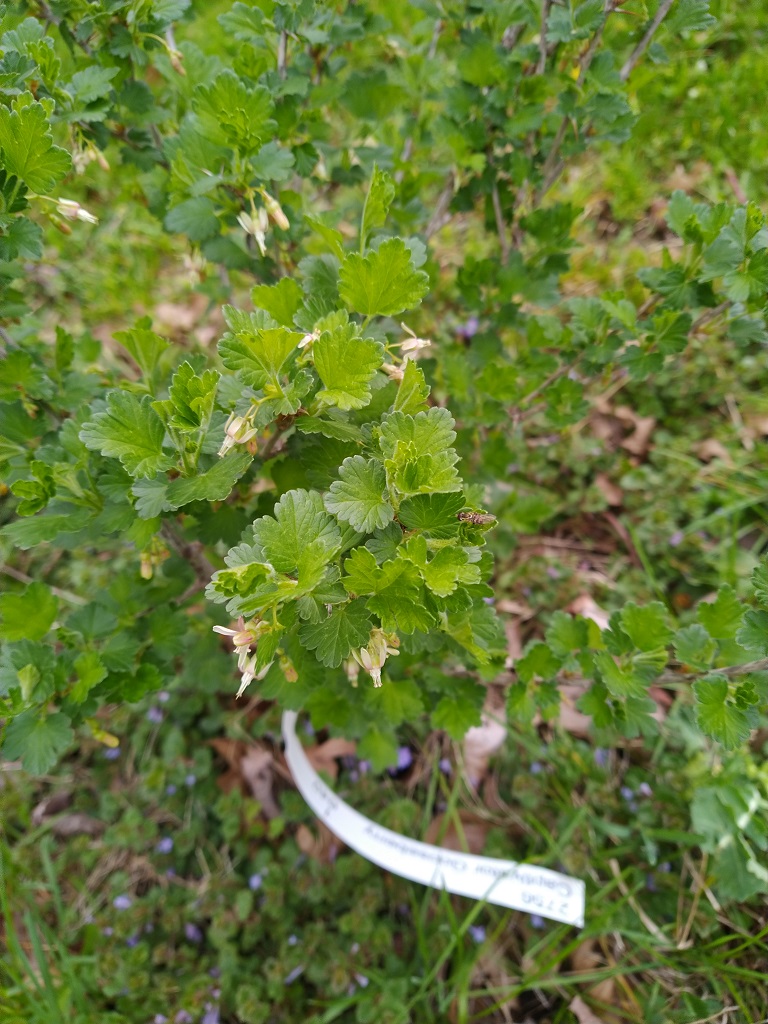
The gooseberry plants we put in last year are flowering!
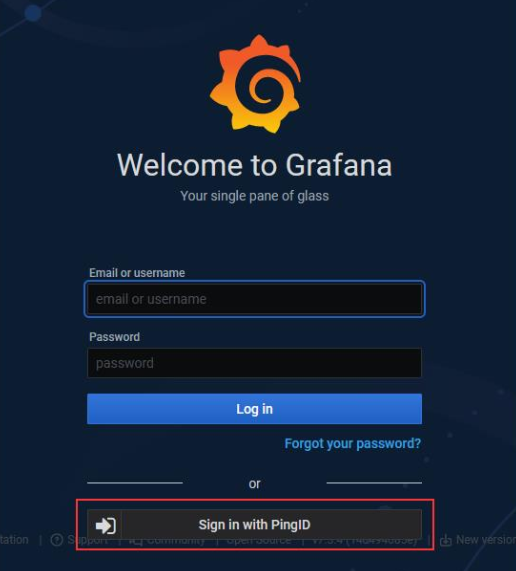
I enabled SSO in our development Grafana system today. There’s not a great user experience with SSO enabled because there is a local ‘admin’ user that has extra special rights that aren’t given to users put into the admin role. If you just enable SSO, there is a new button added under the logon dialogue that users can use to initiate an SSO authentication. That’s not great, though, since most users really should be using the SSO workflow. And people are absolutely going to be putting their login information into that really obvious set of text input fields.
Grafana has a configuration to bypass the logon form and just always go down the OAUTH authentication:
# Set to true to attempt login with OAuth automatically, skipping the login screen.
# This setting is ignored if multiple OAuth providers are configured.
oauth_auto_login = true
Except, now, the rare occasion we need to use the local admin account requires us to set this to false, restart the service, do our thing, change the setting back, and restart the service again. Which is what we’ll do … but it’s not a great solution either.
Config to authenticate Grafana to PingID using OAUTH
#################################### Generic OAuth ##########################
[auth.generic_oauth]
name = PingID
enabled = true
allow_sign_up = true
client_id = 12345678-1234-4567-abcd-123456789abc
client_secret = abcdeFgHijKLMnopqRstuvWxyZabcdeFgHijKLMnopqRstuvWxyZ
scopes = openid profile email
email_attribute_name = email:primary
email_attribute_path =
login_attribute_path = user
role_attribute_path =
id_token_attribute_name =
auth_url = https://login.example.com/as/authorization.oauth2
token_url = https://login.example.com/as/token.oauth2
api_url = https://login.example.com/idp/userinfo.openid
allowed_domains =
team_ids =
allowed_organizations =
tls_skip_verify_insecure = true
tls_client_cert =
tls_client_key =
tls_client_ca =
And a final note from my disaster recovery adventure — I had to use ddrescue to copy as much data from a corrupted drive as possible (ddrescue /dev/sdb /mnt/vms/rescue/backup.raw –try-again –force –verbose) — once I had the image, what do you do with it? Fortunately, you can mount a dd file and copy data from it.
# Mounting DD image
2023-04-17 23:54:01 [root@fedora /]# kpartx -l backup.raw
loop0p1 : 0 716800 /dev/loop0 2048
loop0p2 : 0 438835200 /dev/loop0 718848

2023-04-17 23:55:08 [root@fedora /]# mount /dev/mapper/loop0p2 /mnt/recovery/ -o loop,ro
mount: /mnt/recovery: cannot mount /dev/loop1 read-only.
       dmesg(1) may have more information after failed mount system call.

2023-04-17 23:55:10 [root@fedora /]# mount /dev/mapper/loop0p2 /mnt/recovery/ -o loop,ro,norecovery

2023-04-18 00:01:03 [root@fedora /]# ll /mnt/recovery/
total 205G
drwxr-xr-x  2 root root  213 Jul 14  2021 .
drwxr-xr-x. 8 root root  123 Apr 17 22:38 ..
-rw-r--r--. 1 root root 127G Apr 17 20:35 ExchangeServer.qcow2
-rw-r--r--. 1 qemu qemu  10G Apr 17 21:42 Fedora.qcow2
-rw-r--r--. 1 qemu qemu  15G Apr 17 14:05 FedoraVarMountPoint.qcow2
After the power came back on, I had to recover ext and xfs partitions —
# FSCK to clean up bad superblock
lsblk
fsck /dev/sdb
e2fsck -b 32768 /dev/sdb1
mount /dev/sdb1 /var

# xfs_repair for XFS FS on LVM
lvscan # get dev for LVM
mount /dev/fedora/root /mnt/oh
xfs_repair -L /dev/fedora/root
mount /dev/fedora/root /mnt/oh