The anti-inflammatory tea we started drinking today:
1/2 tsp cinnamon
1/2 tsp turmeric
1/4 tsp black pepper
1/2 T coconut oil
8 oz warm water
The anti-inflammatory tea we started drinking today:
1/2 tsp cinnamon
1/2 tsp turmeric
1/4 tsp black pepper
1/2 T coconut oil
8 oz warm water
Ingredients
Method:
Combine all dry ingredients. Mix in wet ingredients. Allow batter to sit for about ten minutes and add more water as needed – the gluten free flour absorbs a LOT of water. Then cook pancakes.
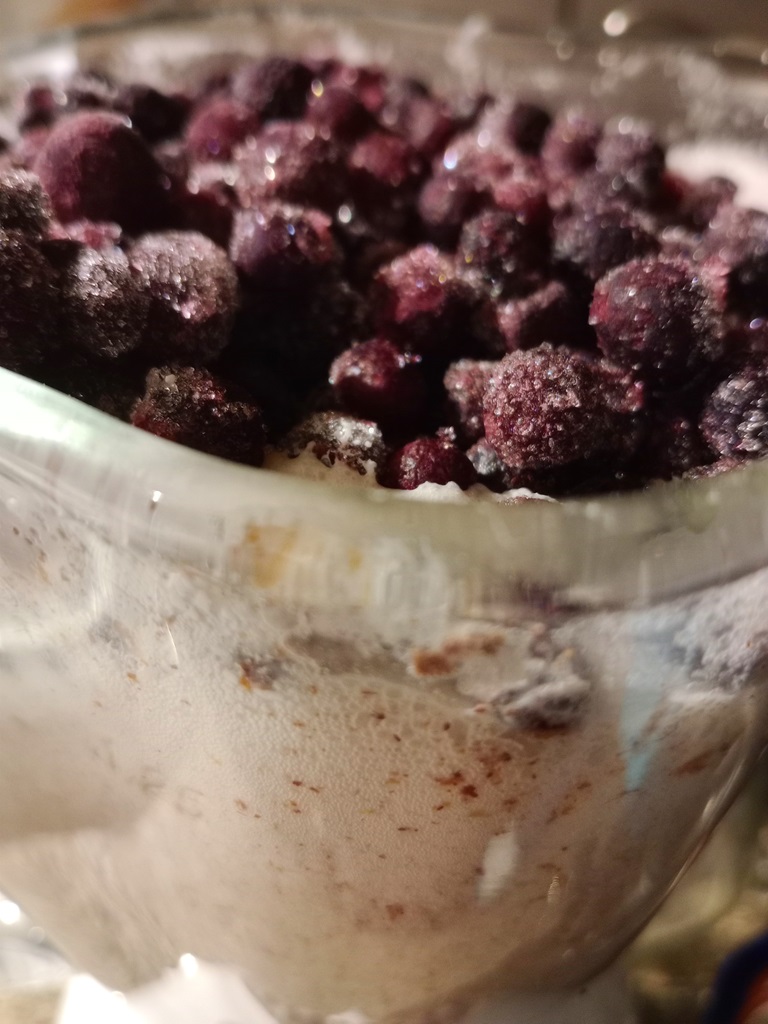
Coconut milk + water, frozen fruit … plus:
Tried using this King Arthur Flour “measure for measure” gluten free flour to make a pizza crust. It ended up dry and crumbly. Not bad … but finding a good gluten free pizza crust recipe is still a work in progress.

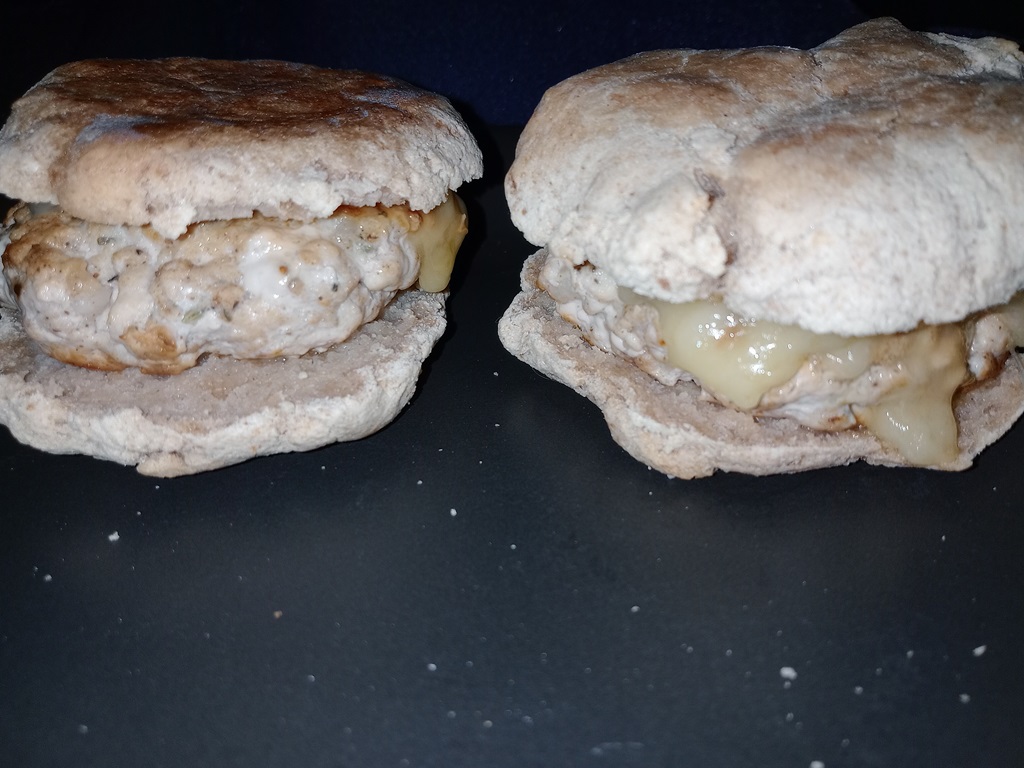
Cassava flour rolls, vegan cheese, and ground pork with spices to somewhat mimic sausage.
Ingredients:
2 cups cassava flour
1 Tbsp baking powder
1 tsp salt
3 eggs
1/4 cup coconut oil
2 Tbsp maple syrup
2 tsp yeast
1 cup warm water
Combine water, maple syrup, and yeast. Allow to sit for about ten minutes until it is very frothy.
Mix dry ingredients, combine with wet ingredient, allow to rise for an hour. Shape into rolls and allow to rise for 30 minutes.
Bake at 350 for 25-30 minutes
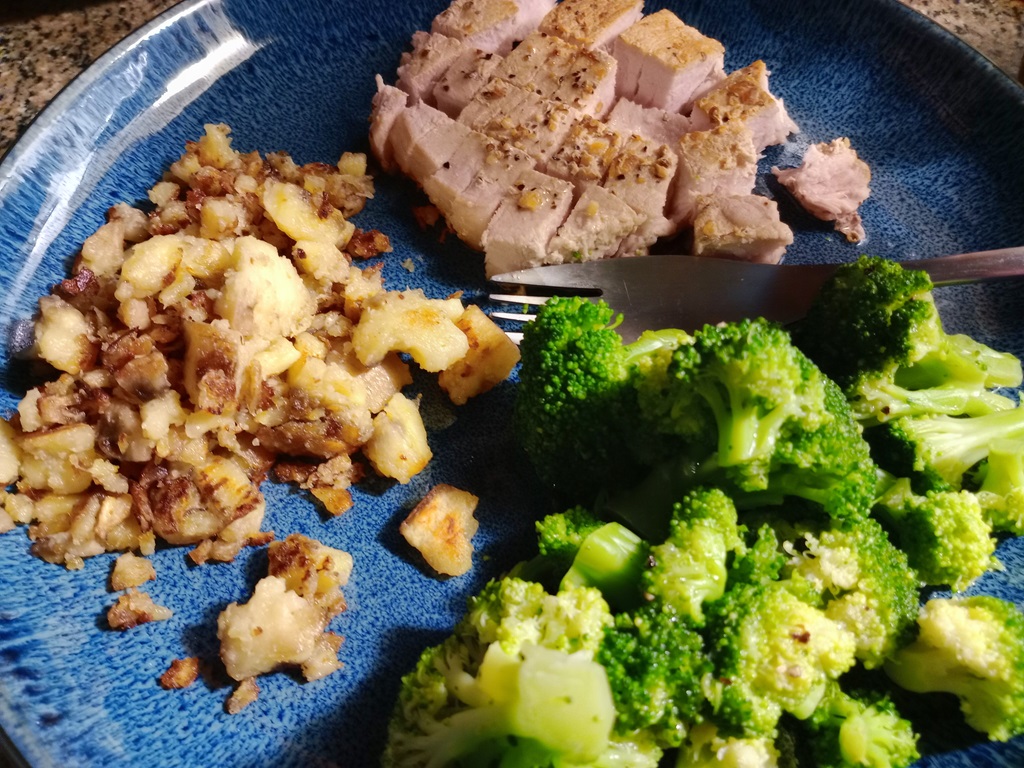
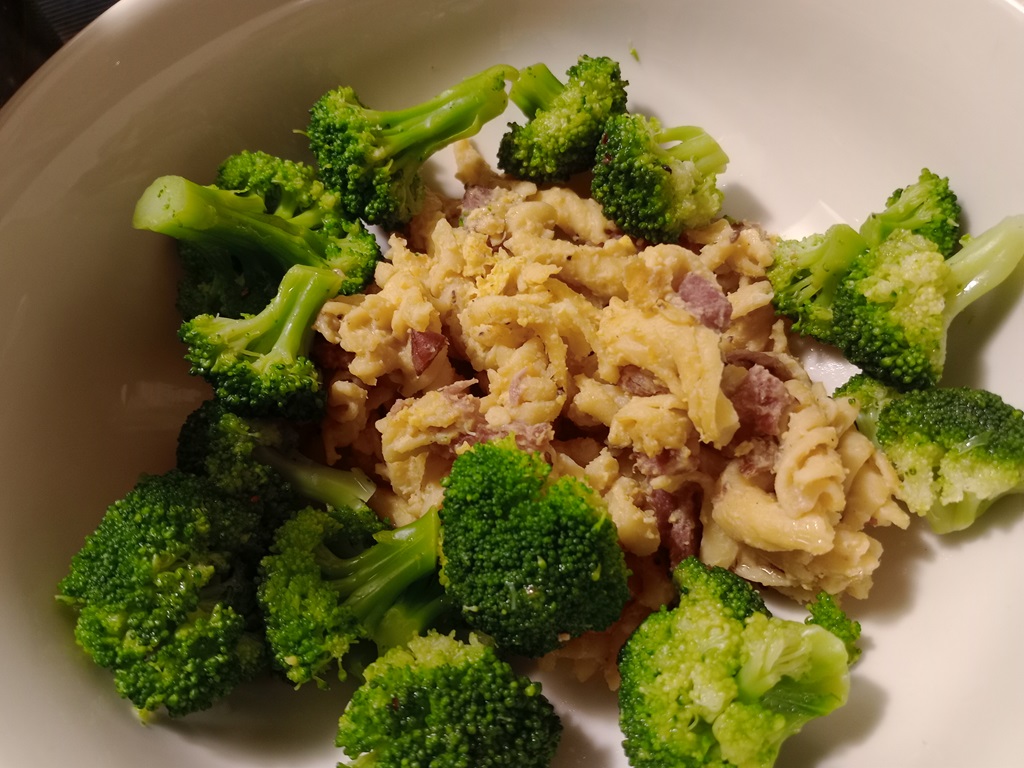
I made green banana hash tonight to go with our pork chops and broccoli. Microwaved four green bananas for five minutes (cut off ends, cut along back to cut through the peel, then microwave). I let them sit about ten minutes to cool down, then removed the peel. Diced into small pieces and then smashed some to make really small pieces. Added a little salt, then sauteed in coconut oil until crispy. They’re really good – and with bright green bananas, they do a very good impression of potatoes.
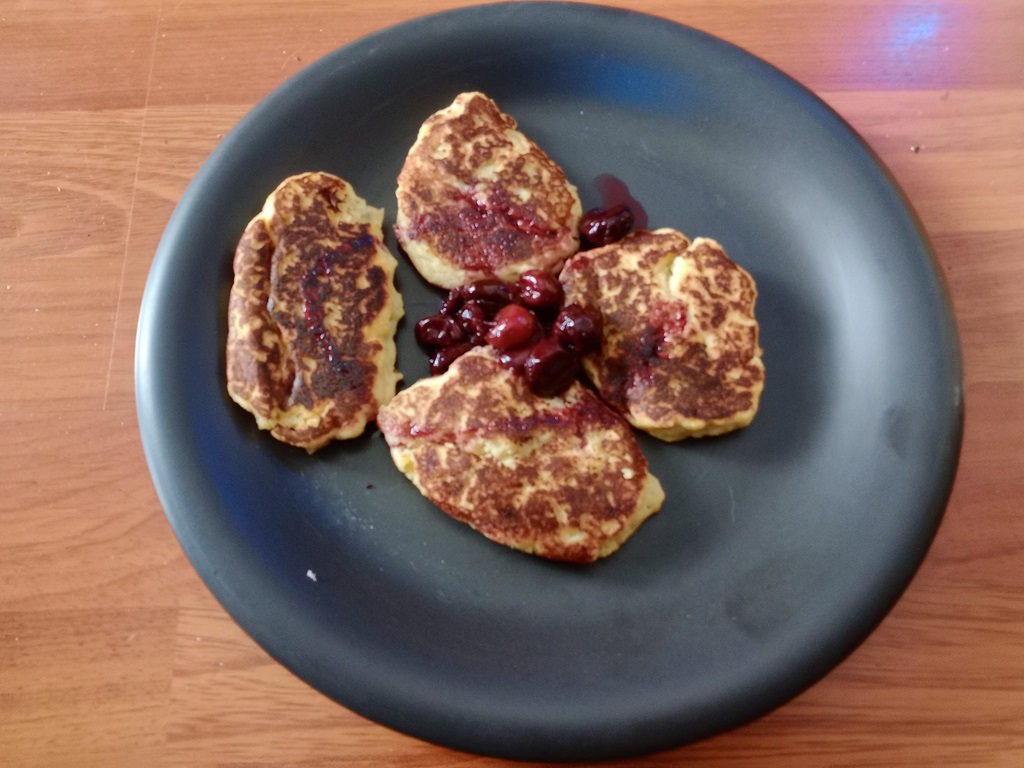
Another attempt to make a less inflammatory version of pancakes – this recipe was superb. Fluffy pancakes (not light and fluffy, almond flour makes a denser, heavier pancake), very tasty, and incredible paired with cherry juice and cherries.
Ingredients:
Method:
Steam the bananas in the microwave (about 5 minutes) or boil them (20 minutes). Allow to cool, peel, and then mash.
Mix the dry ingredients together. Mix the wet ingredients together and combine with mashed bananas. Slowly combine the wet and dry ingredients.
Allow batter to sit for 10 minutes (almond flour will absorb moisture, so it will thicken as it rests)
Over medium low heat, cook pancakes. Pour some batter into the pan. When bubbles start to form and not pop, flip and cook for a few more minutes.
For a sauce, I heated juicy frozen cherries. The cherry juice was drizzled over the pancakes, and the cherries were served on top.
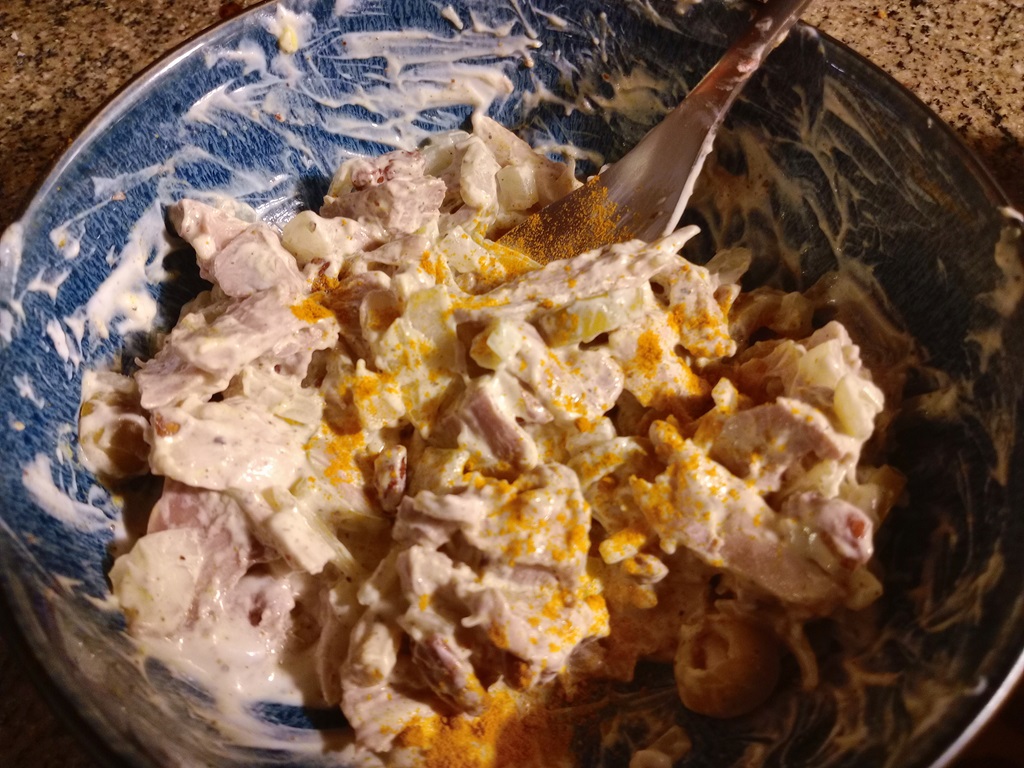
I made a turkey salad with ~ 2 cups of roast turkey diced, 1/2 cup yogurt, 1/3 c chopped pecans, 1/4 c chopped green olives (stuffed with garlic and jalapeno peppers), a little diced onion, ~1 tsp tumeric, 1/2 tsp salt, 1/2 tsp garlic powder, and 1/4 tsp black pepper
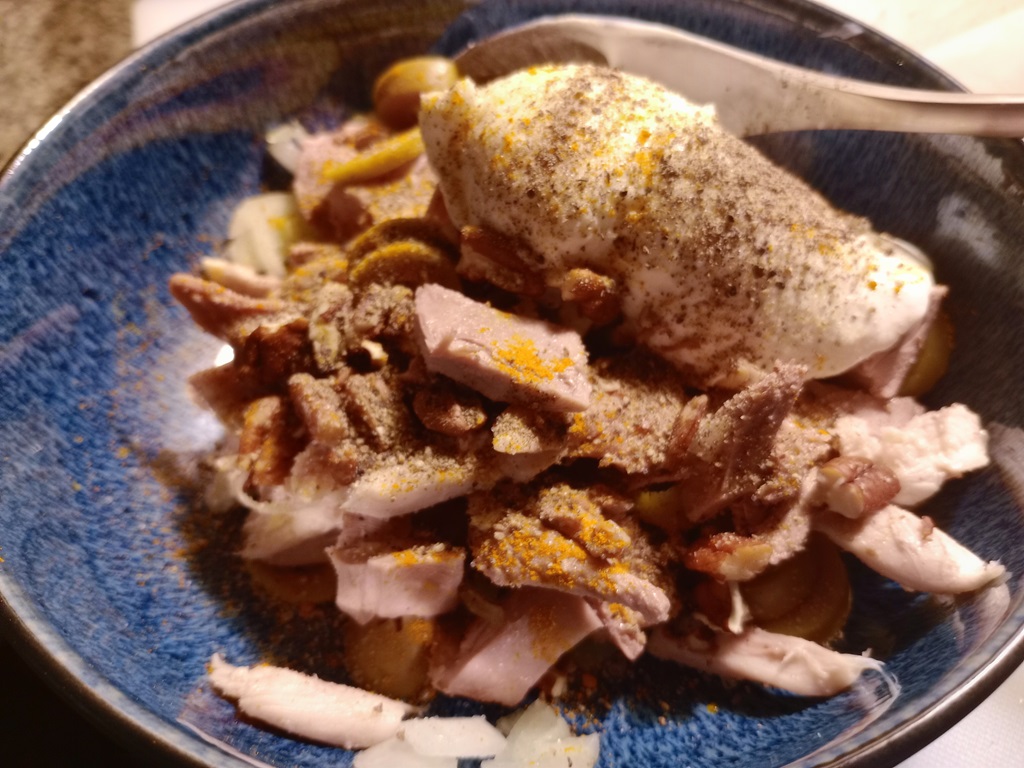
Mixed all together, it looks just like chicken salad 🙂
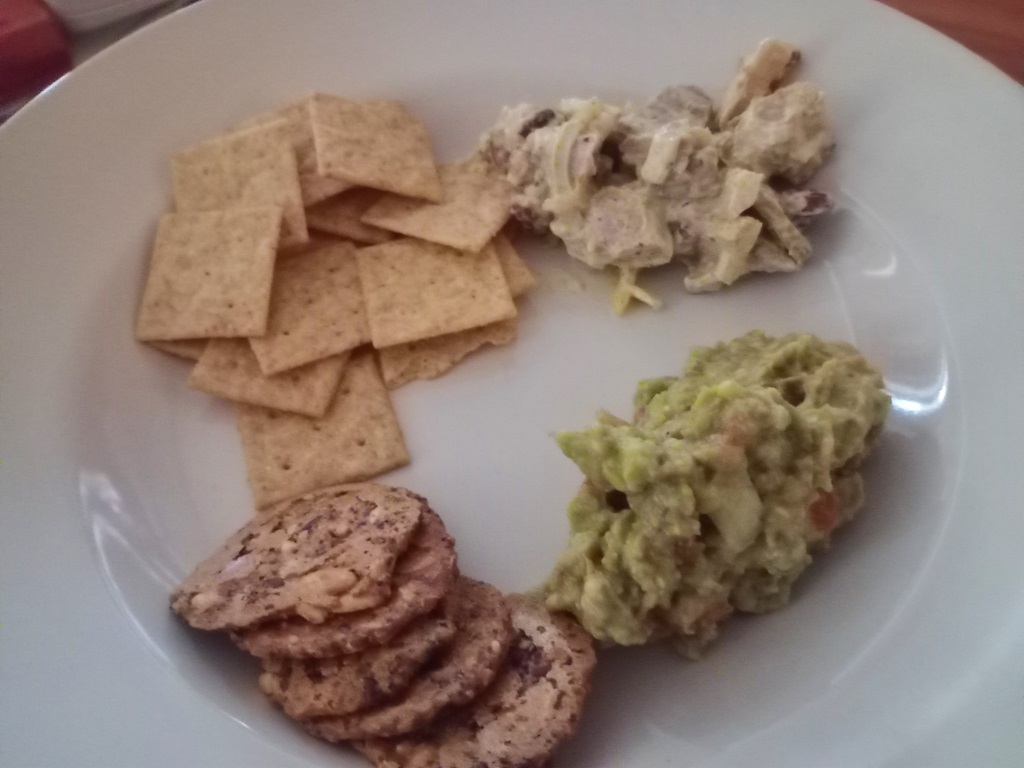
Served with gluten free crackers and guacamole for a quick lunch.
Well, we prefer the Violife vegan cheese to the Meijer brand – the Meijer one is kinda clumpy and lumpy. And doesn’t taste as good.
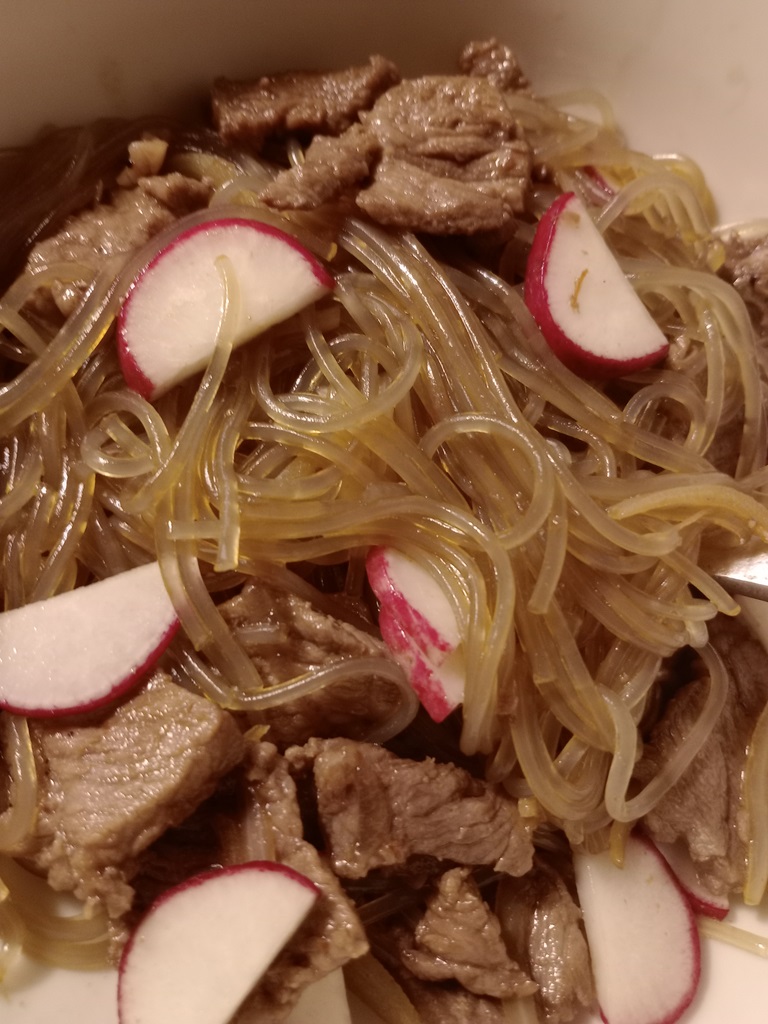
Silked pork, sliced radish, and glass noodles with the sauce recipe from the package: