I use Excel’s COUNTIF function a LOT for reporting. When I want to count the number of transactions that occurred per day (or during a date range), it’s easy enough to get the list of IF’s to count. But when I need to find the occurrence of different text strings, I need a unique list of the strings first. “Remove duplicates” quickly exactly what I need.
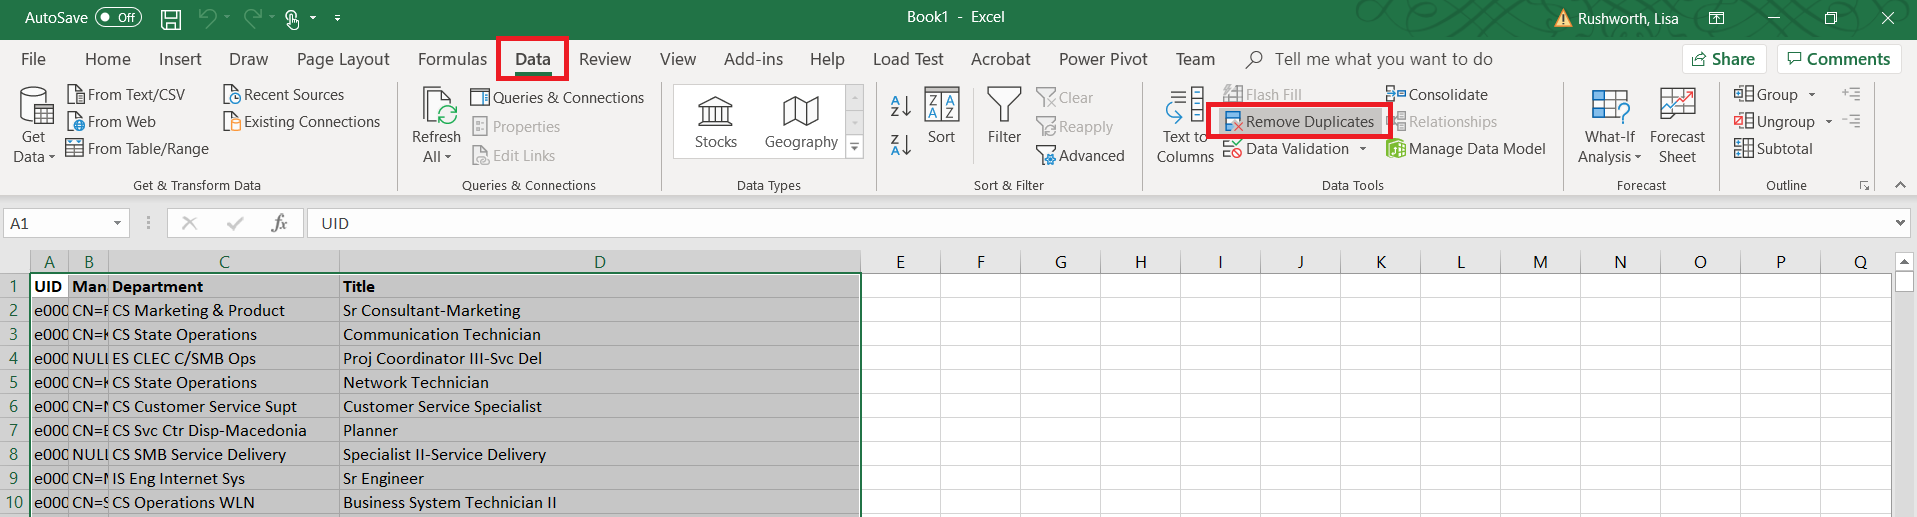
In this example, I have a list of all employees and contractor’s departments and titles – I want to know how many people are in each department and how many people have each title. Removing duplicates modifies the data, so the first step is to make a copy of the spreadsheet. Highlight the data. Select “Data” on the ribbon bar, then select “Remove Duplicates”
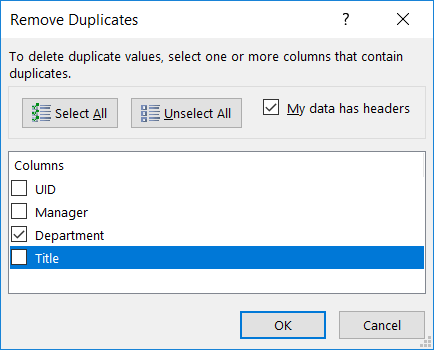
Select the column(s) where you want to remove duplicate data. This could be exact duplicates across multiple columns (e.g. the unique “City, State” combinations), or (in this case) I just want a unique list of departments. Click OK.
A summary will be displayed showing you how many records were removed and how many unique values remain.

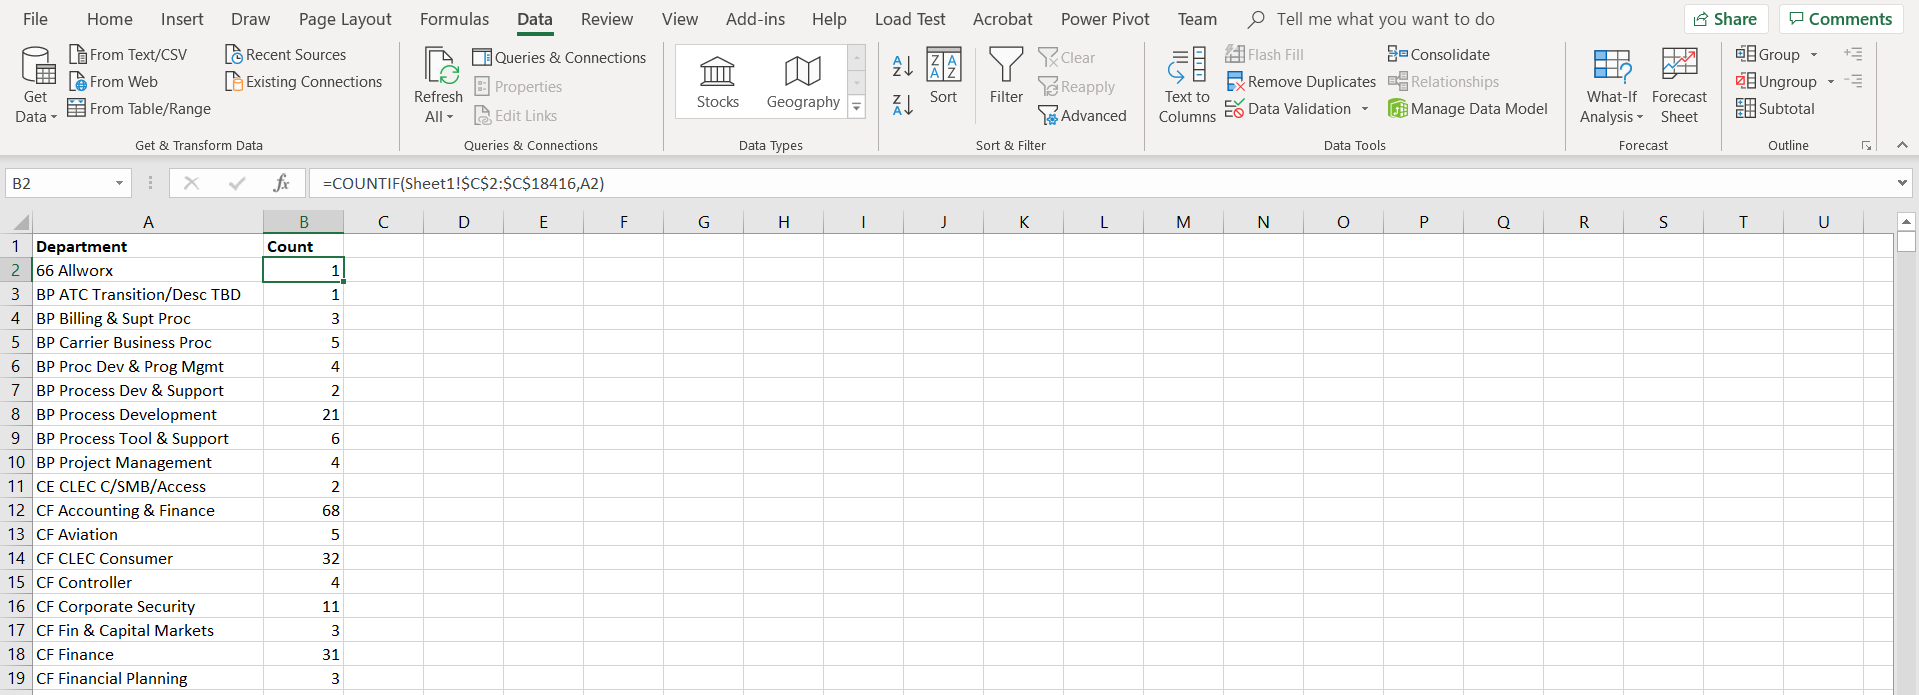
Now that I have a complete listing of departments, I can use my COUNTIF function to show how many employees and contractors are in each department.
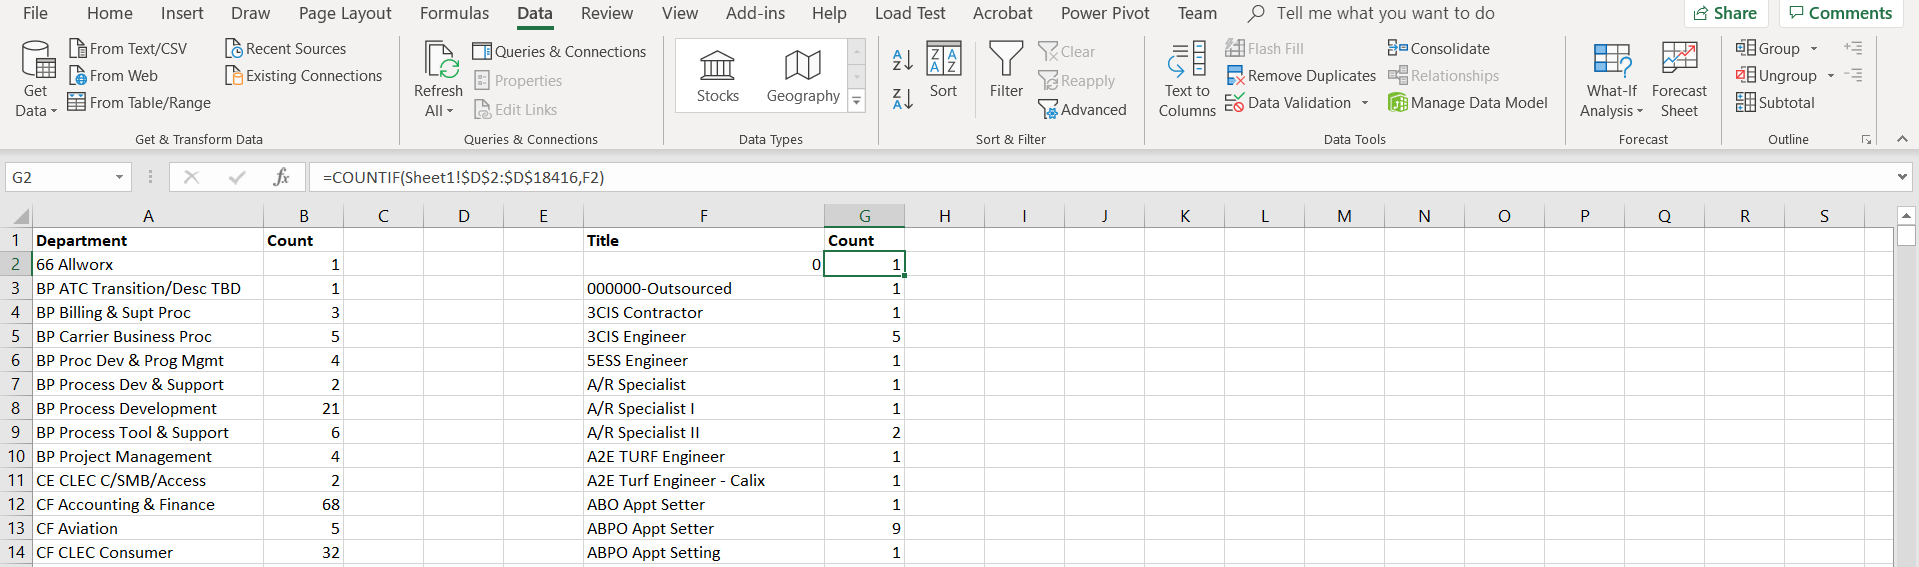
Remove duplicates only deletes records within the highlighted data. Here, I have a list of all employee titles next to the department and count info we just created. If I highlight just the ‘Title’ data and click “Remove Duplicates”, the department and count information is left unchanged.
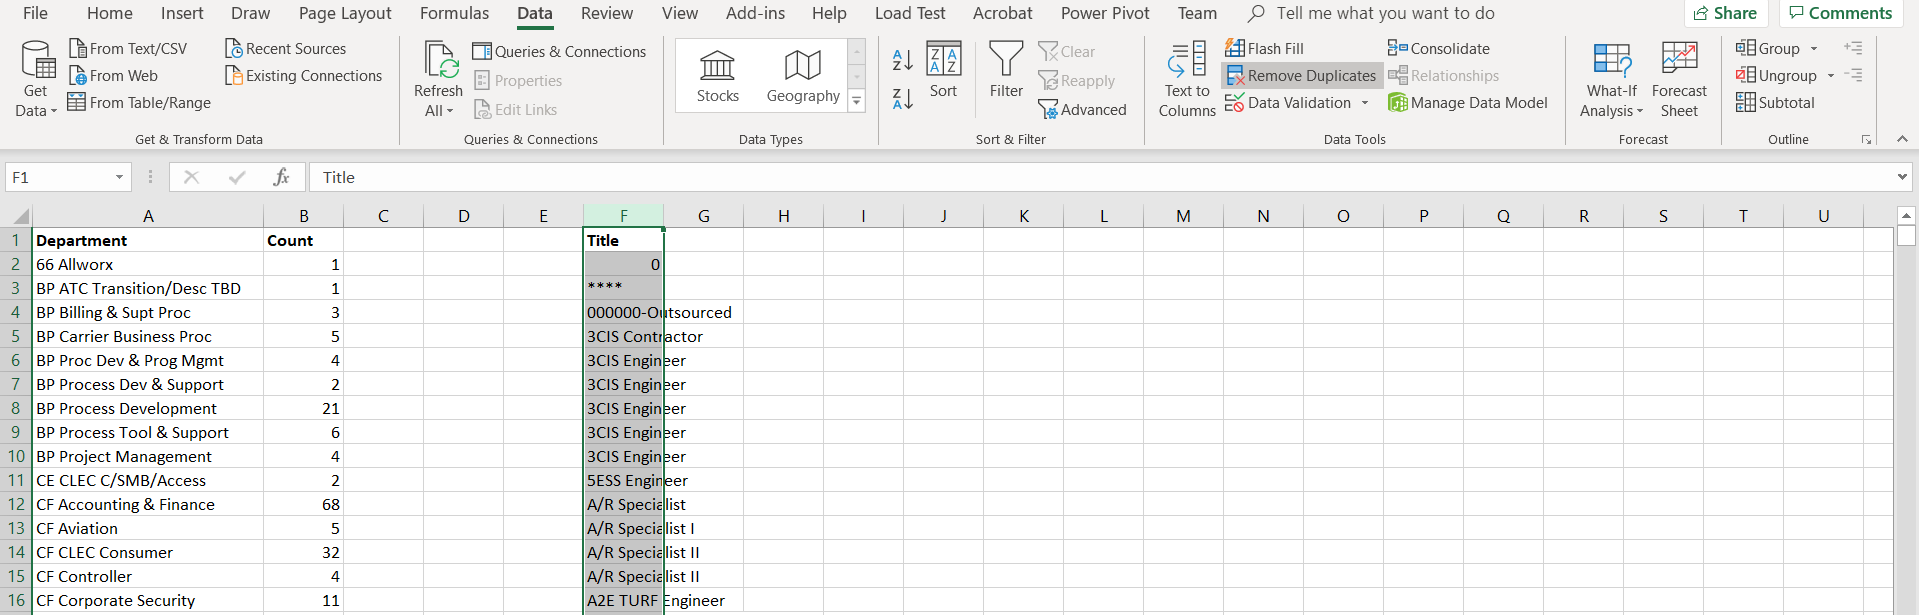
Now I have a unique list of titles as well.