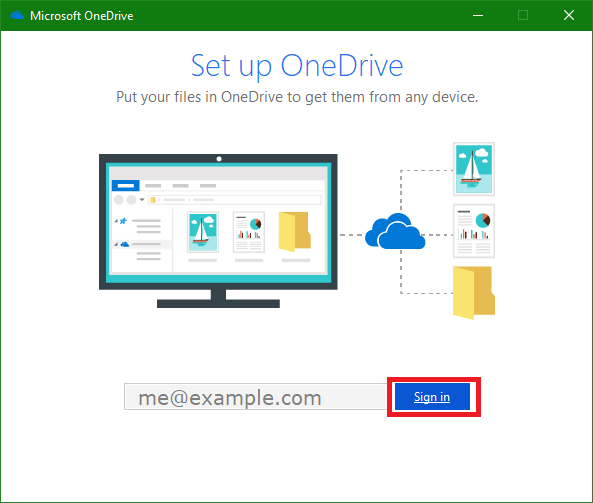
How Teams and Skype interact can be confusing – where will messages be delivered and what should you expect to work between the two systems?
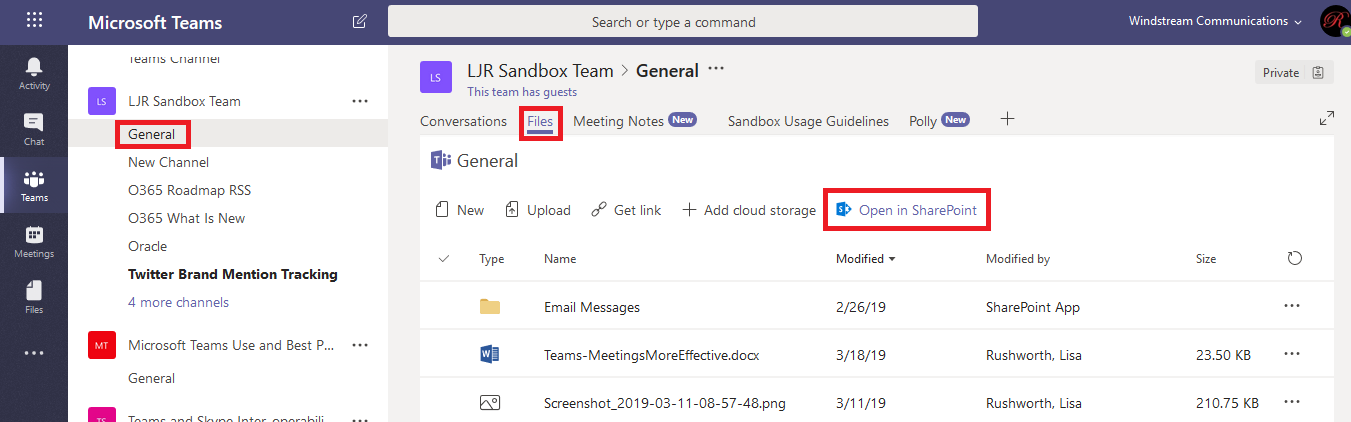
Channel conversations don’t exist in Skype, so you’ll need to use the Teams desktop, mobile, or web client to participate in channel discussions and to access files and tabs within channels.
Meetings are straight-forward too. You’ll need to use the Skype desktop, mobile, or web client to join Skype for Business meetings; you’ll need to use the Teams desktop, mobile, or web client to join Teams meetings.
Calls and Chat – this is where interoperability gets nuanced and potentially confusing! And you may need to know whether the person with whom you want to communicate is using Teams or Skype.
Island Mode
We are currently operating in what Microsoft calls “Island” mode – both Teams and Skype are an island, and communication stays on that island. Your presence in Teams comes from your Teams client, and your presence in Skype comes from your Skype client. If you send a message from Teams, it is delivered to the recipient in Teams. If you send a message from Skype, it is delivered to the recipient in Skype.
Working In Island Mode
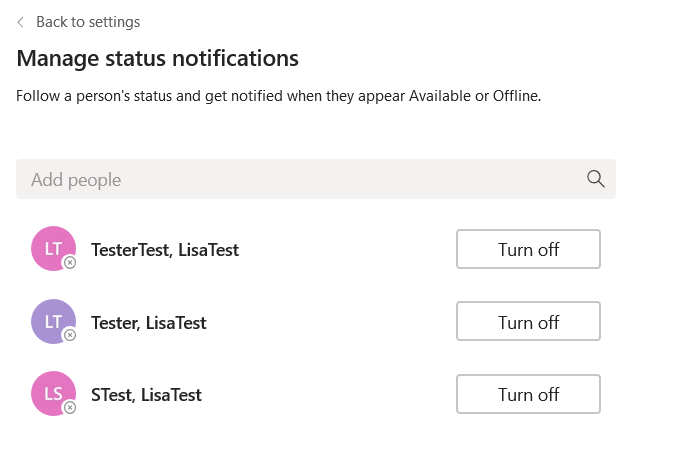
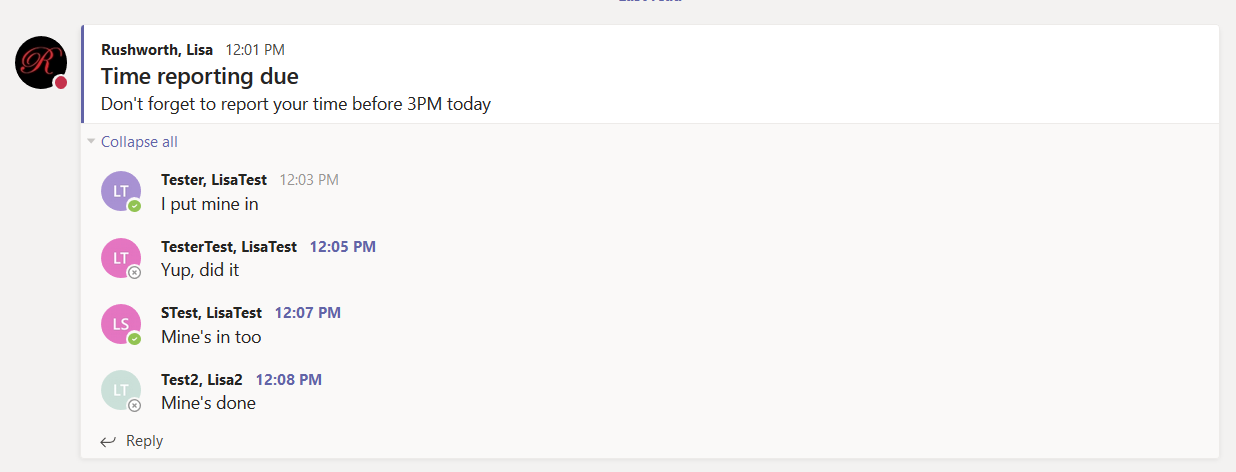
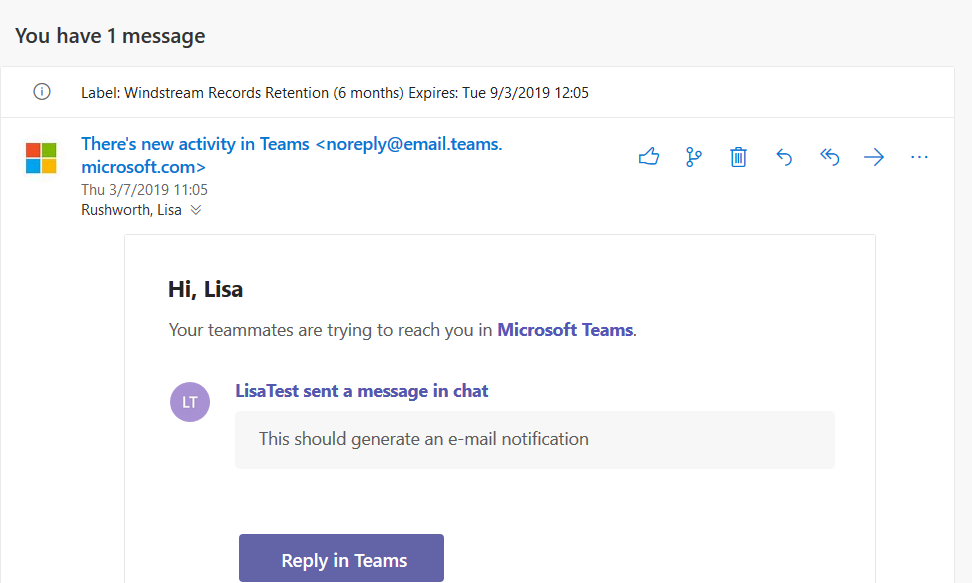
Because messages are only delivered within their island, you may get messages in either your Teams or Skype client – so should leave both running. If you forget to open your Teams client, you will get e-mail notices for missed chat messages (and any channel messages where you are at-mentioned) whenever you are inactive in Teams. You can customize your notification options if you want to get messages more or less frequently, or want to be notified of activity in any channels you follow.
** You will begin receiving e-mail notifications for missed Teams activity after you log into Teams for the first time. If you haven’t checked Teams out yet, visit https://teams.microsoft.com to try it out.
Teams Only
If you only use Skype to receive messages from colleagues who haven’t yet transitioned to Teams, you may elect to set your account to Teams Only mode. When you’ve switched to Teams Only, you’ll see some differences in your chat and calling communication – messages sent from Skype will arrive in your Teams client, and your presence in both Teams and Skype will reflect your Teams presence. As a Teams Only user, you’ll be able to seamlessly transition between the mobile and desktop client, find messages from Skype users when searching Teams, and you can often shut down your Skype client. Don’t uninstall Skype just yet! You may still use your Skype client to join meetings – you can join Skype meetings through a web client, but you won’t be an authenticated user and may need to wait in the “lobby” to be admitted to your meeting. But you can disable the auto-launch and open Skype only when it is needed.
Working In Teams Only Mode
|
Teams Only: Teams and Skype Interoperability Within Windstream
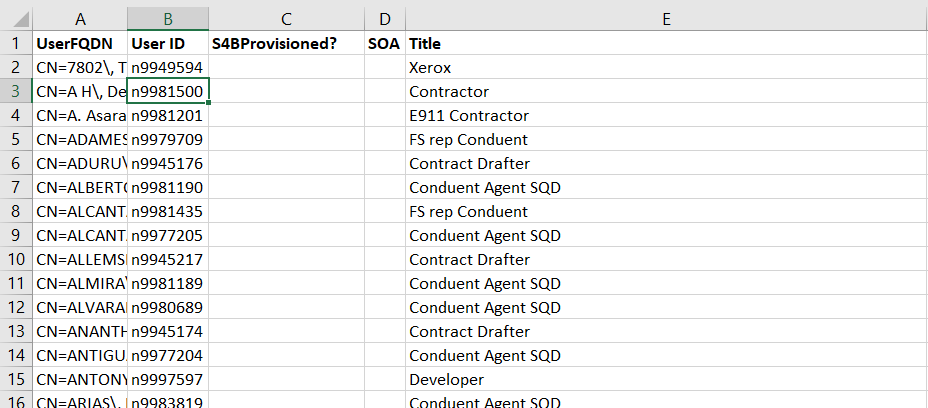
Employees and contractors with @windstream.com accounts
|
 |
 |
If the person has previously contacted you from Skype, the conversation will be marked with a Skype logo. You can reply to chat threads marked with a Skype logo initiate communication with Skype recipients. I pin chats from frequent Skype contacts to ensure I have a previous conversation available. You will not be able to:
Use rich text (typographical emphasis, font colors, etc)
Use emojis or gifs
Share your desktop
Include more than one person in the chat
If there isn’t a previous conversation to continue, or if you need to use one of the unavailable features, you can use Outlook to initiate communication to Skype users (** this requires a fairly old Skype client — old clients will set themselves as the default chat app on launch).
If you use Outlook to start a chat and the recipient replies hours later, the reply will be delivered to you in Teams. You’ll be able to use this conversation to continue delivering messages to the individual in Skype. If you need to use one of the unavailable features, you’ll need to use Outlook to initiate a new chat through your Skype client. |
 |
 |
Messages and calls originated in Teams are delivered to Teams. |
 |
 |
This doesn’t work – all calls and chats sent to you from Skype will arrive in Teams |
 |
 |
All calls and chats sent to you from Skype will arrive in Teams. There are a few restrictions when chatting between Teams and Skype. You will not be able to:
Use rich text (typographical emphasis, font colors, etc)
Use emojis or gifs
Share your desktop
Include more than one person in the chat
Workaround – you can schedule a meeting in Teams or use Outlook to initiate communication through your Skype client. |
Identifying Teams and Skype Users
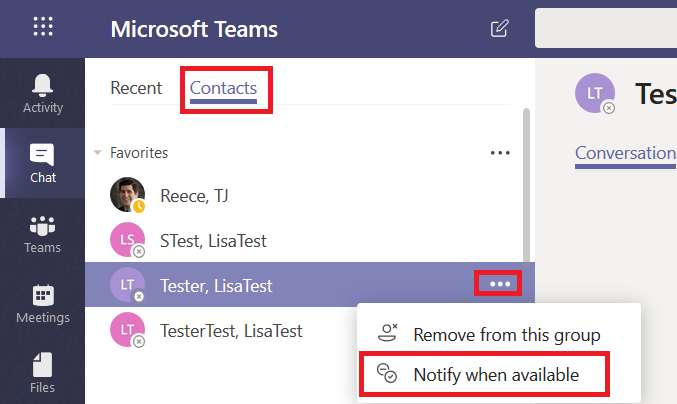
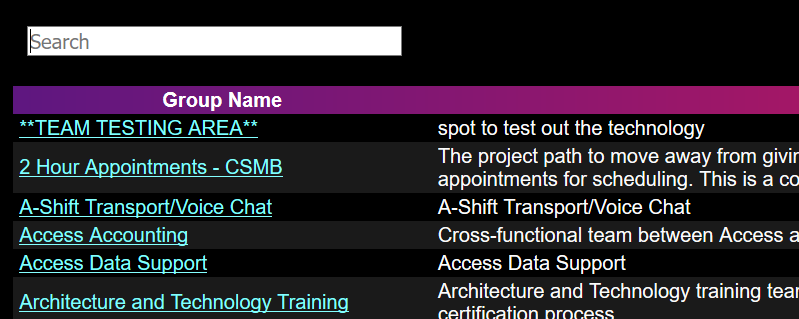
How can you tell if someone is using Teams or Skype? Check their presence. In Teams, use the ‘new chat’ button and start a chat with the individual.

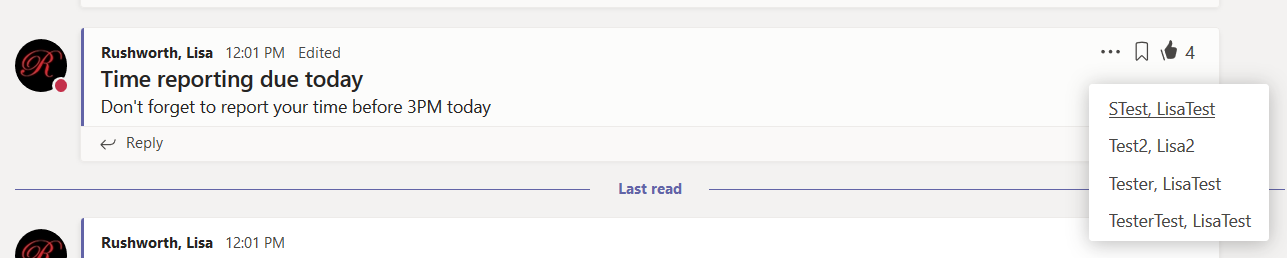
Look at their avatar – in the lower right-hand corner, you’ll see a small circle. This is a status indicator.

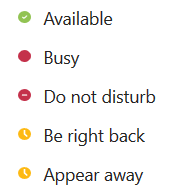
If their status is green, red, or yellow, their Teams client is open.
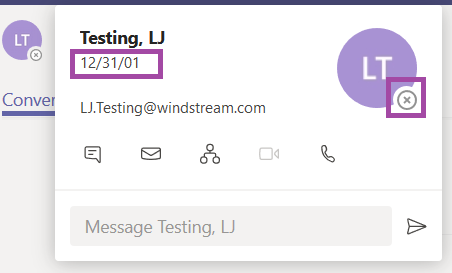
If their status indicator is a gray X, hover your mouse over their avatar or their name – an activity card will be displayed. When you send a Teams message to someone who has used Teams in the past, they’ll get an e-mail notification alerting them to missed activity. If you send a Teams message to someone who has never used Teams … well, they’ll see it when they log into Teams for the first time 😊
| Never Used Teams |
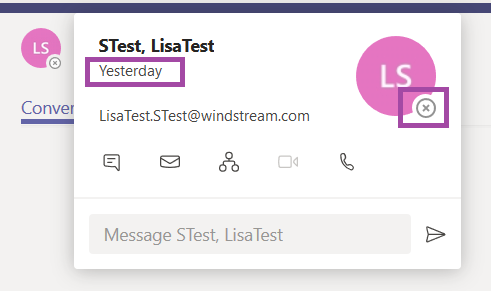
Used Teams But Is Currently Offline |
| The individual’s status is offline and their last activity date is 31 December 2001. |
The individual’s status is offline, but their last activity date is recent. |
 |
 |
In Skype, someone who is actively using Skype and someone who is a Teams Only user will have an active presence (or be listed as recently offline).
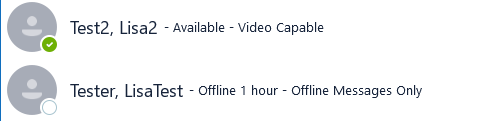
Someone who is using Teams but hasn’t changed to Teams Only mode will be listed as offline for a long period of time. They’ll still get an e-mail notification if you send them a Skype message, but you might get a faster response sending them a message through Teams.

Federation
If you communicate with federated contacts — those who do not have @windstream.com addresses — you may wonder where your messages end up on their side. As of 07 March 2019, there is no direct federation between Teams tenants. All federated communication transits Skype. This means your federated contacts will continue to receive messages sent from your Teams or Skype clients to their Skype client unless their account is configured as Teams Only.
The same holds true for you – whether your federated contact is using Skype or Teams, messages and calls they initiate will be delivered to you in Skype if you are using our default “Island” configuration and will be delivered to you in Teams if you have elected to be a “Teams Only” user.