If you film the boot sequence and look frame by frame, you’ll see that it very briefly flashes a TPM error
error: ../../grub-core/commands/efi/tpm.c:150:unknown TPM error.

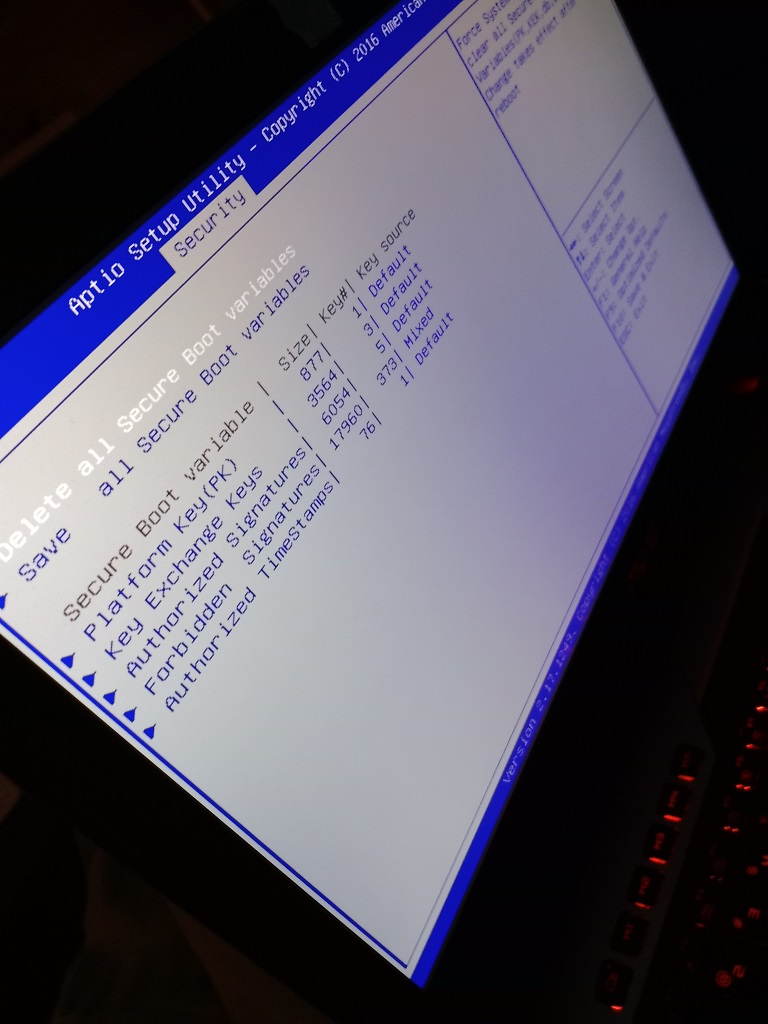
From what I’ve been able to glean, this secure boot stuff works off of signatures. Microsoft has signatures in BIOS. Everyone else kind of inserts their keys on the fly … so you can run out of space to save these keys and be unable to boot. To work around this, every time an update gets us over the limit, we go into the secure boot DBX management menu and reset the “Forbidden Signatures” from factory default. This is 13 keys instead of 373, and the OS is able to do it’s “thing” and boot.
And I’m actually writing this down this time because I had spent a lot of time researching this last time Scott’s laptop failed to boot and dumped out to a grub menu. This time, I kinda know what we did and why but lost a lot of the details.