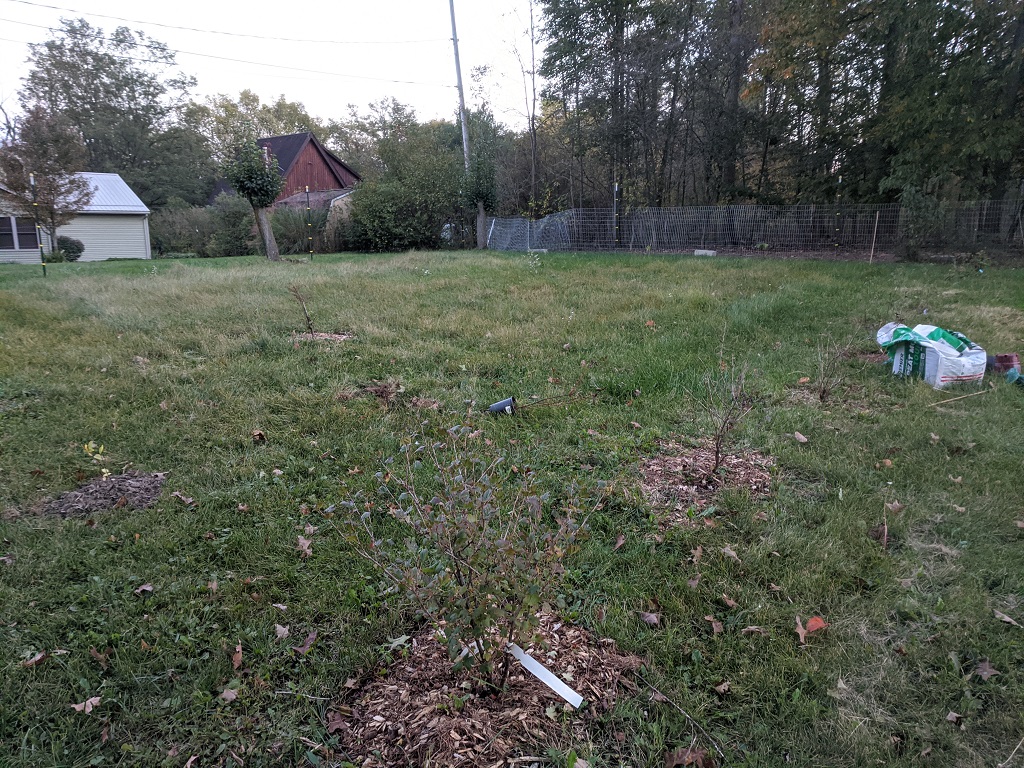
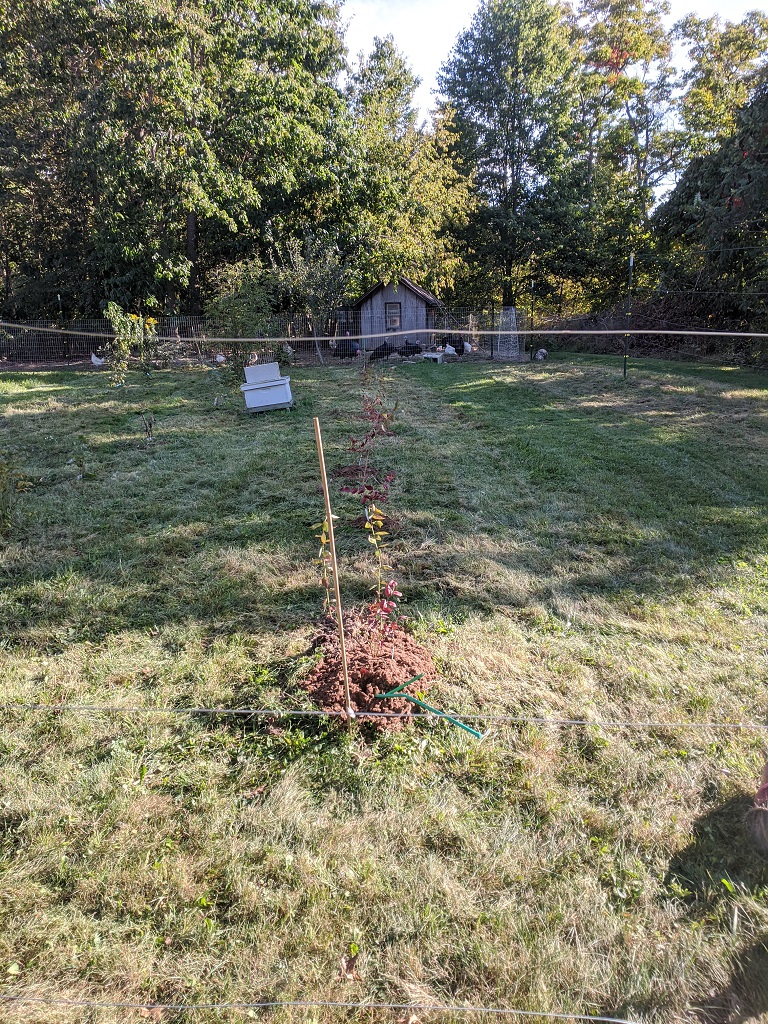
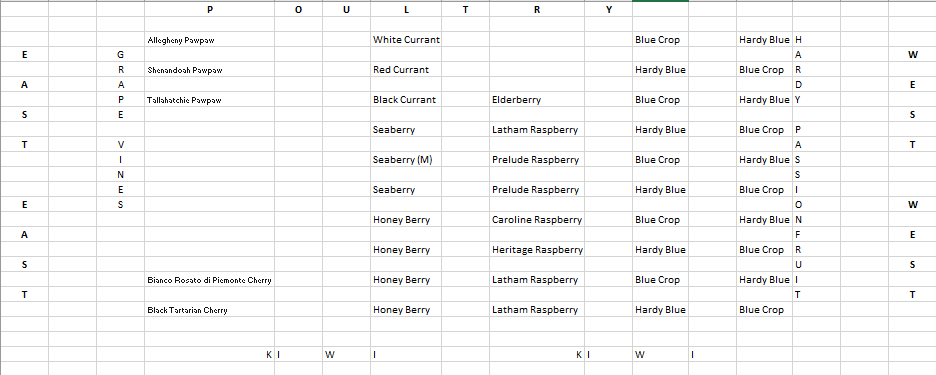
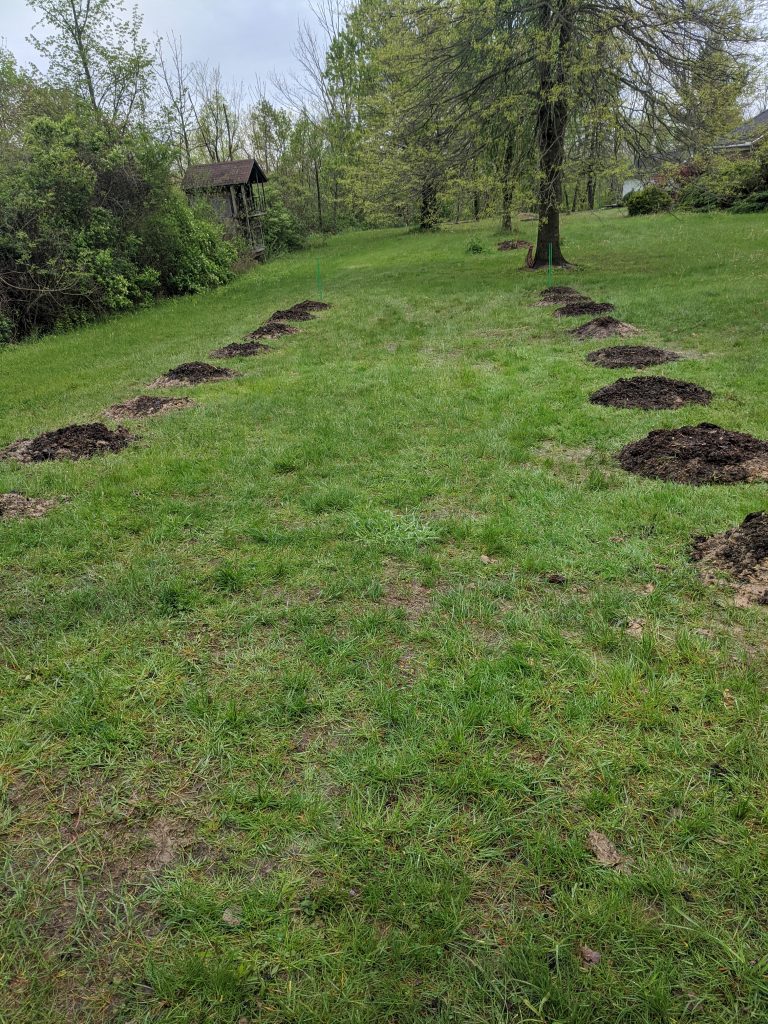
I got our autumn orchard planting done — we’ve got ten blueberries, three seaberries, and three honey berries ready to start growing next year. We’ve got another month or so of not-yet-freezing weather; hopefully the plants have enough time to get their roots set in the ground.
Tag: blueberry
Blueberries
Orchard Layout
Blueberry Mud Pies
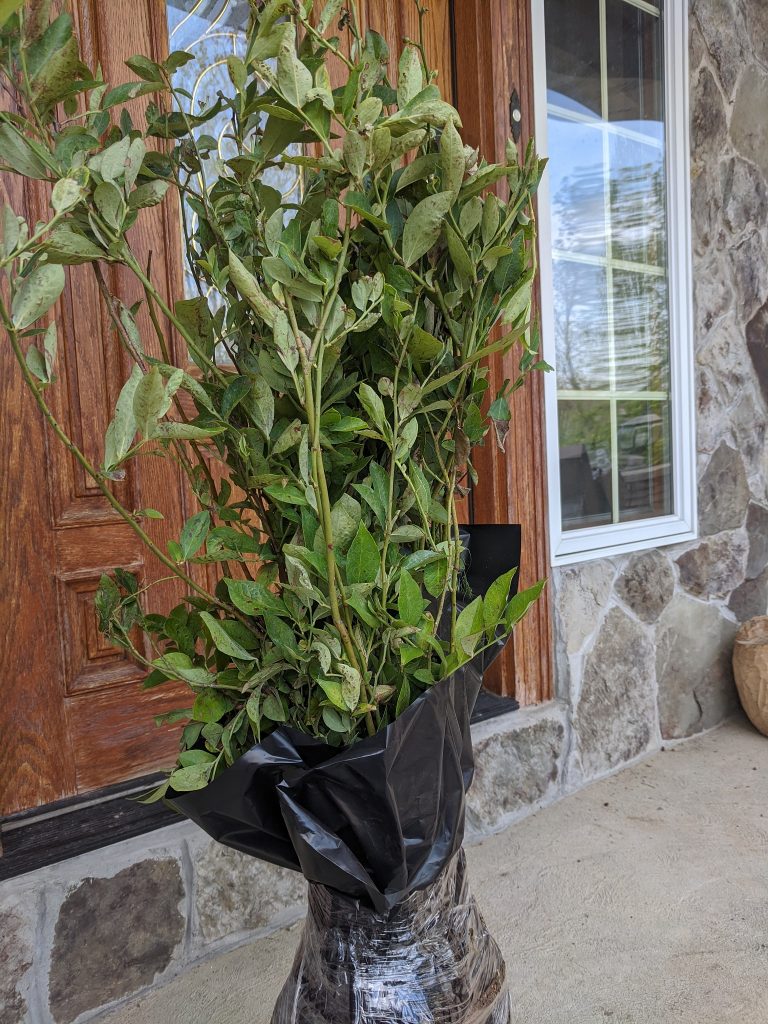
The down side to ordering plants online is that you don’t have much control over when they arrive. I probably wouldn’t purchase a lot of shrubs a few days before a week of rain (I might because it saves watering new plantings … but that’d be some light rain, not a few days where we’ll be getting an inch or so per day). But we found ourselves with the blueberry bushes on Friday and twelve of the next thirteen days in the forecast calling for rain. With Sunday and Monday looking rather torrential.
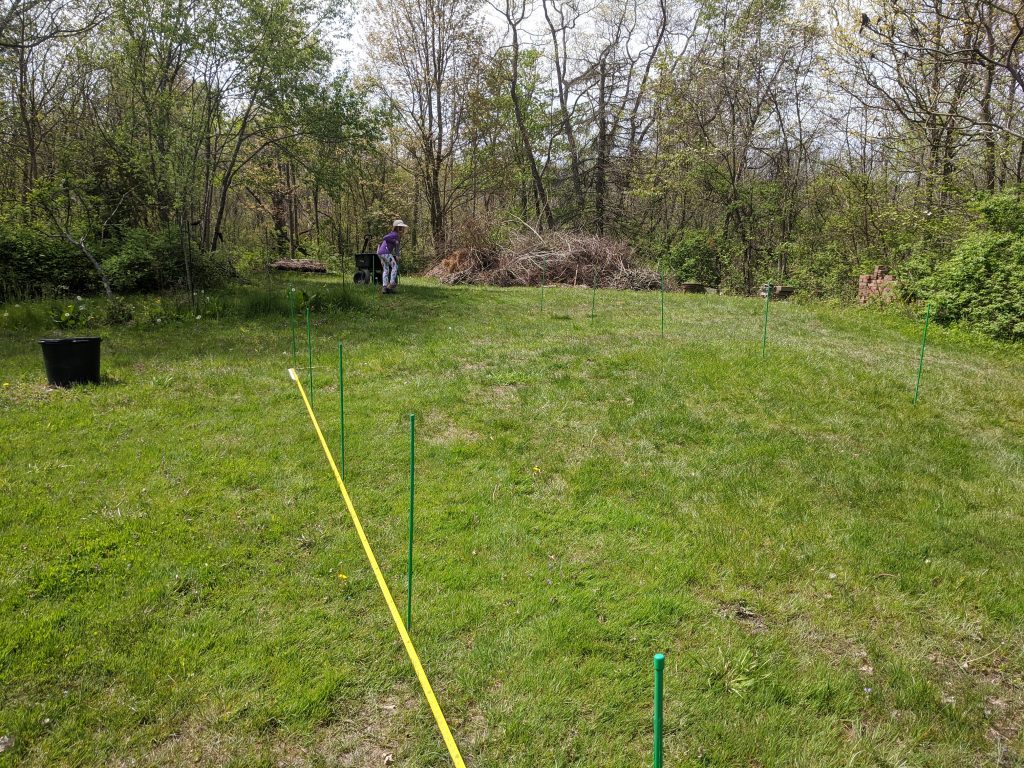
Anya and I staked out where we were going to put plants. We locked a tape measure along the line we wanted for the row and she popped in a stake every 6 feet. And then again every 5.5 feet. The tape measure line let us get straight rows without a bunch of fiddling around.
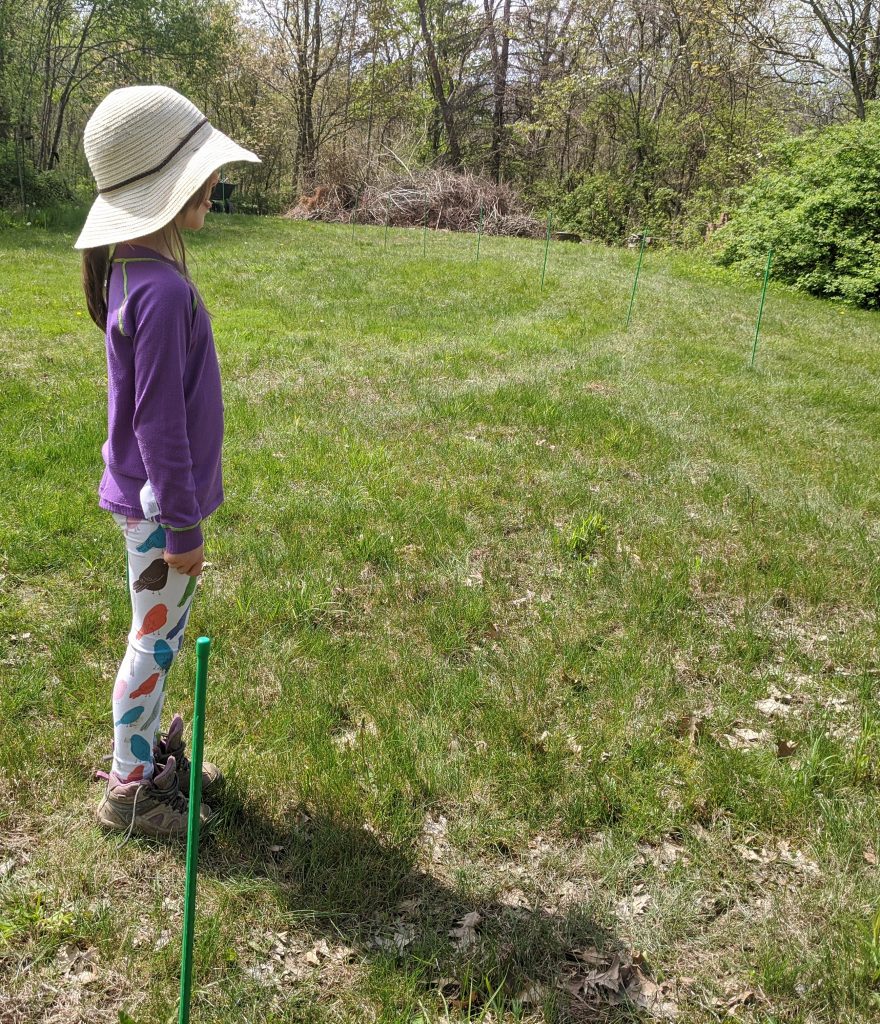
Sometimes Anya was a blueberry plant … so I could see how they’d look once they grew?
The first challenge was figuring out some way to dig twenty holes in the ground — we had planned on renting a tiller from Home Depot (well, we wanted to buy one of those big 70’s beasts, but didn’t find a good price anywhere locally and figured the best prices on tillers are probably later in the year); but, without a truck, that also meant either losing the one sunny day until someone with a truck could help out or renting the truck too. I wondered if an earth auger could be used — seemed like basically the same function, but in a format that fits in the boot of our car. So we hired a one-person gas-powered auger from Home Depot.
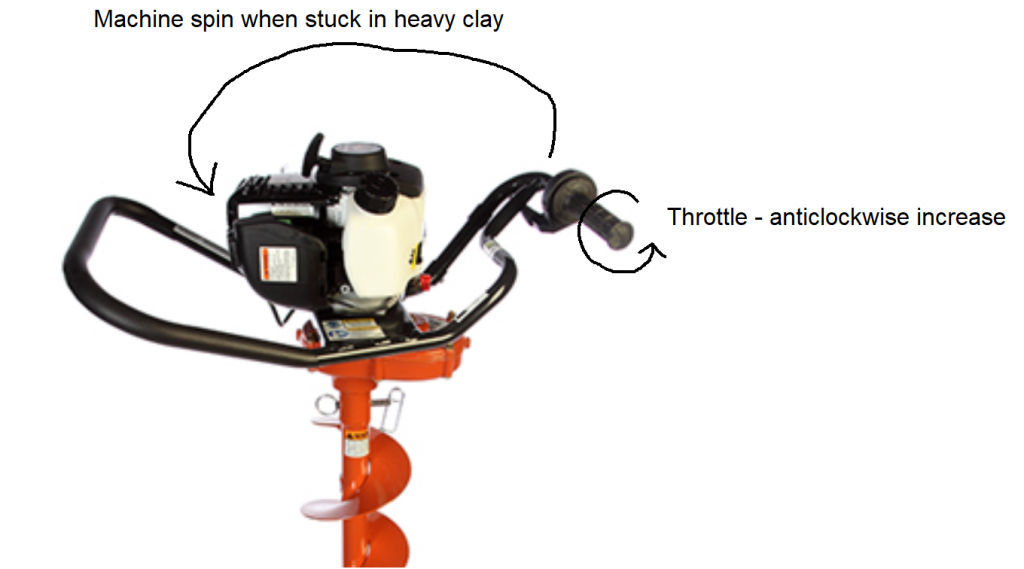
I don’t have any experience in tool design, but industrial design projects in which I’ve participated have all involved both people sitting around and thinking about how the thing should work and prototyping to allow the intended users to test how it works “in the real world”. This auger seems to have skipped one of these steps. The throttle spins anticlockwise to “go”. Unfortunately, the direction of the machine’s spin when the auger bit gets stuck (i.e. the motor cannot turn the bit so the motor component starts spinning instead) means you increase the throttle as the machine rips at your arms. Obviously the idea is to release the thing, and I could see where “let’s increase the throttle when it’s stuck to help it power through that obstacle” might seem like a decent idea in a design meeting. But the real world result, for someone without the upper body strength to just hold the thing in place, is that your arms get whipped around along with the machine, your forearms smash into each other, and the whole thing just hurts. I operated the thing braced against my left hip to prevent its spin and still managed to get banged up.
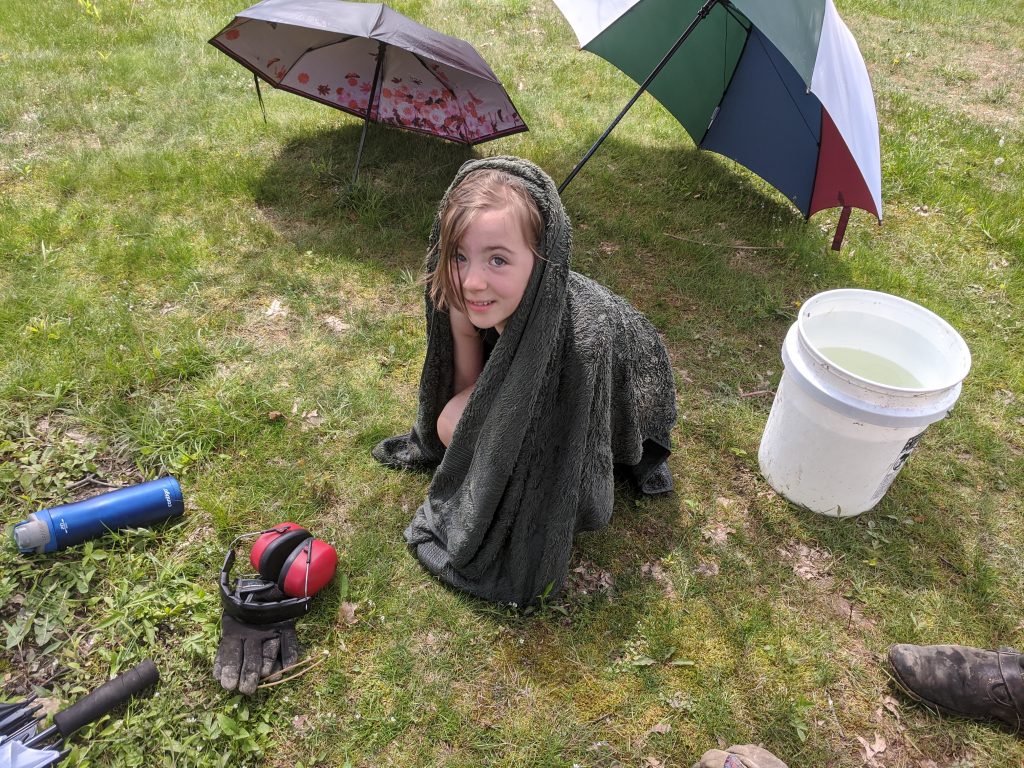
My approach avoided the other design flaw — the exhaust blew directly into Scott’s face when he held it as it was intended to be held. That’s not a great experience when digging holes for a few hours. Design flaws aside, we were able to mangle up the ground for a third hop bed and mix in a bunch of compost pretty well. The auger bit had trouble when the tip is clogged with grass, but Scott was able to lean into it. Once it got into clay, it ripped right through it. Then we started on the blueberry field. We had initially planned on drilling nine holes in a grid for each plant. It took hours. On a overcast-but-still-sunny, 80 degree, humid day. Scott brought a bucket of water and a towel — we took turns boring holes so each of us got some rest/re-hydrate/cool off time, but it was going to take days to do 9 x 20 holes.
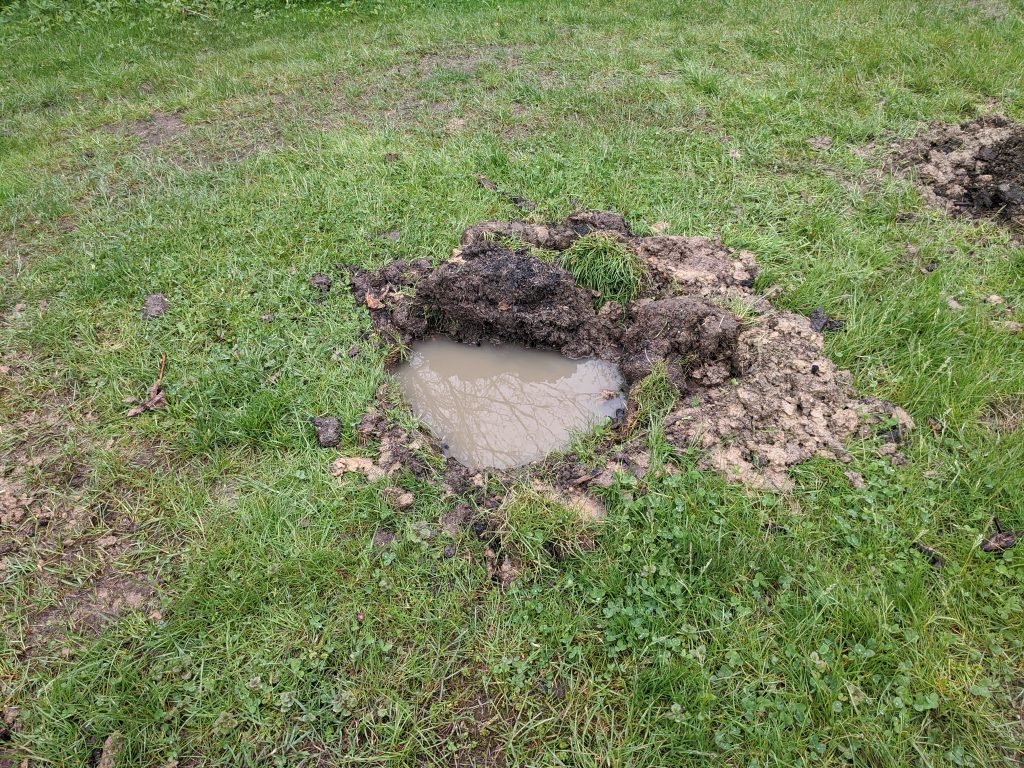
The biggest time suck was getting sod off of the auger bit so you could drill quickly. I wondered if we could dig the center hole and then angle the tool over to widen the hole. That worked wonderfully. We ended up with deeper holes than originally planned — the hole got deeper as the tool ran to widen out the hole — but loosening up more soil isn’t a bad thing. And we could drill around eight holes in the amount of time it took to do a set of nine for one plant. And, bonus, rotating the tool around in the clay cleared off the sod from the initial bore. We finished up just as the rain started and returned the tool. Took a break for a bit, got some dinner, and then hauled some compost over to mix with the clay from the hole. That was a terrible job. The clay was wet and difficult to mix in. We got two holes finished up before dark. And then it rained. And rained. And rained some more. There are standing pools of water in the yard, and each hole turned into a little pond. This, we thought, was going to be a challenge. We’ve got plants that need to get in the ground, so we cannot just wait for the rain to stop, wait another day, and give it a go.
It was actually easier than the just-wet-clay mixing we did on Sunday. Yesterday, we spent hours (6p-10p … so four hours) making the biggest mud pies ever. Used a shovel to clear out the mud that slid into the hole, then took a cart full of compost and threw a few scoops into the pond. Mixed it around, shoved in some clay from around the hole, mixed some more. It was soupy. Added a few shoves of compost and more clay, mixed … repeated a few times, the muddy clay/compost mixture started to thicken up. Water got pushed out of the hole and drained across the yard and over the ridge. And it was an Anya task — she helped me fill the cart with compost and worked on a mud pie of her own.
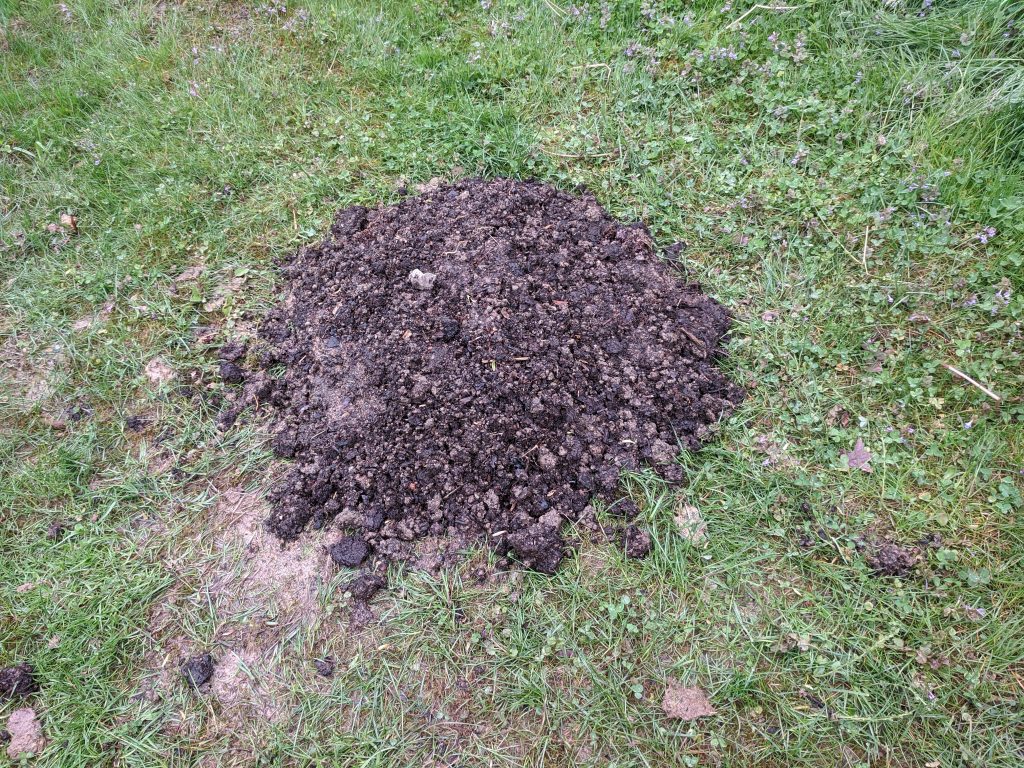
Once all of the clay was mixed with compost, we had nice mounds. The grass was easily scraped clean with a shovel (and rain will certainly get any little bits remaining). Then we topped the mound with a sprinkle of compost. I found a down side to working in water-proof Muck boots — rain that falls into the boot? Doesn’t go anywhere. I spent hours slogging around with a few cups of water inside my shoes! Also found that there are removable insoles, so our insoles are laying out and the boots are upside down in the garage to dry out.
Scott wanted to plant the bushes last night, but I wanted to give it all some time to dry out. By Tuesday morning, the mounds have drained out a little bit and we’ve got nineteen holes ready for blueberries! (we encountered and old root in one hole, so we’ve still got to chop that thing out.
Blueberries!
I’ve wanted to include a lot of permaculture in our home food production. Permaculture is basically creating a continuously agriculturally productive design. Trees, bushes, perennial plants are used to create a garden that is planted once and harvested for decades. I have some hazelnuts planted, and an apple tree from the locus year planting debacle. My idea is to add something every year instead of buying and planting everything in one season.
This year, I’m adding blueberries. In researching the purchase, we wanted to produce fruit this year (or, worst case, next). This meant buying 3 year-old plants. The local nurseries want 35$ per plant for 1-2 year old plants. Which … yeah, we’re not getting a lot of blueberries that way! I found a few places, though, that sell 3 year-old plants for about 14$ a plant (including shipping). I’ve got ten Hardyblue and ten Blueray plants ordered. We’ll have a lot of blueberries (although I’m sure we’ll lose some plants and won’t actually have 20).
In the future, I want to add pawpaw, raspberries, rhubarb, more apple trees, peach trees, and more hazelnuts.
