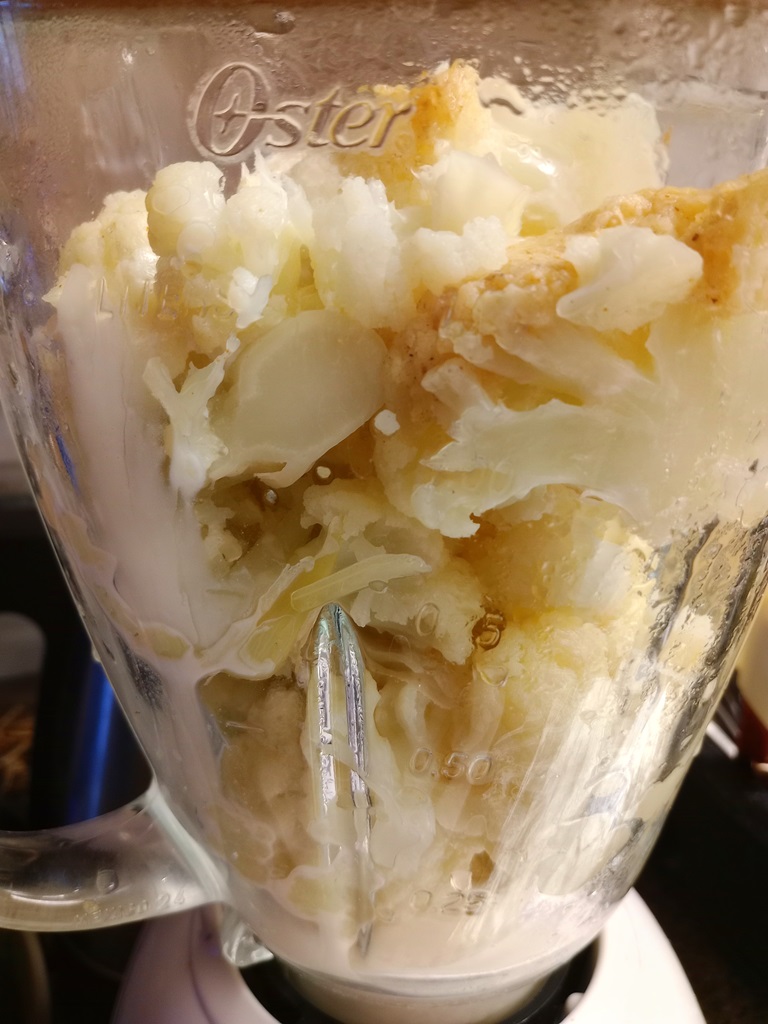
Read Everything

We bought a fabric thing that is 1’x4′ — which seems like it would be the size of the item. It did not fit our one foot by four foot thing … so I measured it and was disappointed to discover it was not quite 4 foot long (it’s about 1/8″ short of one foot as well!). Read through the entire product listing to discover a “dimensions” about eight bullet points down. And it claims it will be 47 3/8″ … pretty much exactly the length I am measuring. So, yeah, read the ten paragraphs of description because sometimes they hide important details in there!

Tech Detox

Anya challenges me, again, not to post tech related “stuff” for 20 days … no snow, ice, or similar items (I guess no rain?). So … umm … rubbish bins? We got a lot of rubbish bins to help with the farm house cleanup project.

Deer invasion!

When we pulled into the driveway today, there were two deer at the edge of our lawn. And then there were three, four, and five deer. Not sure if they started going down the ravine and changed their mind or were coming up when we got home and startled them.

Authenticating WebLogic Admin Console with SAML 2.0 and PingID

Log into your console. Navigate to “Security Realms” and click on your admin console’s realm – here “myrealm”

A screenshot of a computer

AI-generated content may be incorrect.

From the first row of tabs, select “Providers”. On the second row of tabs, ensure you are on “Authentication”. Click “New” to create a new identity asserter.

A screenshot of a computer

AI-generated content may be incorrect.

Provide a name – here, it is called SAML_IA – and ensure the type is “SAML2IdentityAsserter”

A screenshot of a computer

AI-generated content may be incorrect.

Click OK to create the item. Then click the “New” button again to create a new SAML Authenticator

A screenshot of a computer

AI-generated content may be incorrect.

Restart the WebLogic server, then navigate to “Environment” => “Servers” and select the AdminServer

A screenshot of a computer

AI-generated content may be incorrect.

On the first row of tabs, select “Configuration”, on the second row of tabs, select “Federation Servies”, and on the third row of tabs select “SAML 2.0 General”

The published site URL will be your WebLogic host base followed by /saml2

Provide a unique entity ID that needs to match up with what we configure in PingID. Here, I used “LJRWebLogic”

A screenshot of a computer

AI-generated content may be incorrect.

Save the changes and then use the “Publish Metadata” button to save a metadata file that I will use with PingID. You will be saving an XML file

A close up of a text

AI-generated content may be incorrect.

Now select the “SAML 2.0 Service Provider” tab on the third row of tabs. Click “Enabled” to enable the service provider. POST binding should be enabled, but we do not need Artifact binding enabled. Click “Save” to save the changes.

A screenshot of a computer

AI-generated content may be incorrect.

Navigate back to “Security Realms” and select your realm. On the first row of tabs, select “Providers”; on the second row of tabs, select “Authentication”. Click the hyperlink for “SAML_IA”

A screenshot of a computer

AI-generated content may be incorrect.

Click the “Management” tab

A screenshot of a computer

AI-generated content may be incorrect.

You will be provided a metadata file from PingID. Place that somewhere on your server (I used /tmp). Click “New” and then select “New Web Single Sign-On Identity Provider Partner”

A screenshot of a computer

AI-generated content may be incorrect.

Navigate to the metadata file and select it. Provide a name for the identity provider – here, I used PingID. Cilck “OK” to import the PingID details.

A screenshot of a computer

AI-generated content may be incorrect.

Click on the new entry to configure it

A screenshot of a computer

AI-generated content may be incorrect.

Click “Enabled” to enable the Identity Provider. The redirect URIs should be /console/*

A screenshot of a computer

AI-generated content may be incorrect.

Finally, on the WebLogic Server Admin Console, navigate to the domain name -> [Configuration] -> [General] and expand the [Advanced] link

Update cookie name in WLS admin console to be JSESSIONID.

A screenshot of a computer

AI-generated content may be incorrect.

Save the changes and restart the WebLogic server. Navigating to the console, here https://docker.rushworth.us:7001/console, will direct the user to PingID for authentication and then redirect the user’s browser back to the WebLogic server. Looking in the upper right corner of the screen, they will see they are logged in with their directory ID.

A close-up of a computer code

AI-generated content may be incorrect.

Note: You can still access the local authentication dialog by navigating directly to console/login/LoginForm.jsp – e.g. http://docker.rushworth.us:7001/console/login/LoginForm.jsp — but the “normal” URL will redirect users to PingID

Note Also: There needs to be some step here to map PingID users to a role in WebLogic

Failing to do so, you will complete the PingID authentication but be denied access to the WebLogic Admin Console:

A white box with black text

AI-generated content may be incorrect.