After a recent merger, we have added federated authentication in our PingFederate environment that allows the incoming company to continue to use their Entra (ADFS) logon process to authenticate through PingFederate. All of the IDs exist in our directory, and contract attributes are populated based on the local account. But the authentication is handled by their existing system. It’s really cool, and works for 99.9% of the applications. One, however, was not happy with the resultant attribute contract. It worked fine for me, logging in directly with PingFederate. Anyone who authenticated through Entra, however, got a very specific error:
AuthenticatingAuthority array contains a value which is not a wellformed absolute uri
And, yes, I concur – there is absolutely an element in the AuthenticatingAuthority array that is not a well-formed absolute URI

Luckily, there appears to be a solution. On the ACS URL tab, select “Show Advanced Customizations”
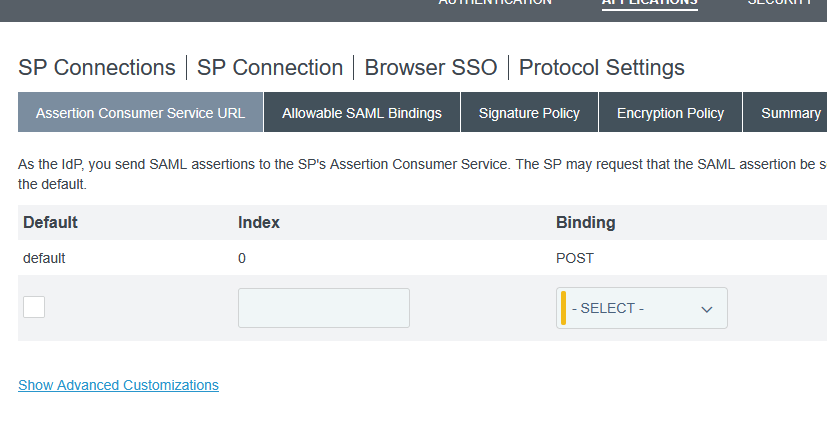
Use the drop-down to select the message type of “AssertionType” and the expression provided at https://support.pingidentity.com/s/article/OGNL-Examples-Message-Customization#rm-authauthority to remove authenticating authority values when multiple are present (which also works when only one is present)

Now I no longer have authenticating authorities but the AuthnContextClassRef is “urn:oasis:names:tc:SAML:2.0:ac:classes:Telephony” … so, in the assertion creation, we need to add SAML_AUTHN_CTX to the attribute contract
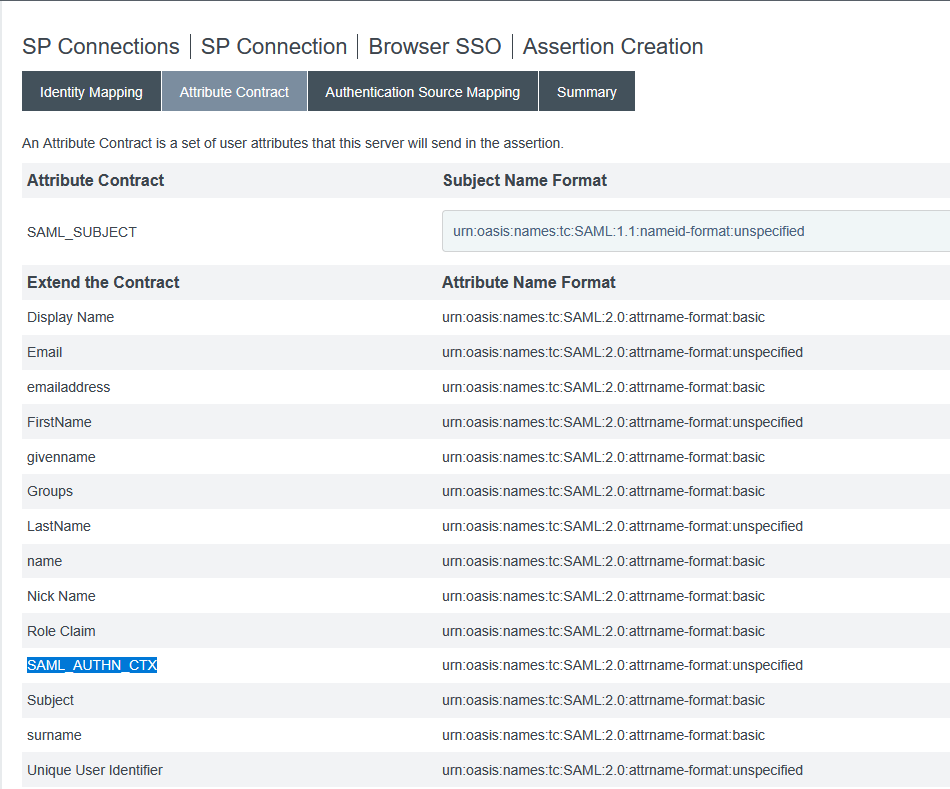
In the attribute contract fulfillment, map this to a static TEXT string – I am using “urn:oasis:names:tc:SAML:2.0:ac:classes:unspecified” which is used as the default in PingFederate

Final Answer! I have an AuthnContext that does not contain any invalid URI strings and a AuthnContextClassRef that is expected.