This document assumes:
Azure CLI is installed (https://learn.microsoft.com/en-us/cli/azure/install-azure-cli-linux)
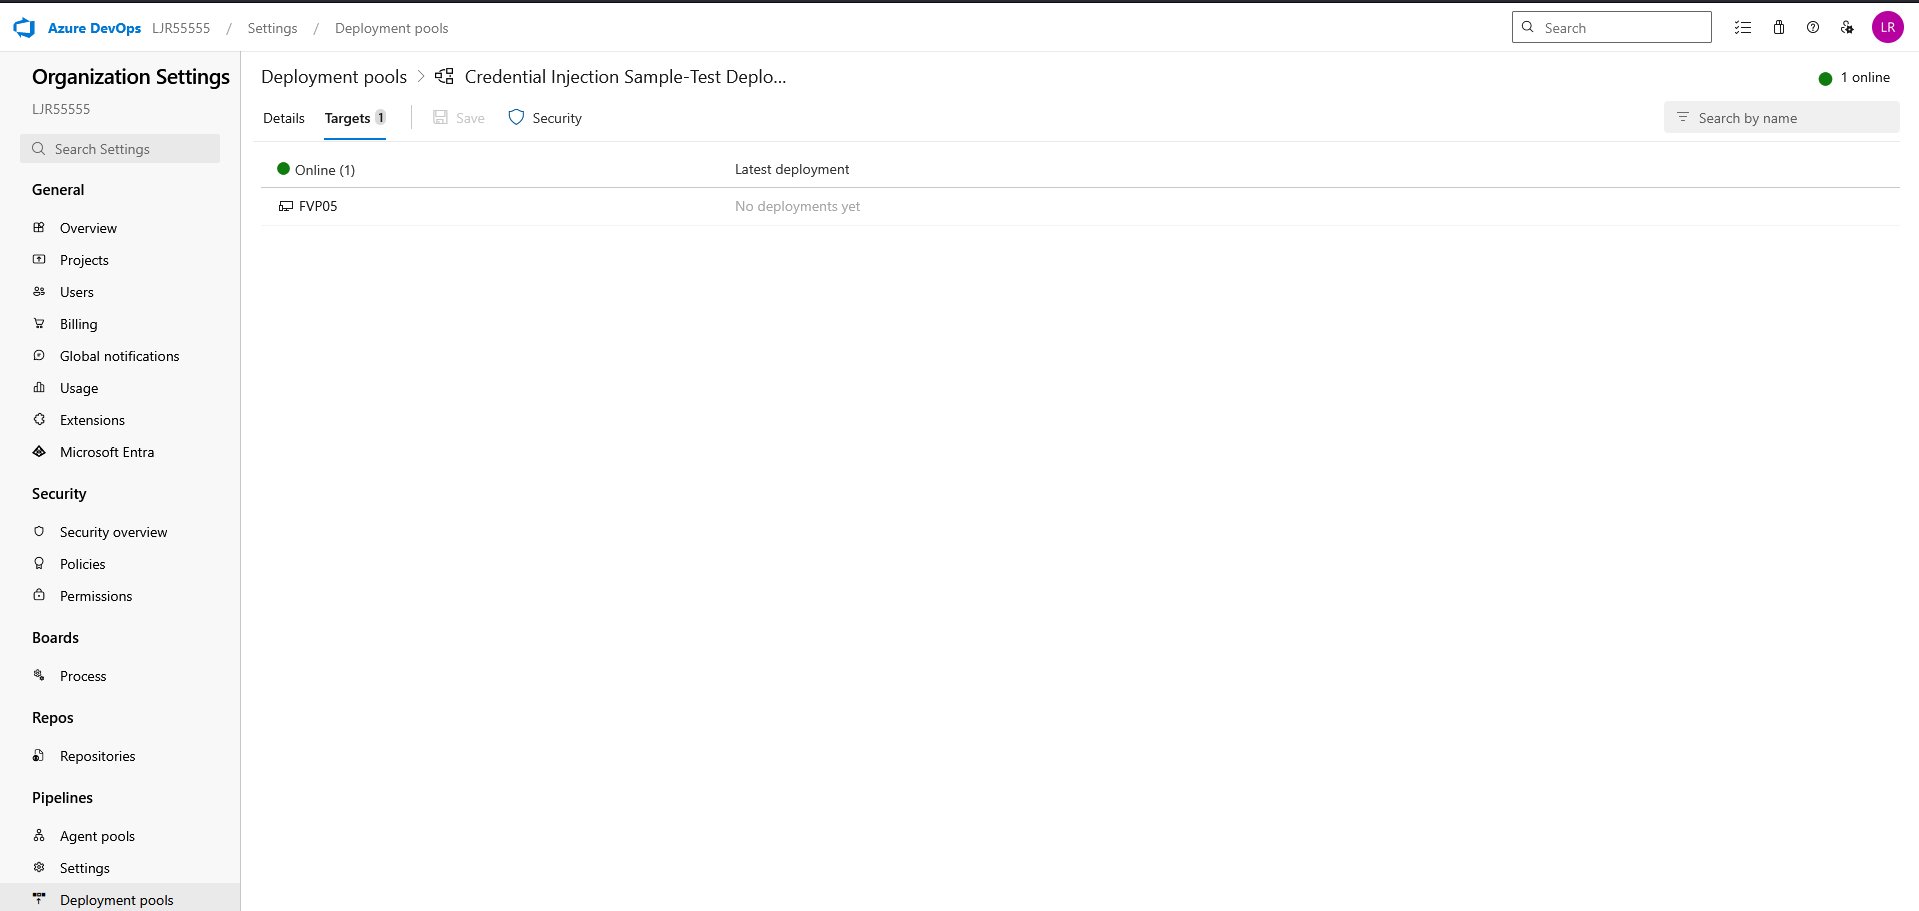
You already have an agent pool with online agent in a deployment pool
And, finally, that you have a pipeline deployment that uses a static keystore. We will be replacing that static keystore file with one obtained from the Azure Key Vault.
First, ensure the Azure DevOps service connection used by the pipeline has access to LJRVenafiTestKeyVault with at least:
- Secrets: Get, List
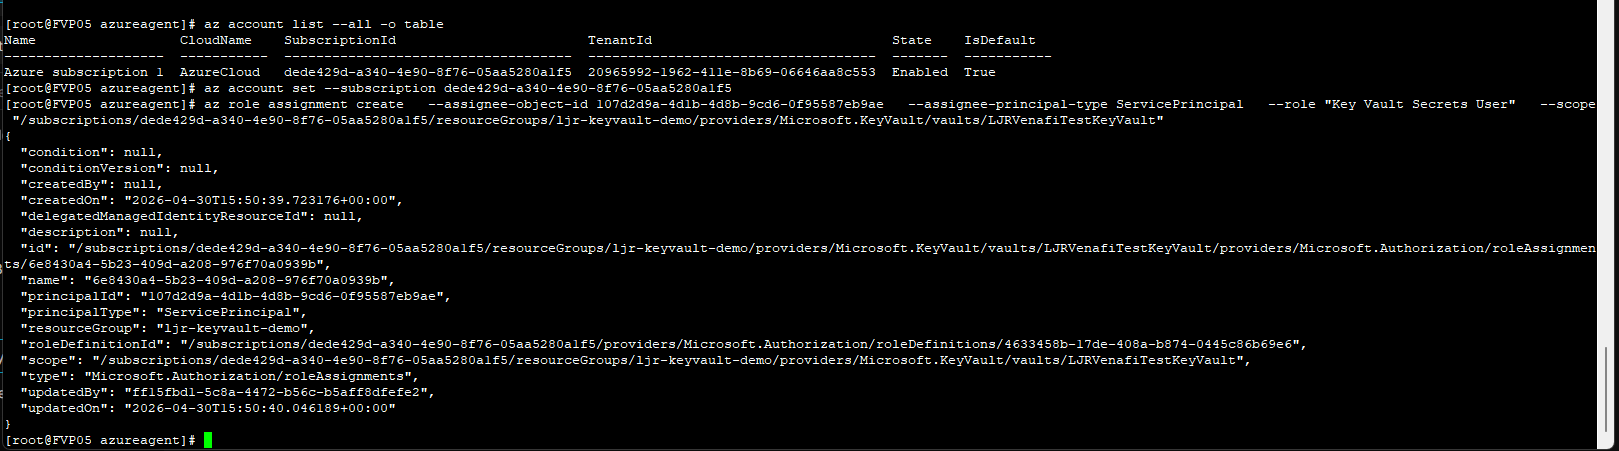
From the Azure command line, e.g.
az role assignment create –assignee-object-id 107d2d9a-4d1b-4d8b-9cd6-0f95587eb9ae –assignee-principal-type ServicePrincipal –role “Key Vault Secrets User” –scope “/subscriptions/dede429d-a340-4e90-8f76-05aa5280a1f5/resourceGroups/ljr-keyvault-demo/providers/Microsoft.KeyVault/vaults/LJRVenafiTestKeyVault”
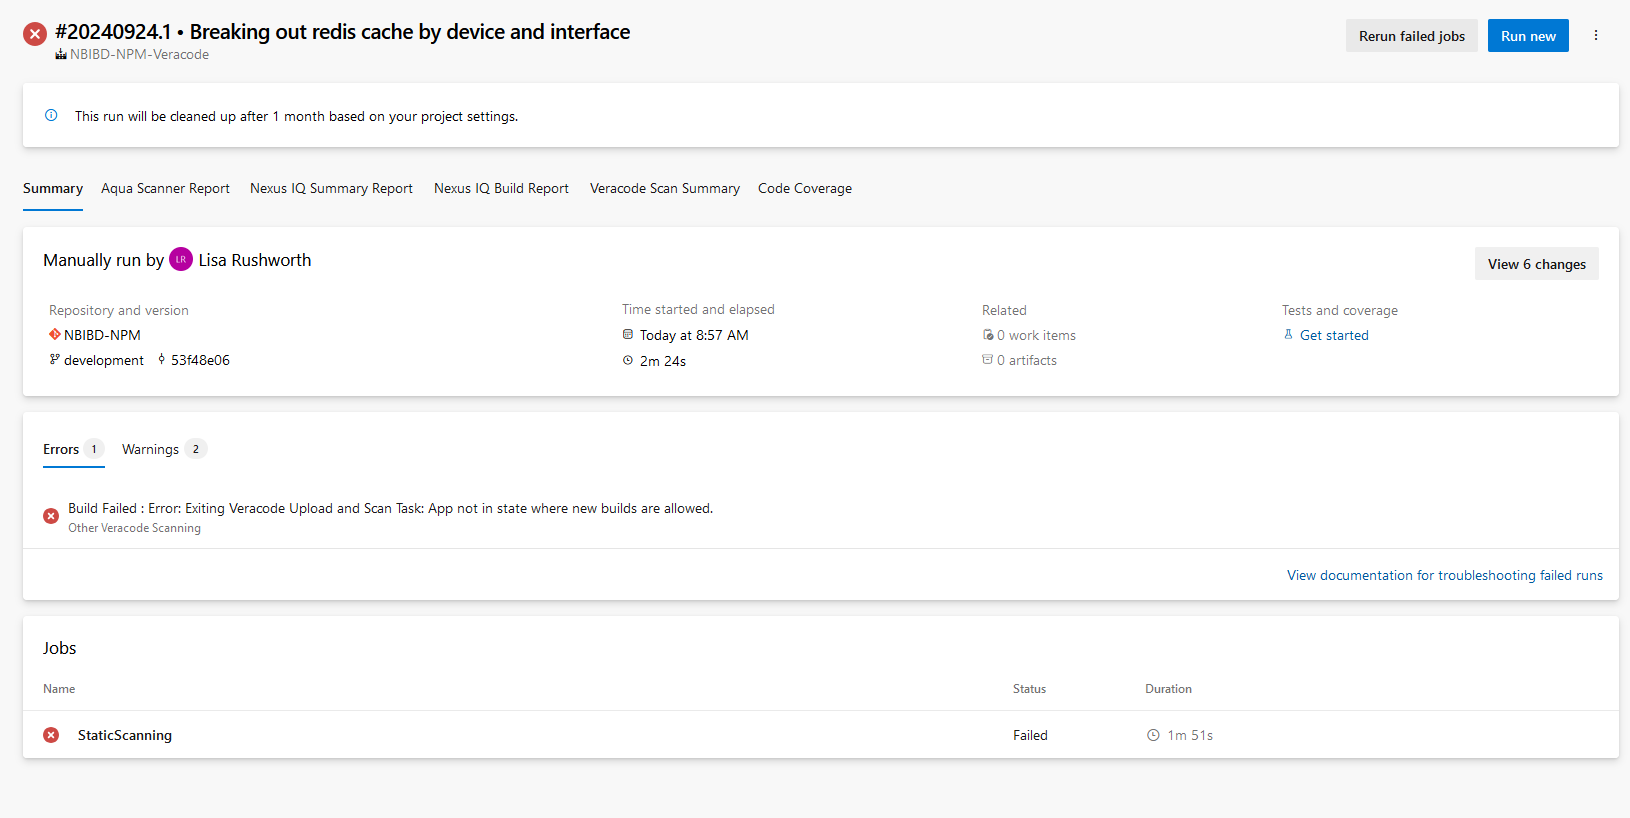
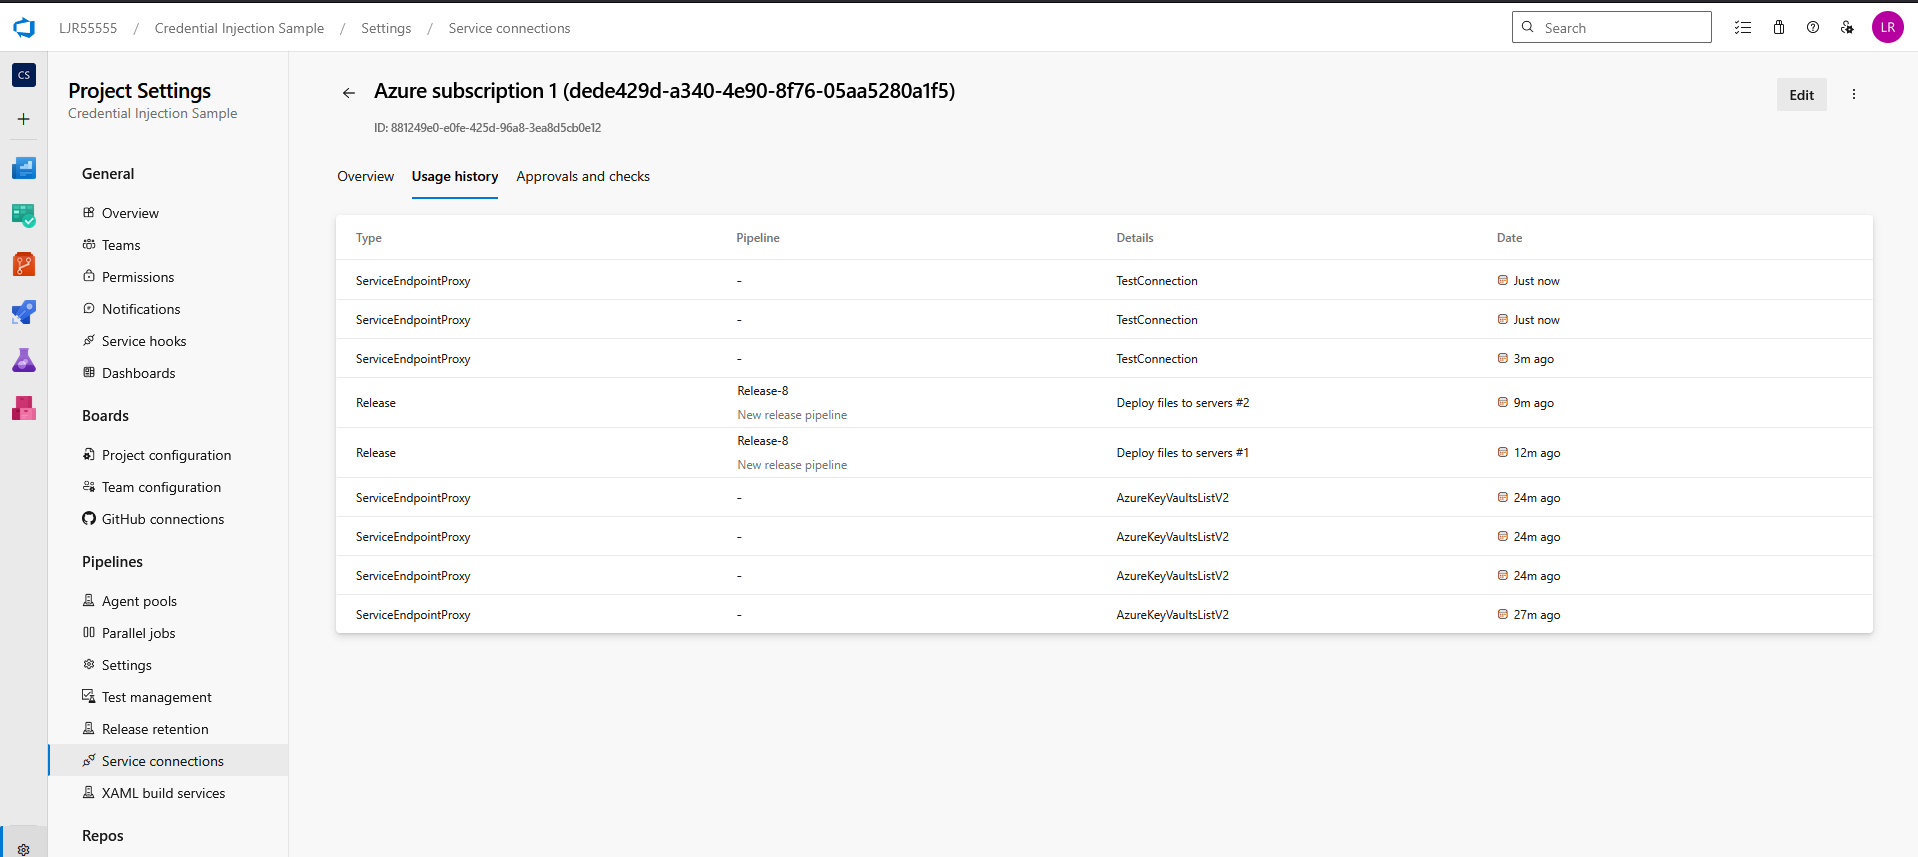
If you do not know which service connection is being used, update and run the pipeline. It will fail with a permission error, but the service connection’s usage history will reflect the release pipeline’s use:
Update your pipeline to retrieve the certificate from the Azure KeyVault. Add an Azure CLI task using an inline script
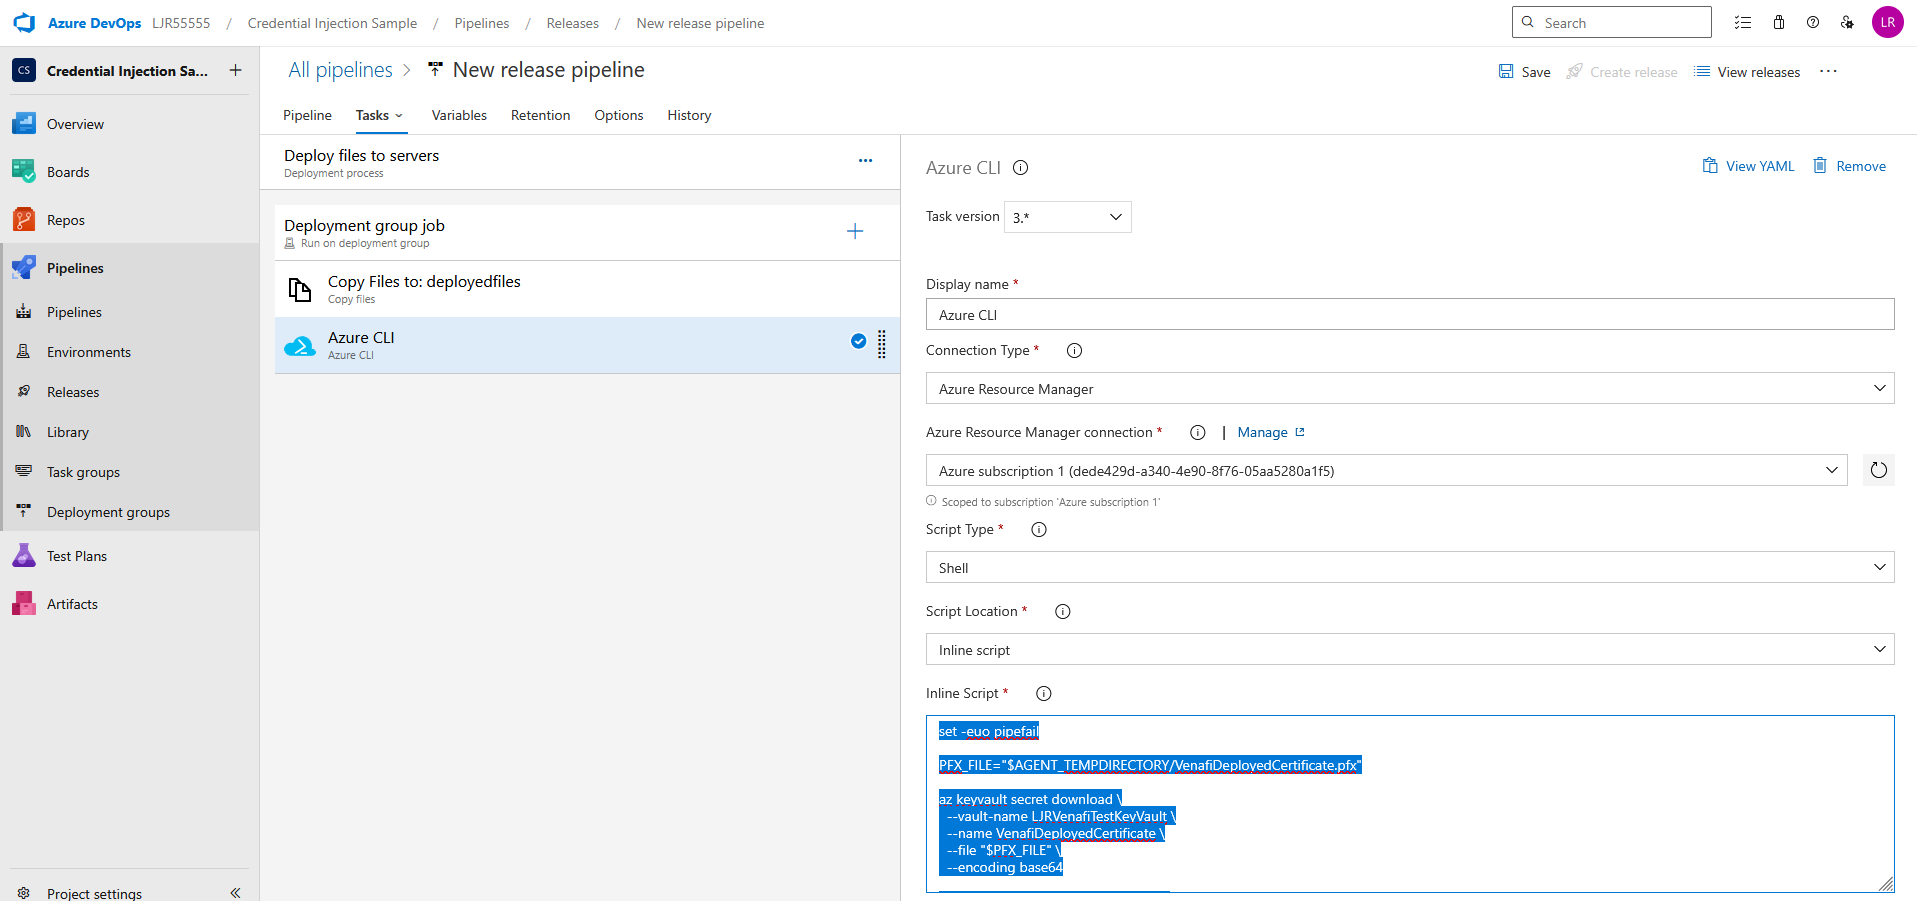
set -euo pipefail
PFX_FILE=”$AGENT_TEMPDIRECTORY/VenafiDeployedCertificate.pfx”
az keyvault secret download \
–vault-name LJRVenafiTestKeyVault \
–name VenafiDeployedCertificate \
–file “$PFX_FILE” \
–encoding base64
echo “Downloaded PFX to $PFX_FILE”
echo “##vso[task.setvariable variable=PFX_PATH]$PFX_FILE”
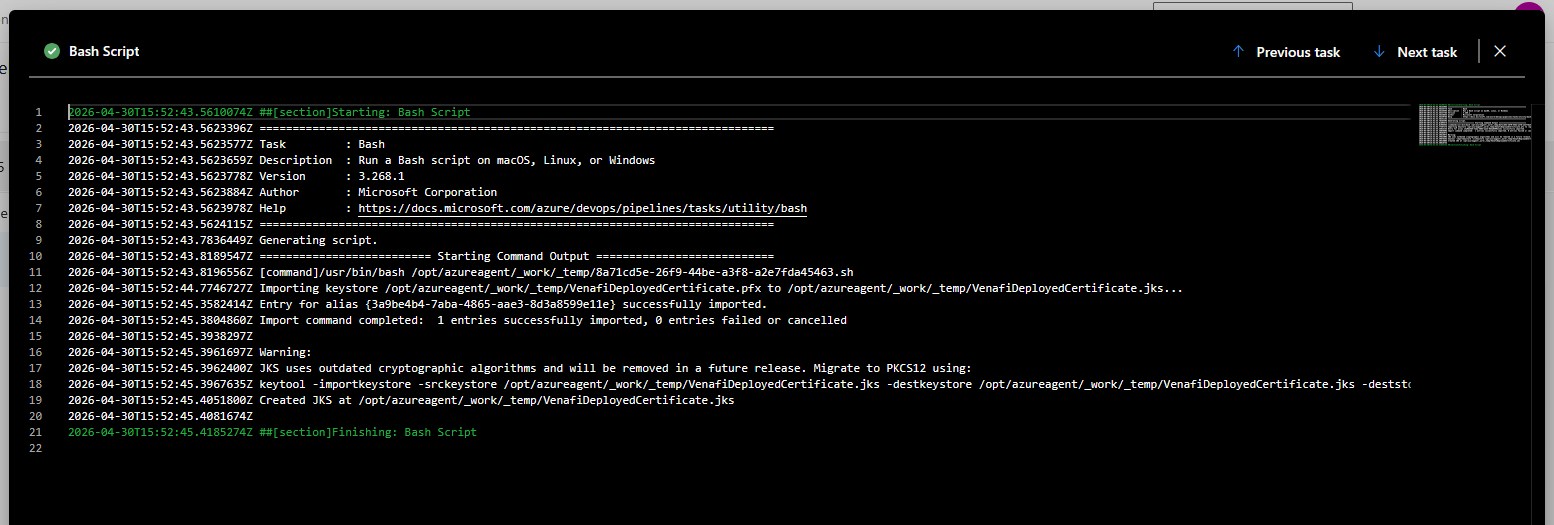
If you need a JKS file, add an additional bash task with an inline script
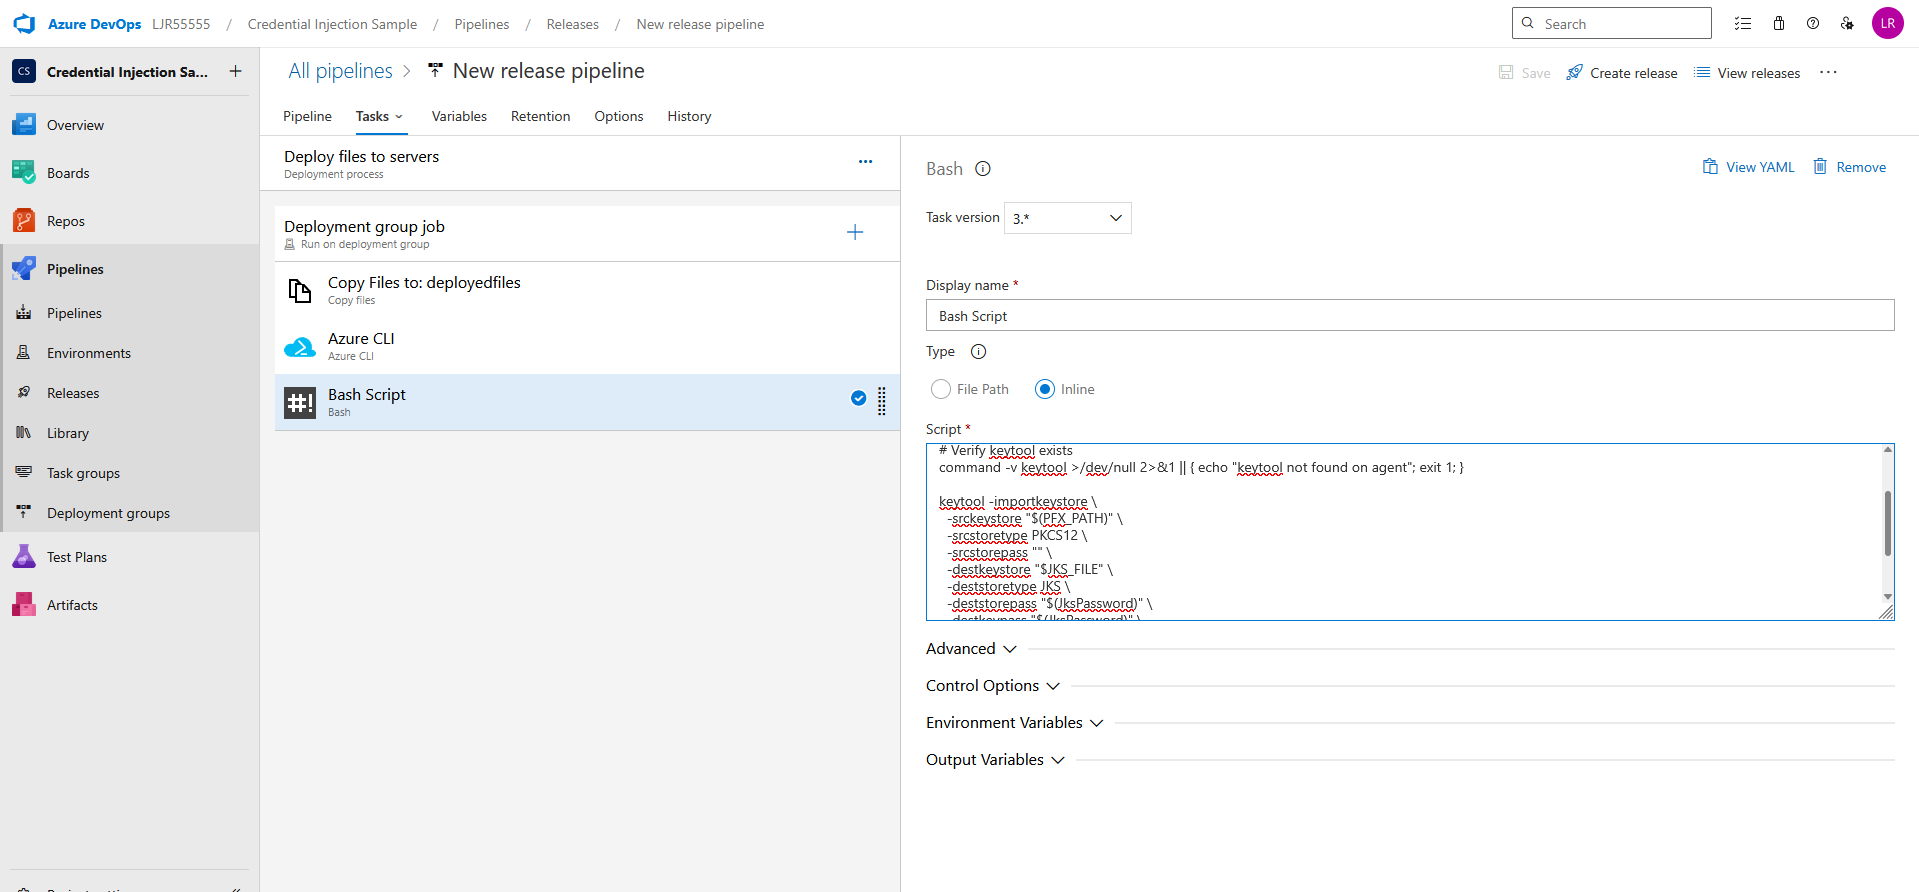
set -euo pipefail
JKS_FILE=”$AGENT_TEMPDIRECTORY/VenafiDeployedCertificate.jks”
# Verify keytool exists
command -v keytool >/dev/null 2>&1 || { echo “keytool not found on agent”; exit 1; }
keytool -importkeystore \
-srckeystore “$(PFX_PATH)” \
-srcstoretype PKCS12 \
-srcstorepass “” \
-destkeystore “$JKS_FILE” \
-deststoretype JKS \
-deststorepass “$(JksPassword)” \
-destkeypass “$(JksPassword)” \
-noprompt
echo “Created JKS at $JKS_FILE”
echo “##vso[task.setvariable variable=JKS_PATH]$JKS_FILE”
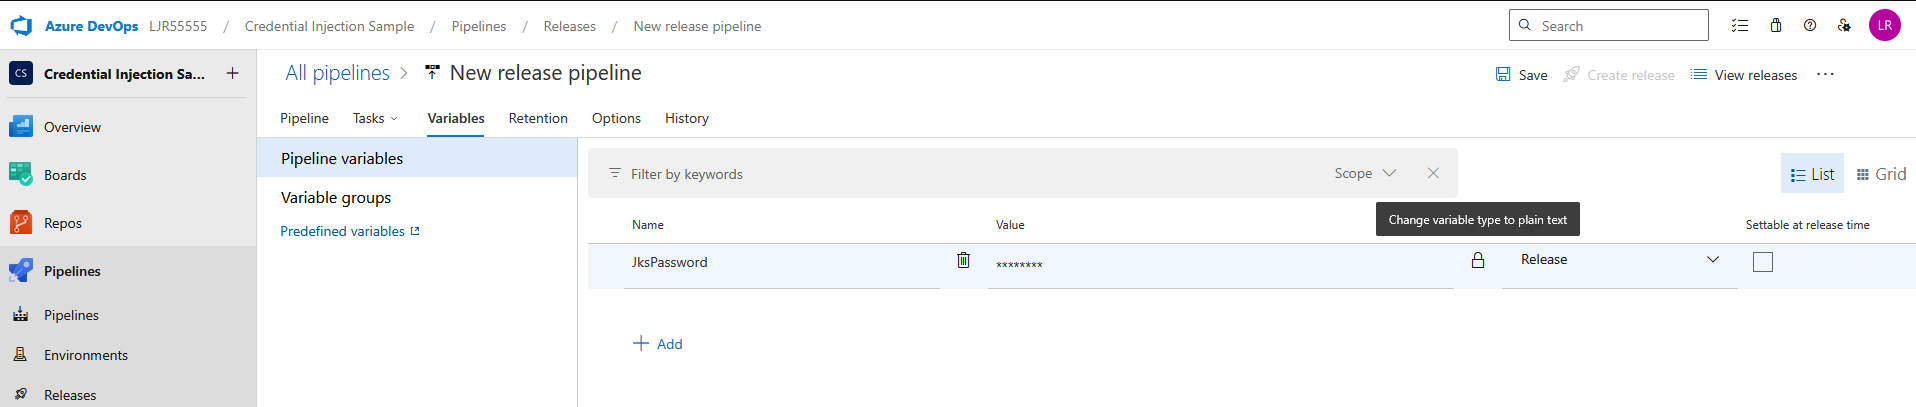
Add a pipeline variable for the JKS Password – make sure to click the lock icon to protect the password
And, finally, add a bash task task to copy the JKS or PFX file to the proper place on the server
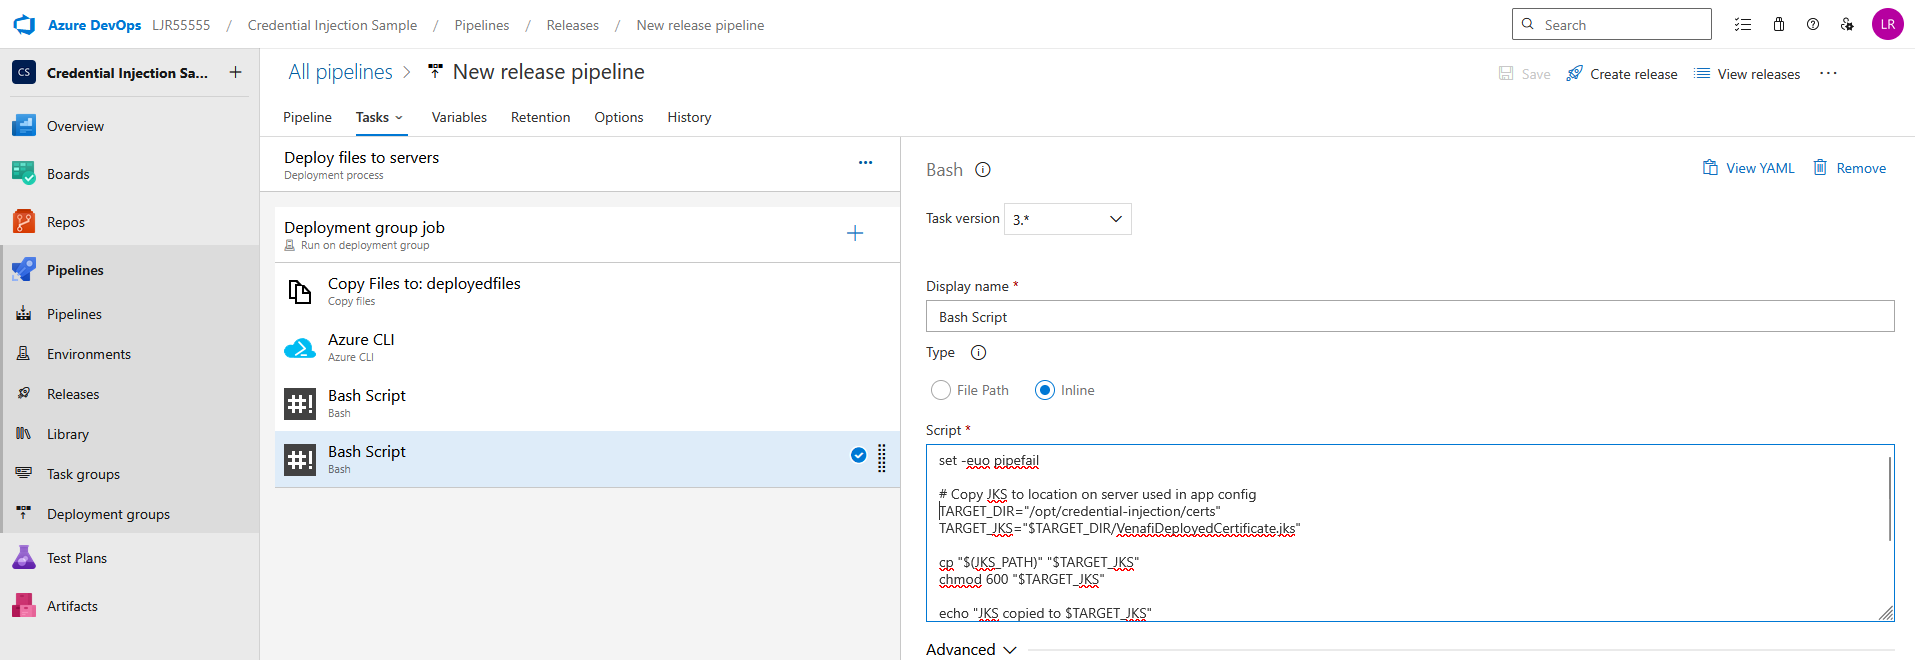
set -euo pipefail
# Copy JKS to location on server used in app config
TARGET_DIR=”/opt/credential-injection/certs”
TARGET_JKS=”$TARGET_DIR/VenafiDeployedCertificate.jks”
cp “$(JKS_PATH)” “$TARGET_JKS”
chmod 600 “$TARGET_JKS”
echo “JKS copied to $TARGET_JKS”
# Or copy pfx to location on server used in app config
TARGET_PFX=”$TARGET_DIR/VenafiDeployedCertificate.pfx”
cp “$(PFX_PATH)” “$TARGET_PFX”
chmod 600 “$TARGET_PFX”
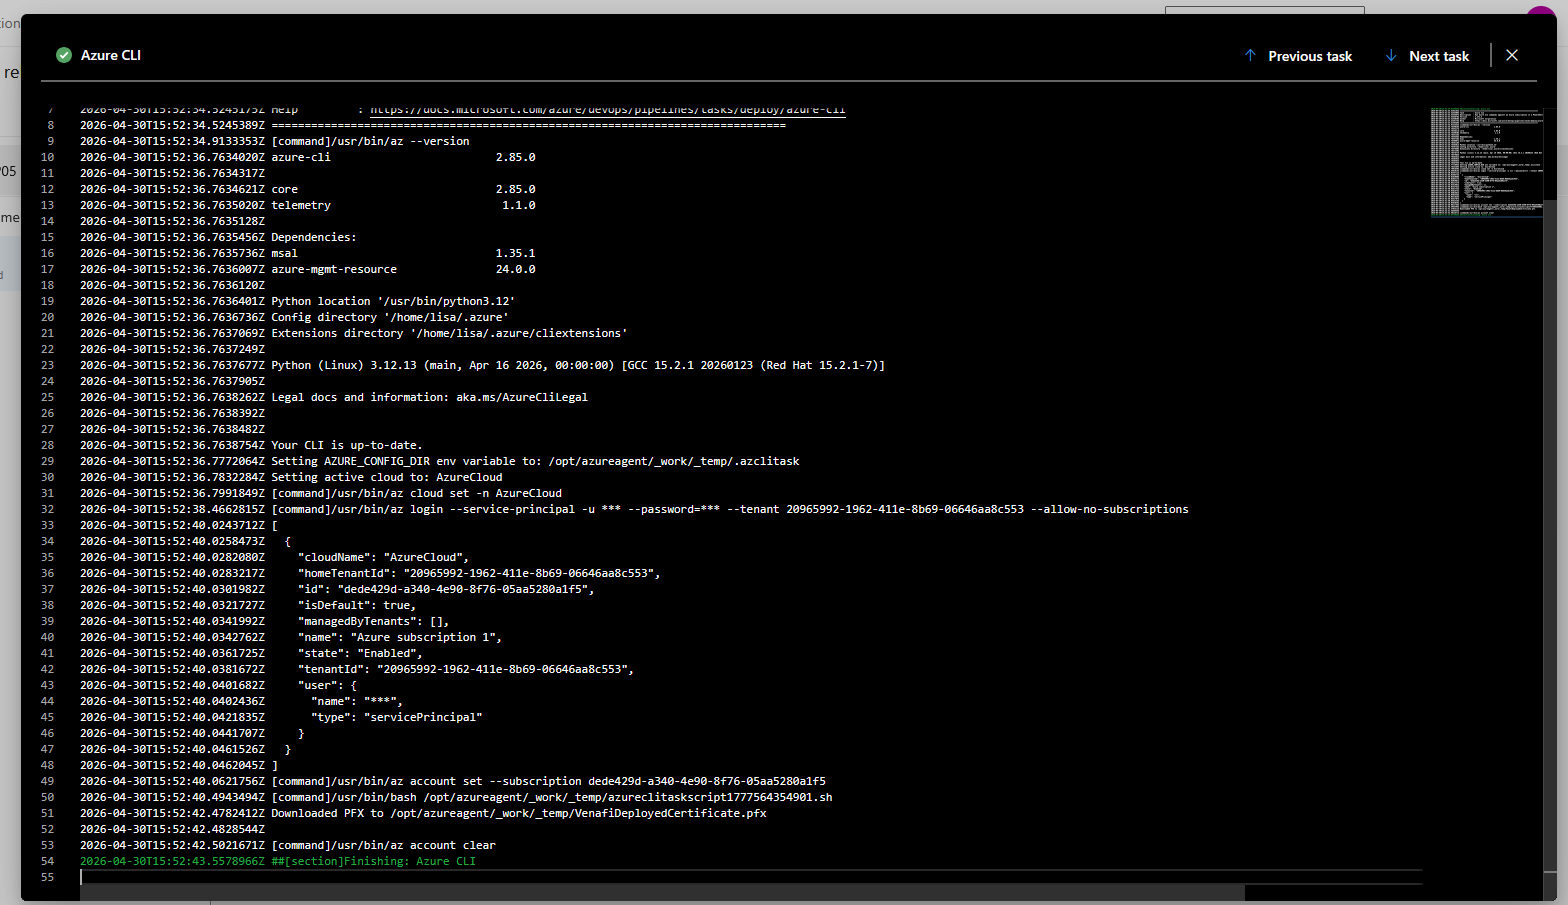
Create a release to run the pipeline. Looking at the logs, you should see a confirmation that the pfx file was created
And, if you are creating a JKS file, a confirmation that it was created as well
You should also see the certificate file(s) on the server: