Microsoft Forms offers a nice mechanism for collecting survey results, and I often post Forms links to my Teams chats and meetings. But that means I’ve planned for the survey – it takes some time to build the survey, after all! For ad hoc surveys, I’ve been using a third-party Teams app, Polly. Unfortunately, Polly isn’t an approved place for storing company information … so while I’m happy to ask where people want to get lunch or if anyone needs a quick break, I don’t want to ask questions that contain company proprietary information.
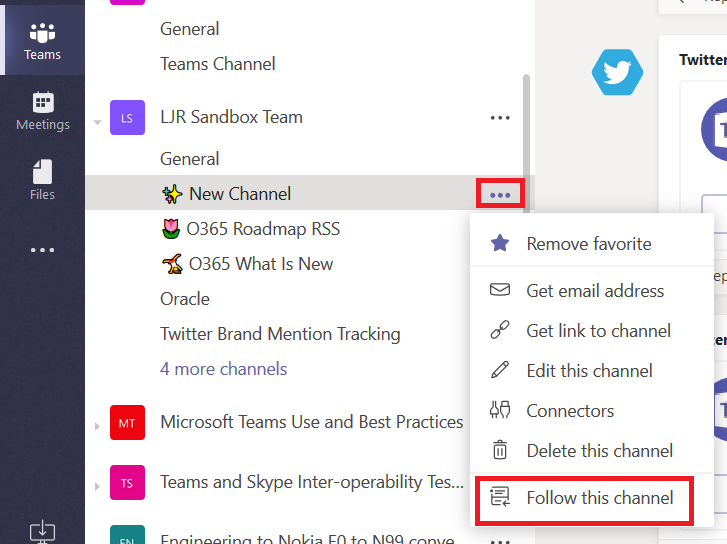
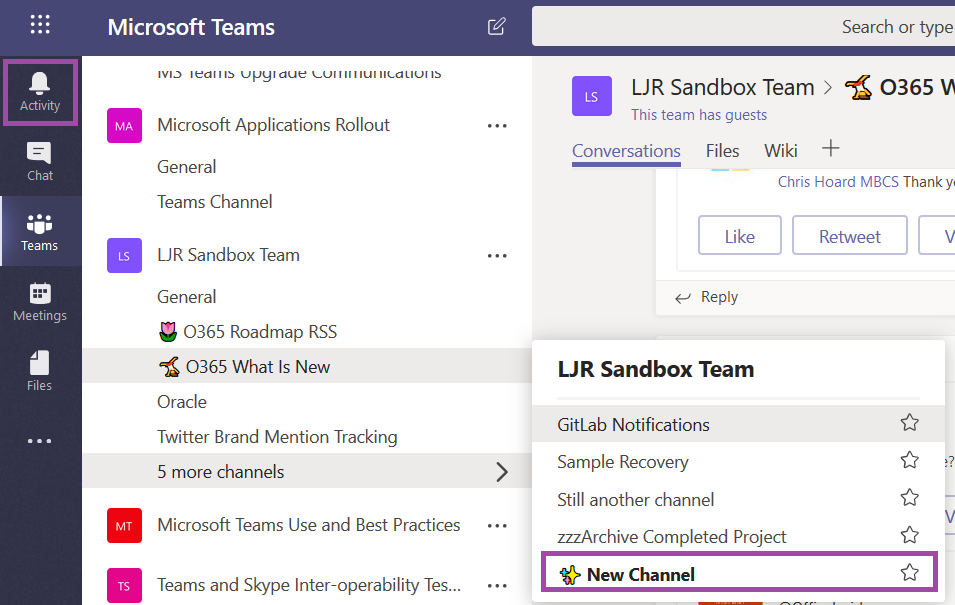
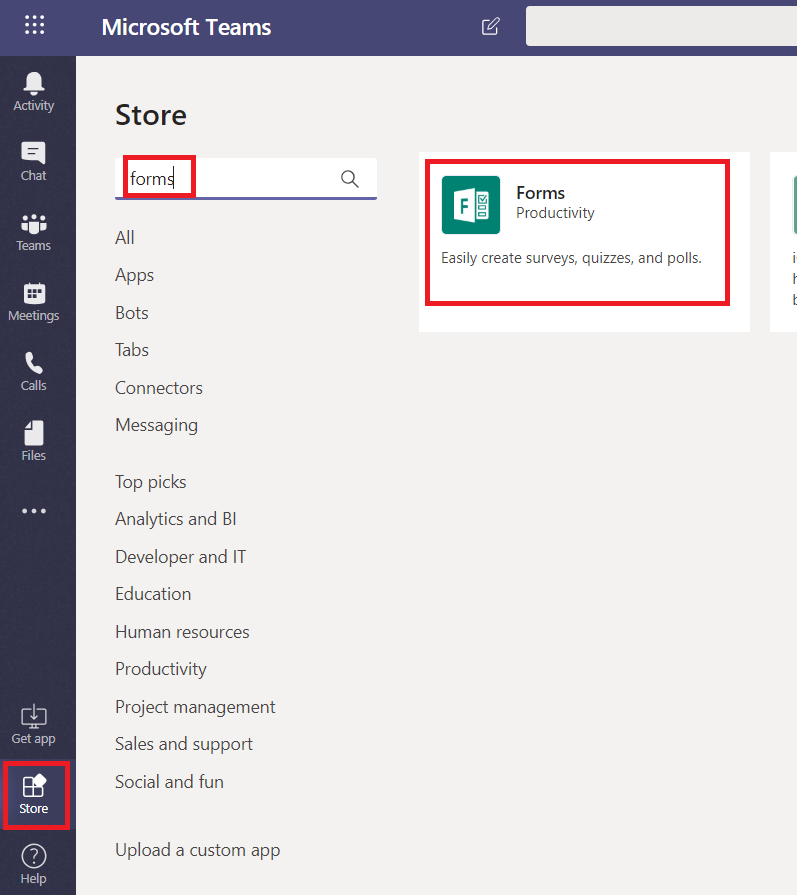
Forms has a Teams bot that quickly creates a quick one-question survey. You’ll need to have Forms installed in your Teams space. Click on the “Store” icon, search for Forms, and select Microsoft’s Forms.
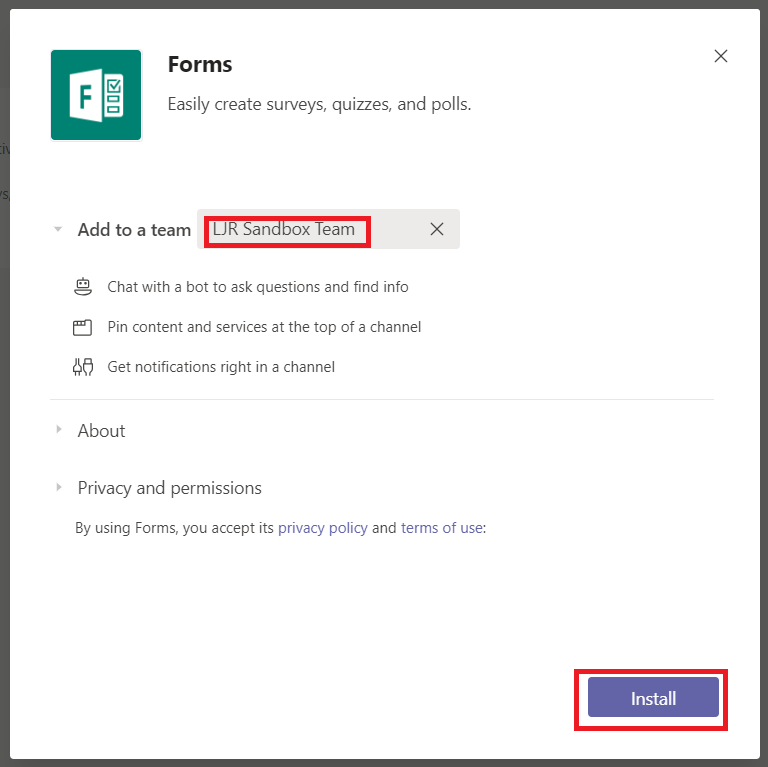
Select the name of the Team to which you want to add Forms and click “Install”.
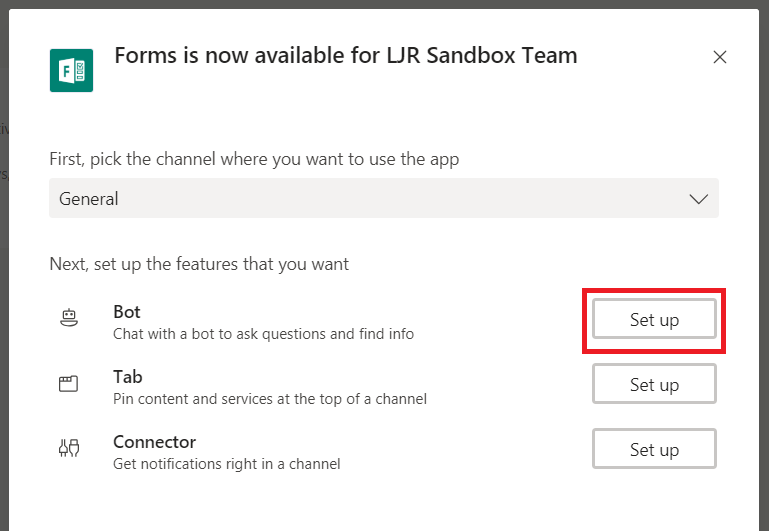
Click “Setup” next to “Bot” to add the forms bot to your Teams space.
Now you can at-mention Forms and create a quick one-question survey. ** This works fine if you are using the Teams desktop client. In the Teams web client, adding the question removes the at-mention link (the @Forms text changes from purple to black). To create quick forms in the web client, I have to type the question/answer bit first, then hit ‘home’ to get to the front of the message and add @Forms **

Help will be displayed to remind you of the question/answer format.
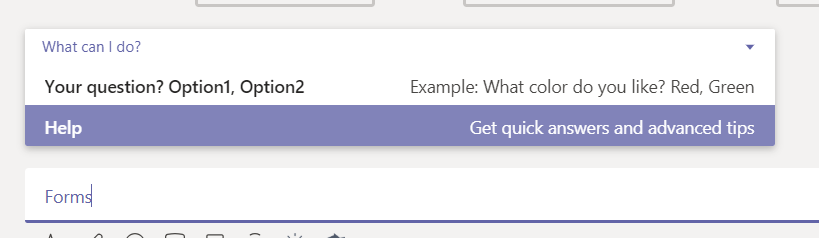
Type your question and answers and send the message.

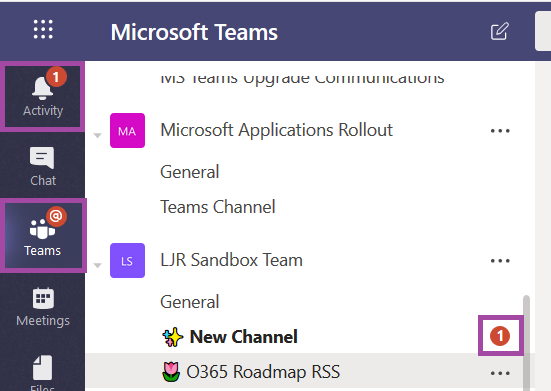
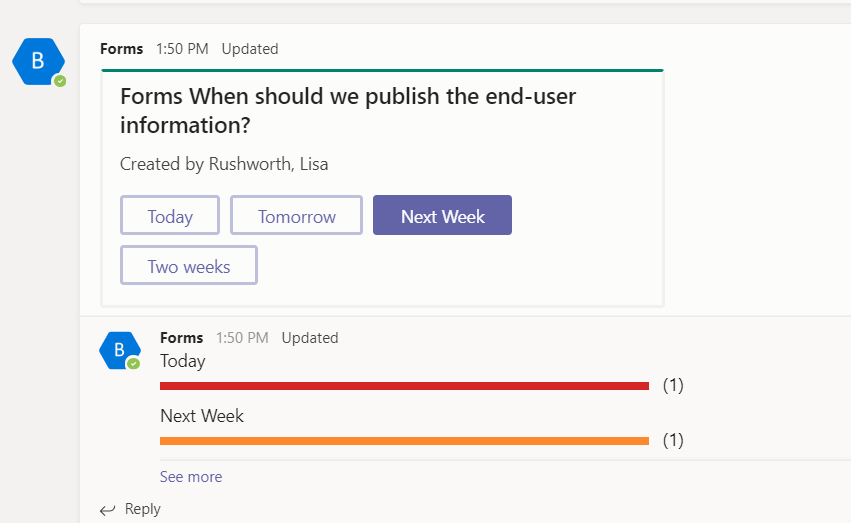
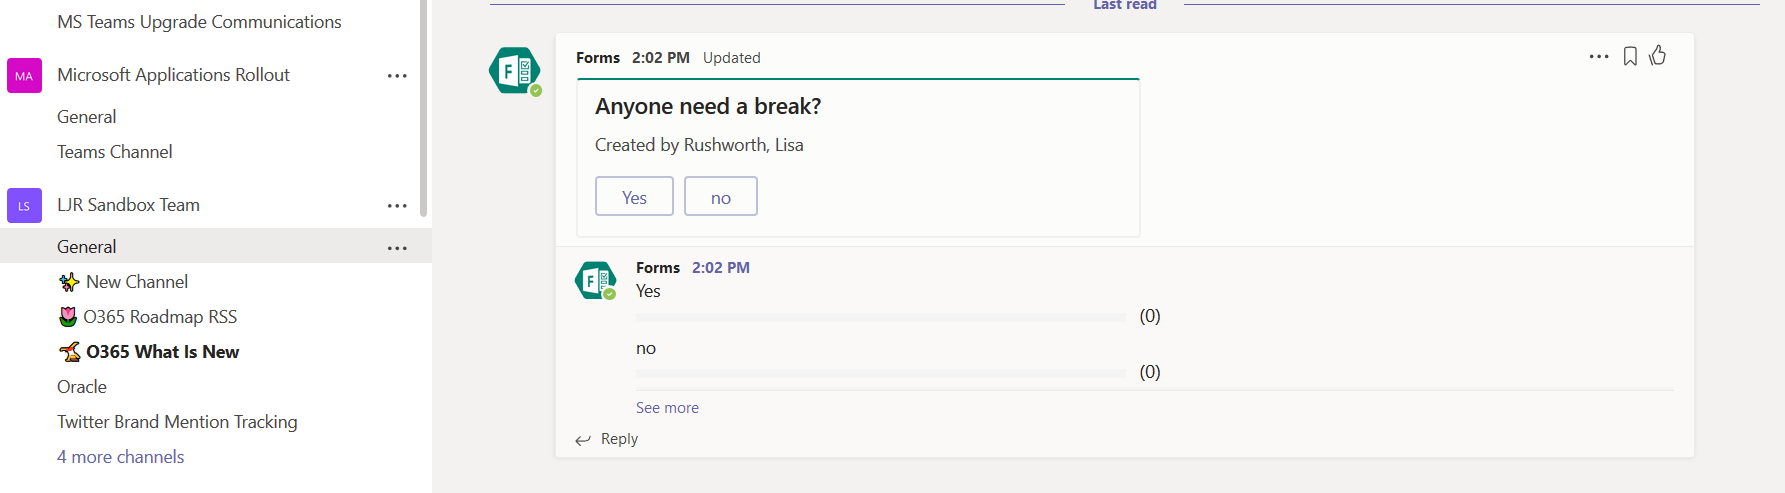
Forms will create a new post with your survey.
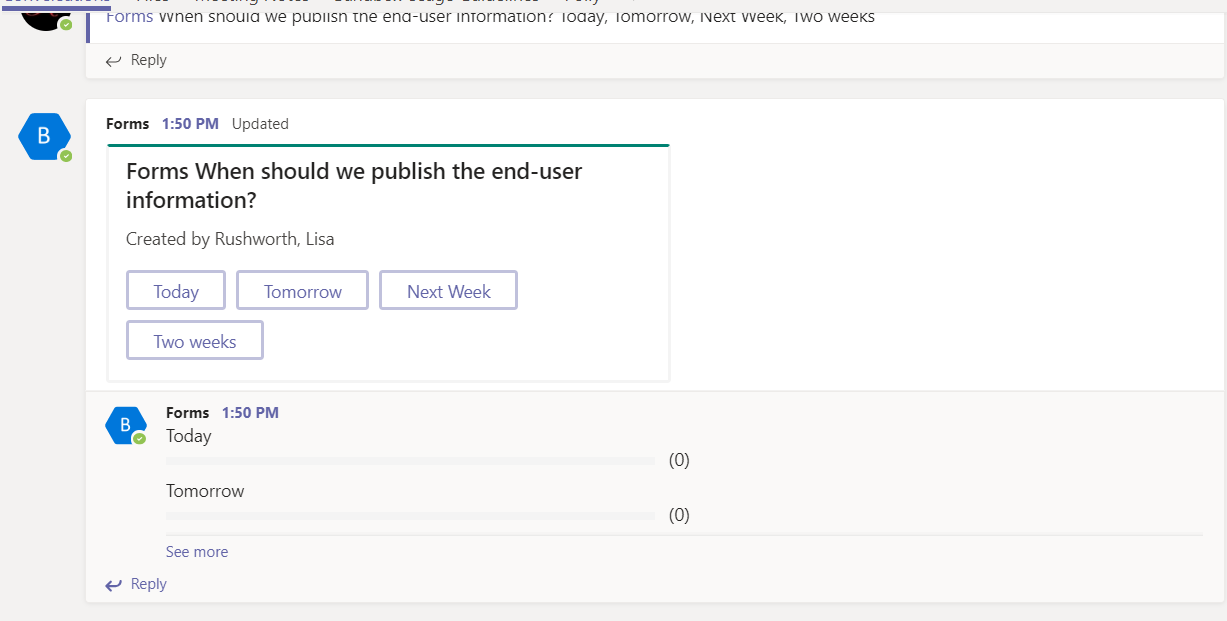
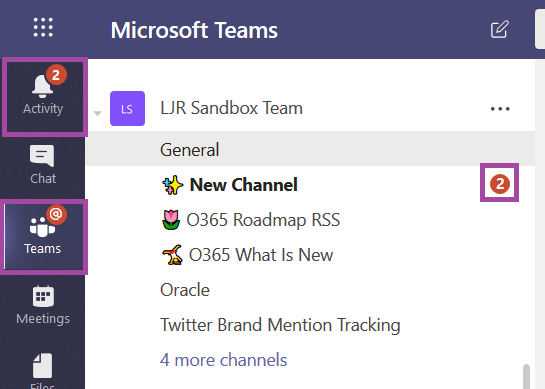
Survey results will be updated in real-time in the thread.
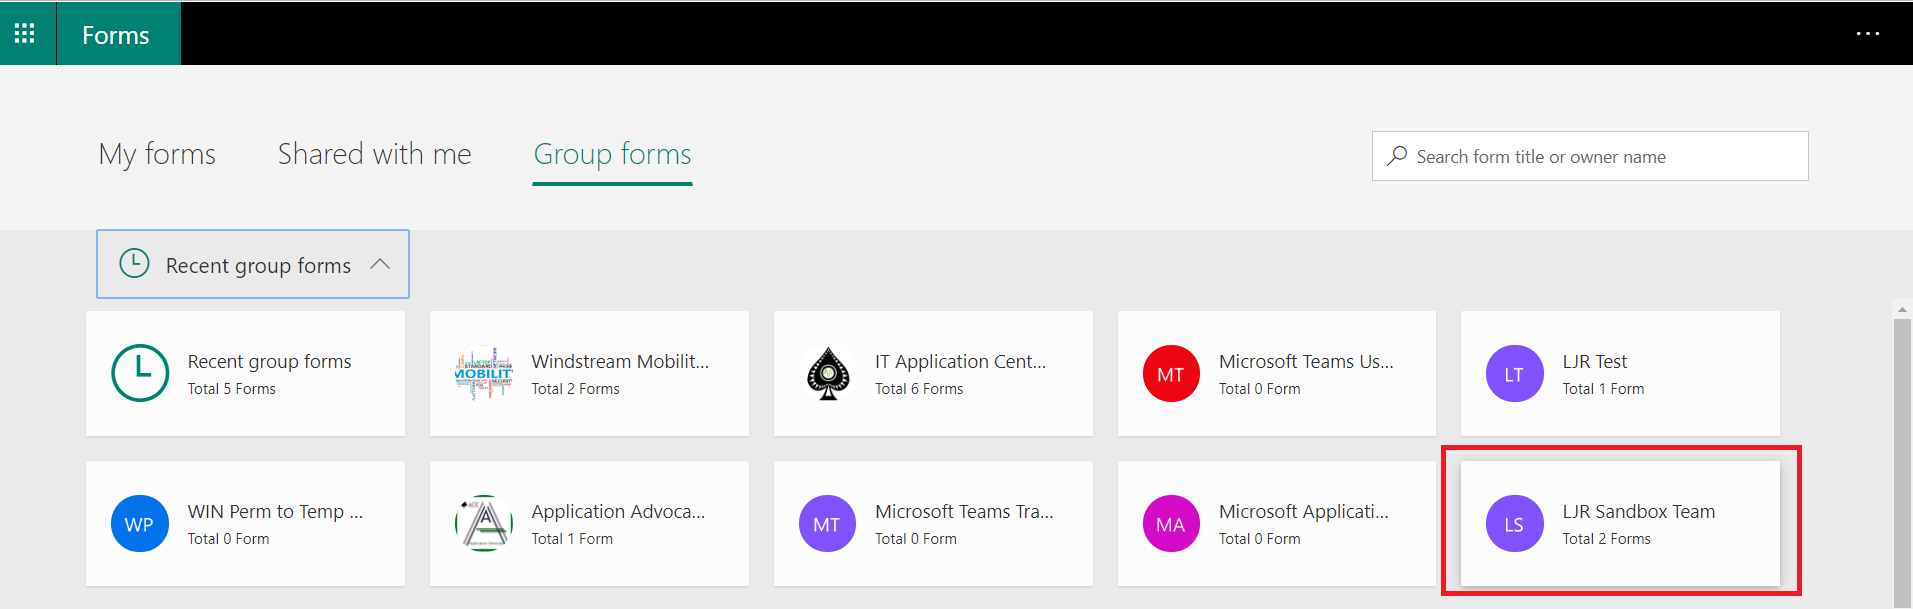
If you want to view detailed results (or export the results to Excel), visit https://forms.office.com The Forms bot creates a “Group form”, so you’ll need to select the “Group forms” tab. Click on the Teams space where you posted the form.
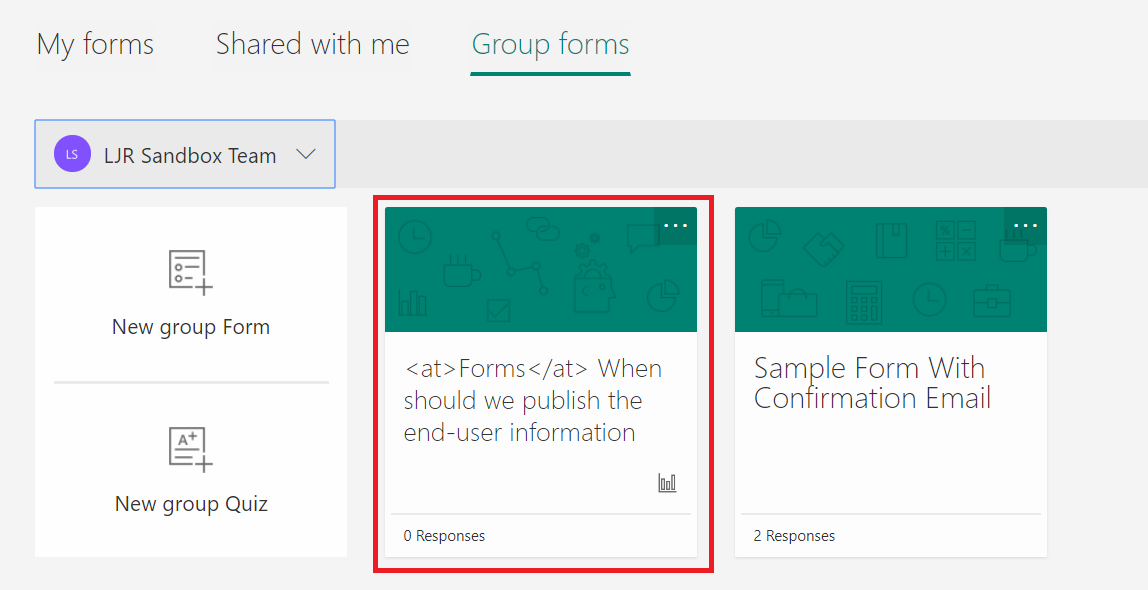
You’ll see the form – they’re readily identifiable because the form name starts with “<at>Forms</at>” followed by the question you posted. Select the form and you can view response details and open the response results in Excel.
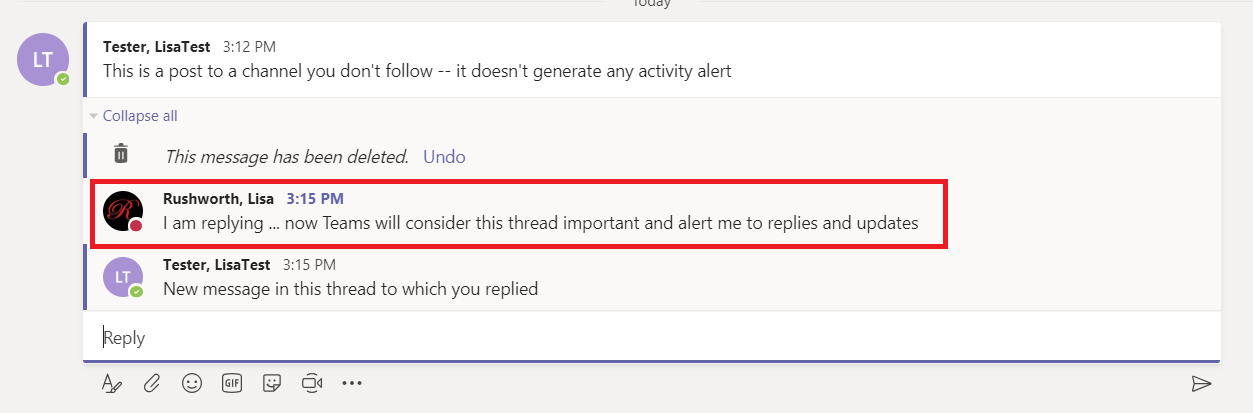
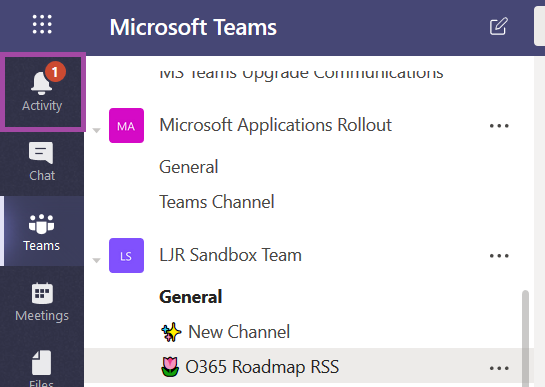
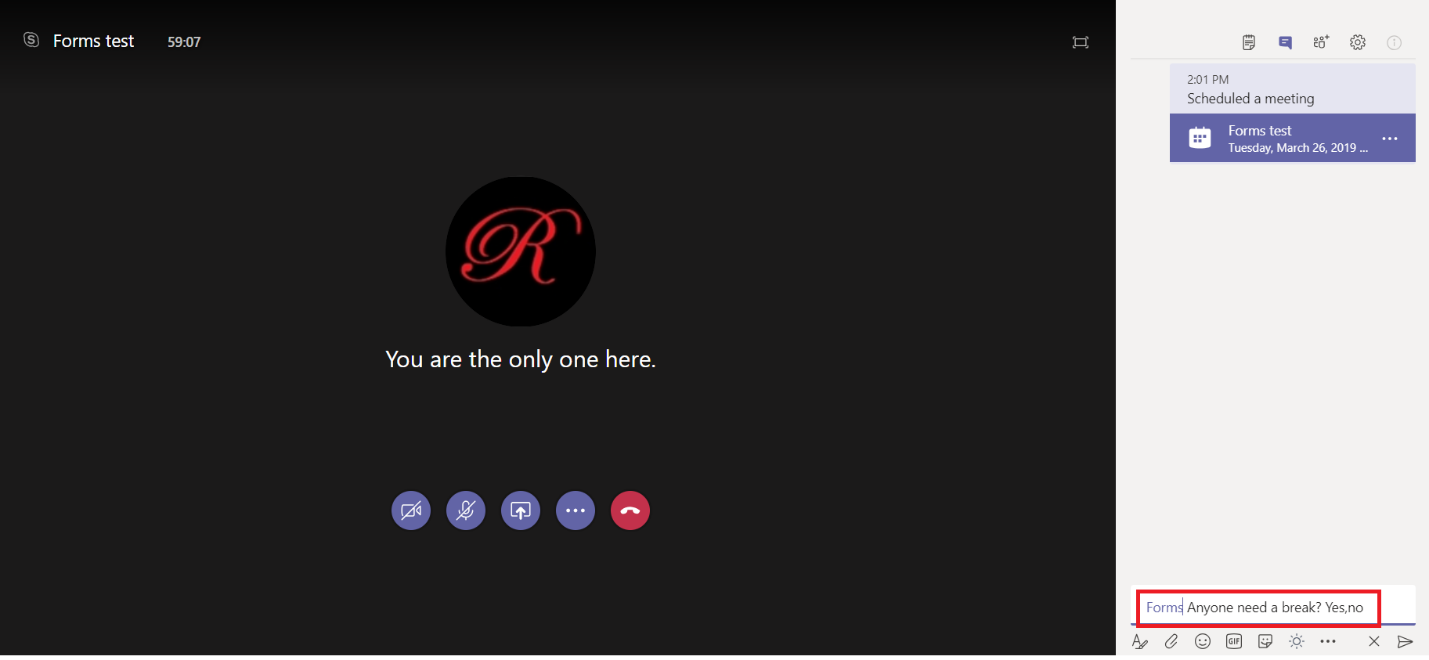
One oddity – if you host a meeting in the Teams space, you can at-mention Forms to create a survey in the meeting chat. The response from the Bot – where people vote – does not appear in the meeting chat because the bot response is a new thread.
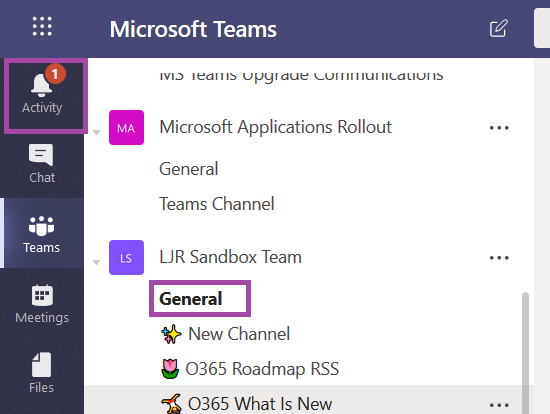
Team members will find the survey as a new thread in the channel.
This is a little confusing to me, so I just send the message to create the survey in the channel instead of using the meeting chat. Using the meeting chat would, however, associate the survey with the meeting because the message which prompted the form creation will appear in the meeting chat.