Did you know you can control who can present during a Teams Meeting? As of Dec 2019, you can!
There were a few cool Teams features that, when used inappropriately, disrupt the meeting. Anyone can mute other attendees — great when I notice someone is taking another call and can mute them; not great if I accidentally mute the presenter. Anyone can share their screen — great when we’re taking turns showing something and don’t need to transfer control; not great when you accidentally share your screen in the middle of someone’s presentation. And this occurs during meetings among respectful, professional business associates. The amount of control individual meeting participants get invite goofing off (while you can tell who just took over presenting, you cannot tell who just muted you for the seventh time).
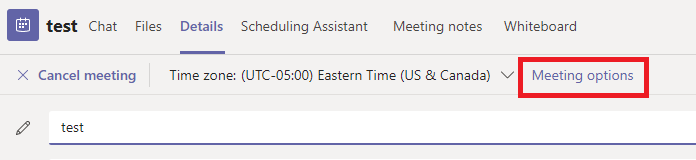
Microsoft has introduced “roles” for meetings. As the meeting organizer, you can establish who has what role. By default (i.e. when you don’t define any roles), everyone can do everything. But, after you create the meeting, you can edit it and select “Meeting Options”
Two options will be presented — you can control who can bypass the lobby (avoid having external parties waiting if you anticipate their attendance) and define who can present. The terminology is a bit odd here, but this is the selection that defines who has what roles within a meeting.
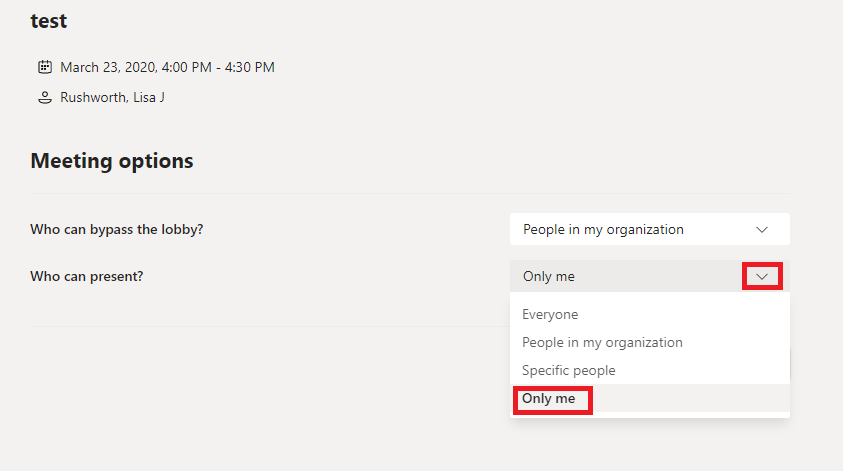
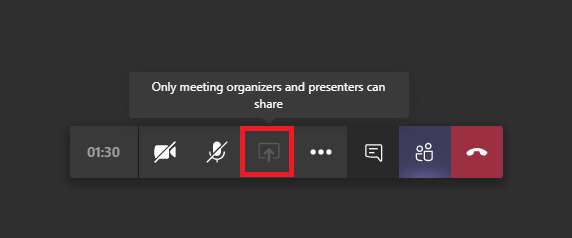
As the person who scheduled the meeting, you are the organizer — you can elect to only allow yourself to present. If you select to allow “Specific people” or “People in my organization” to present, they are assigned the “presenter” role. Everyone else is an “attendee”. What can a presenter or attendee do? Consult the MS documentation for a complete list. The big ones, though … an attendee cannot share their screen. The option is grayed out, and they’ll be advised that only organizers and presenters can share.
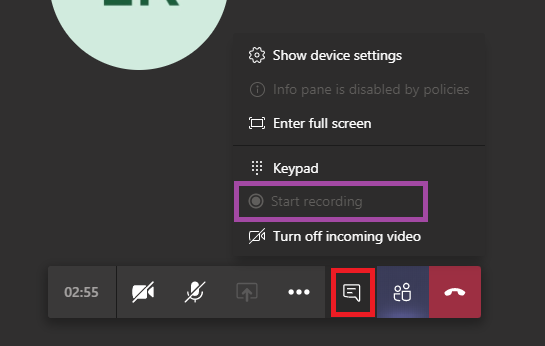
Attendees cannot start or stop recording — the option, again, is grayed out.
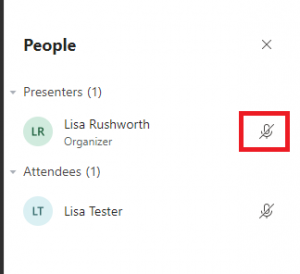
And attendees cannot mute or unmute anyone through the participant listing. This means they cannot mute someone else — the microphone icon will disappear when they put their mouse over it. But it also means they cannot mute or unmute themselves here. They will need to use the meeting control bar to mute or unmute.
What if you’ve restricted someone as an attendee and need them to share their screen? You can modify their role in the participant listing — mouse over their listing and use the ellipsis to select “More options” and select “Make presenter” (or, if you wish to demote a presenter to attendee status, select “Make attendee”).