The trick to understanding this is knowing that “Meeting Notes” are, for some reason, Wiki pages and not OneNote documents. There are two types of meetings — those held in a Teams channel and those held outside of a channel — and the ability to get a useful link to the Meeting Notes depends on which type of meeting you have.
Meetings in a Teams Channel:
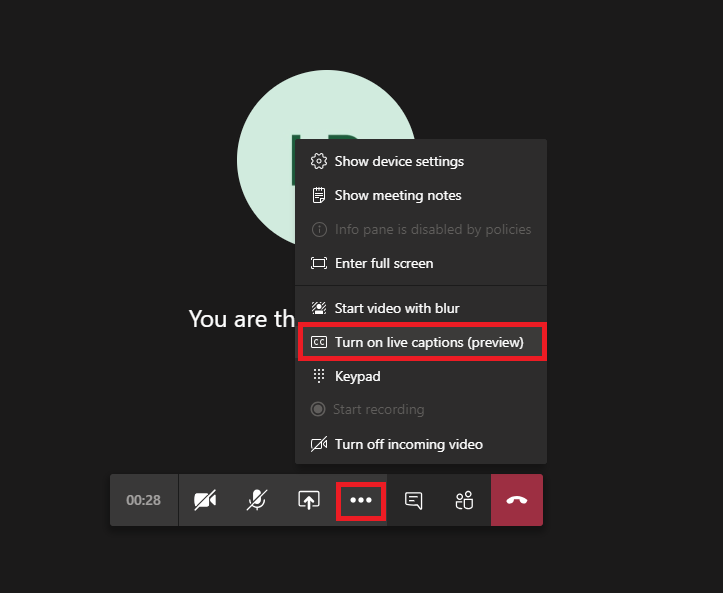
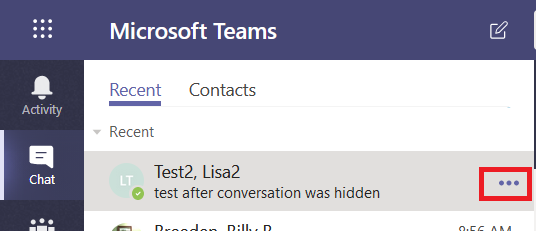
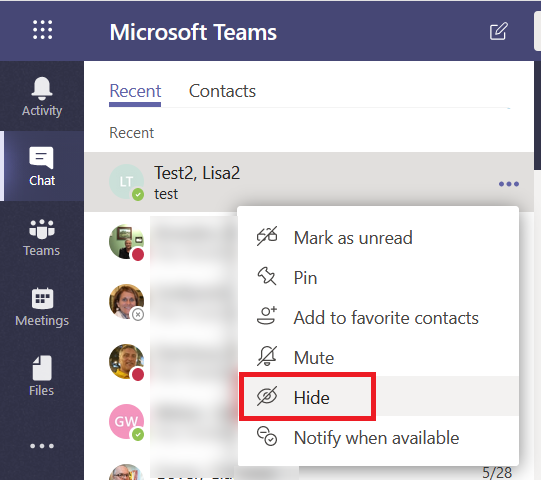
When your meeting is in a Teams channel, you can use the ellipsis to grab a link to the Meeting Notes location in Microsoft Teams.

This link points to the “Meeting Notes” tab created in the channel. That tab is available without a link, too — so I can access the meeting notes just by going to the channel where the meeting was held.

Meetings Outside of a Teams Channel:
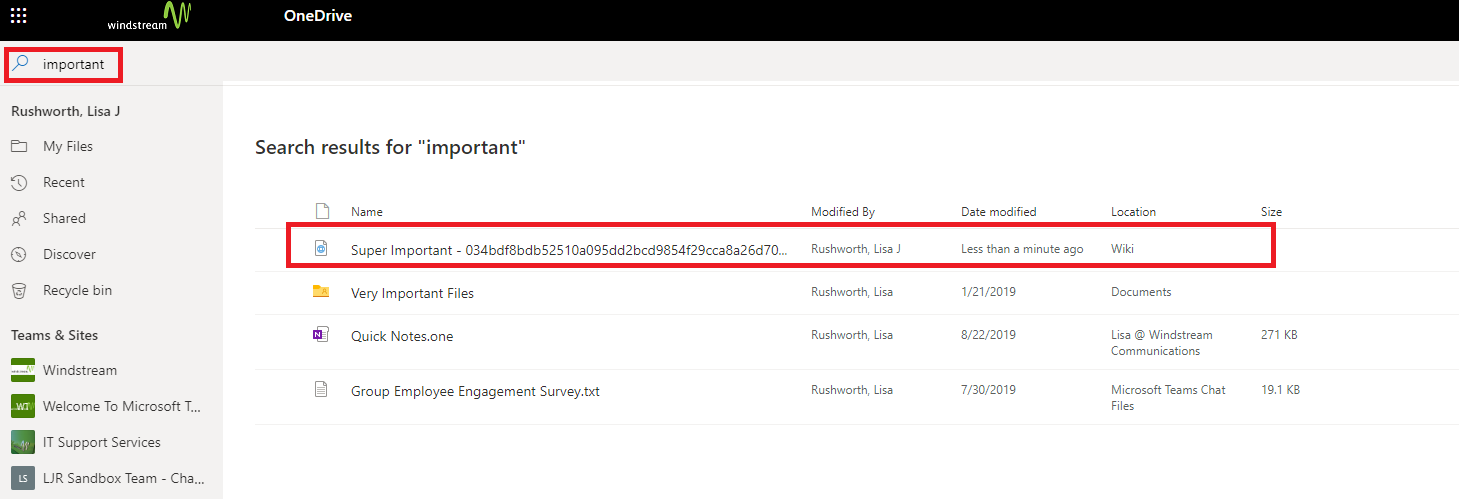
The meeting notes wiki file is stored in your OneDrive. You can find that file by searching your OneDrive for the name of the meeting. In this example, I have a meeting titled “Super Important”. You can right-click on this and select “copy link” to grab a link to the file.
The problem is that it’s an MHT (basically a self contained web page) file. I can give you a link to the file, but it’s not a convenient link to a OneNote page like you’d expect. For some reason, Chrome wants to save it as an EML (email) so the file opens in Outlook (or change the extension to MHT manually). Firefox keeps the MHT extension, and the file opens up in a browser so you can view the notes.