This process presumes you have generated a signing key (/root/signing/MOK.priv and /root/signing/MOK.der) that has been registered for signing modules.
################################################################################
## Install from Repo and Sign Modules
################################################################################
yum install https://dl.fedoraproject.org/pub/epel/epel-release-latest-8.noarch.rpm
yum install kernel-devel
# Install kmod version of ZS
yum install https://zfsonlinux.org/epel/zfs-release-2-3$(rpm --eval "%{dist}").noarch.rpm
dnf config-manager --disable zfs
dnf config-manager --enable zfs-kmod
yum install zfs
# And autoload
echo zfs >/etc/modules-load.d/zfs.conf
# Use rpm -ql to list out the kernel modules that this version of ZFS uses -- 2.1.x has quite a few of them, and they each need to be signed
# Sign zfs.ko and spl.ko in current kernel
/usr/src/kernels/$(uname -r)/scripts/sign-file sha256 /root/signing/MOK.priv /root/signing/MOK.der /lib/modules/$(uname -r)/weak-updates/zfs/zfs/zfs.ko
/usr/src/kernels/$(uname -r)/scripts/sign-file sha256 /root/signing/MOK.priv /root/signing/MOK.der /lib/modules/$(uname -r)/weak-updates/zfs/spl/spl.ko
# And sign the bunch of other ko files in the n-1 kernel rev (these are symlinked from the current kernel)
/usr/src/kernels/$(uname -r)/scripts/sign-file sha256 /root/signing/MOK.priv /root/signing/MOK.der /lib/modules/4.18.0-513.18.1.el8_9.x86_64/extra/zfs/avl/zavl.ko
/usr/src/kernels/$(uname -r)/scripts/sign-file sha256 /root/signing/MOK.priv /root/signing/MOK.der /lib/modules/4.18.0-513.18.1.el8_9.x86_64/extra/zfs/icp/icp.ko
/usr/src/kernels/$(uname -r)/scripts/sign-file sha256 /root/signing/MOK.priv /root/signing/MOK.der /lib/modules/4.18.0-513.18.1.el8_9.x86_64/extra/zfs/lua/zlua.ko
/usr/src/kernels/$(uname -r)/scripts/sign-file sha256 /root/signing/MOK.priv /root/signing/MOK.der /lib/modules/4.18.0-513.18.1.el8_9.x86_64/extra/zfs/nvpair/znvpair.ko
/usr/src/kernels/$(uname -r)/scripts/sign-file sha256 /root/signing/MOK.priv /root/signing/MOK.der /lib/modules/4.18.0-513.18.1.el8_9.x86_64/extra/zfs/unicode/zunicode.ko
/usr/src/kernels/$(uname -r)/scripts/sign-file sha256 /root/signing/MOK.priv /root/signing/MOK.der /lib/modules/4.18.0-513.18.1.el8_9.x86_64/extra/zfs/common/zcommon.ko
/usr/src/kernels/$(uname -r)/scripts/sign-file sha256 /root/signing/MOK.priv /root/signing/MOK.der /lib/modules/4.18.0-513.18.1.el8_9.x86_64/extra/zfs/zstd/zzstd.ko
# Verify they are signed now
modinfo -F signer /usr/lib/modules/$(uname -r)/weak-updates/zfs/zfs/zfs.ko
modinfo -F signer /usr/lib/modules/$(uname -r)/weak-updates/zfs/spl/spl.ko
modinfo -F signer /lib/modules/4.18.0-513.18.1.el8_9.x86_64/extra/zfs/avl/zavl.ko
modinfo -F signer /lib/modules/4.18.0-513.18.1.el8_9.x86_64/extra/zfs/icp/icp.ko
modinfo -F signer /lib/modules/4.18.0-513.18.1.el8_9.x86_64/extra/zfs/lua/zlua.ko
modinfo -F signer /lib/modules/4.18.0-513.18.1.el8_9.x86_64/extra/zfs/nvpair/znvpair.ko
modinfo -F signer /lib/modules/4.18.0-513.18.1.el8_9.x86_64/extra/zfs/unicode/zunicode.ko
modinfo -F signer /lib/modules/4.18.0-513.18.1.el8_9.x86_64/extra/zfs/zcommon/zcommon.ko
modinfo -F signer /lib/modules/4.18.0-513.18.1.el8_9.x86_64/extra/zfs/zstd/zzstd.ko
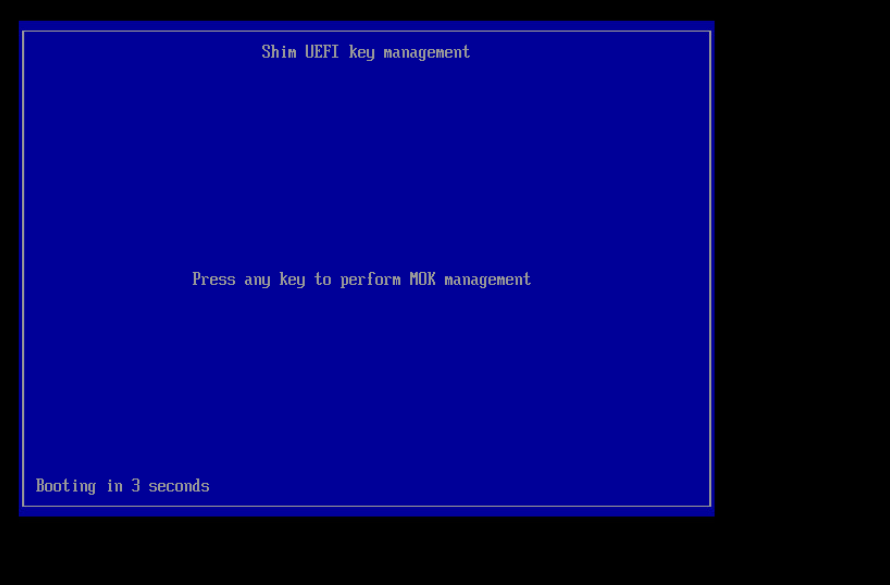
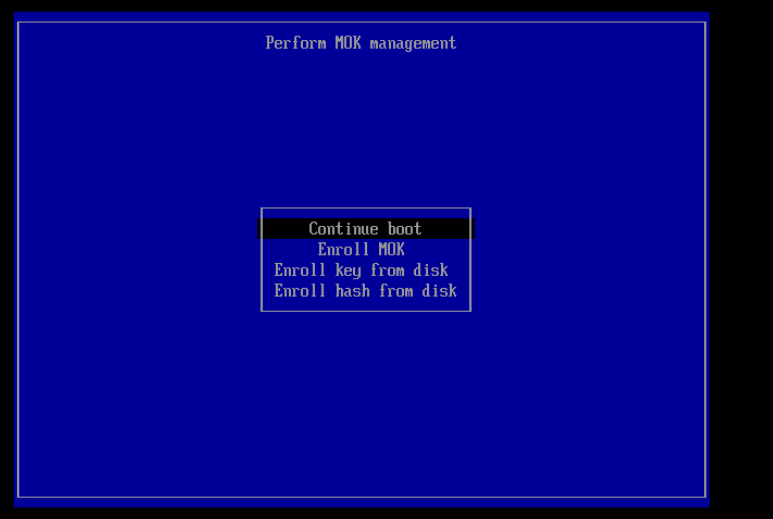
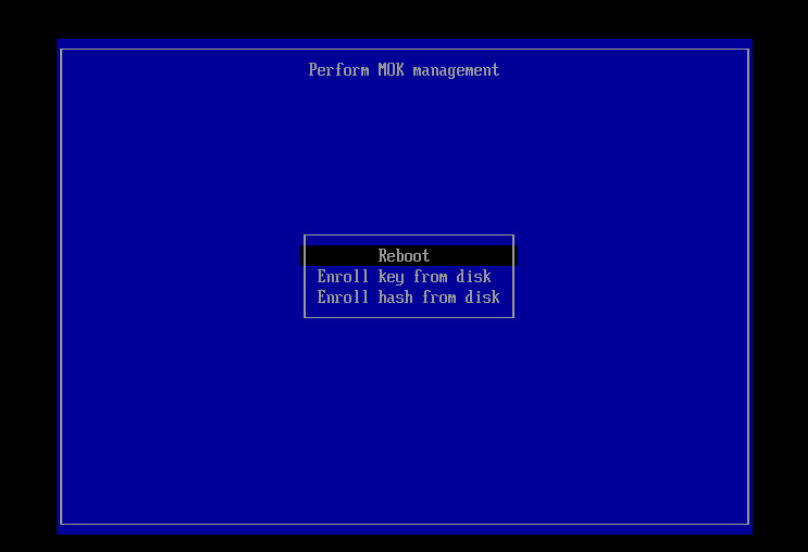
# Reboot
init 6
# And we've got ZFS, so create the pool
zpool create pgpool sdc
zfs create zpool/zdata
zfs set compression=lz4 zpool/zdata
zfs get compressratio zpool/zdata
zfs set mountpoint=/zpool/zdata zpool/zdata
What happens if you only sign zfs.ko? All sorts of errors that look like there’s some sort of other problem — zfs will not load. It will tell you the required key is not available
May 22 23:42:44 sandboxserver systemd-modules-load[492]: Failed to insert 'zfs': Required key not available
Using insmod to try to manually load it will tell you there are dozens of unknown symbols:
May 22 23:23:23 sandboxserver kernel: zfs: Unknown symbol ddi_strtoll (err 0)
May 22 23:23:23 sandboxserver kernel: zfs: Unknown symbol spl_vmem_alloc (err 0)
May 22 23:23:23 sandboxserver kernel: zfs: Unknown symbol taskq_empty_ent (err 0)
May 22 23:23:23 sandboxserver kernel: zfs: Unknown symbol zone_get_hostid (err 0)
May 22 23:23:23 sandboxserver kernel: zfs: Unknown symbol tsd_set (err 0)
But the real problem is that there are unsigned modules so … there are unknown symbols. But not because something is incompatible. Just because the module providing that symbol will not load.