In object mode, select the object you want to repair. In the python console, run:
import bpy
bpy.context.object.data.validate(verbose=True)
In object mode, select the object you want to repair. In the python console, run:
import bpy
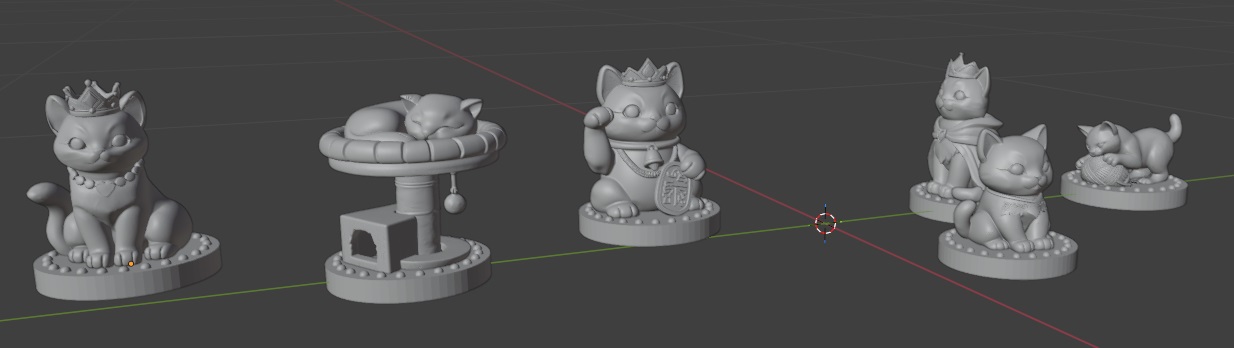
bpy.context.object.data.validate(verbose=True)Each one needs some finishing work, but the whole set of cats is in one file and mostly done.
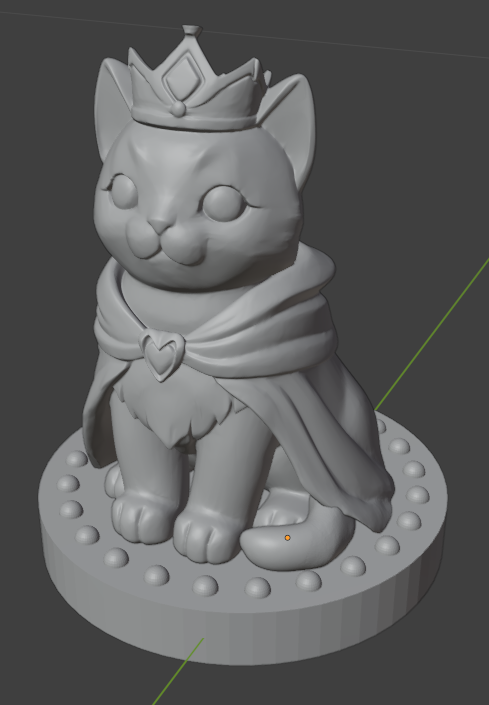
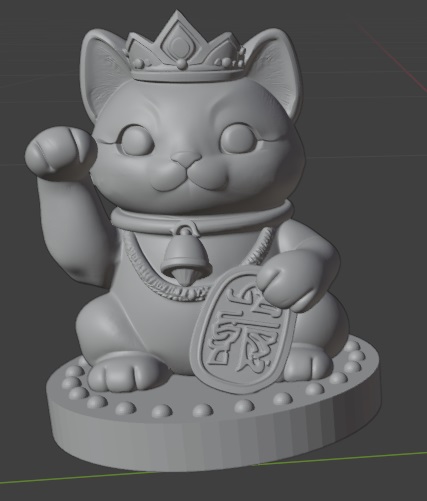
I’ve got a king! I intended to start with the king, but then realized it made more sense to make the pawns — kittens — first and then increase the size and add decorations for the other pieces. Instead of first, the kitten king was the last one made. Blender has some cool “brushes” for creating folds and gathers in fabric.
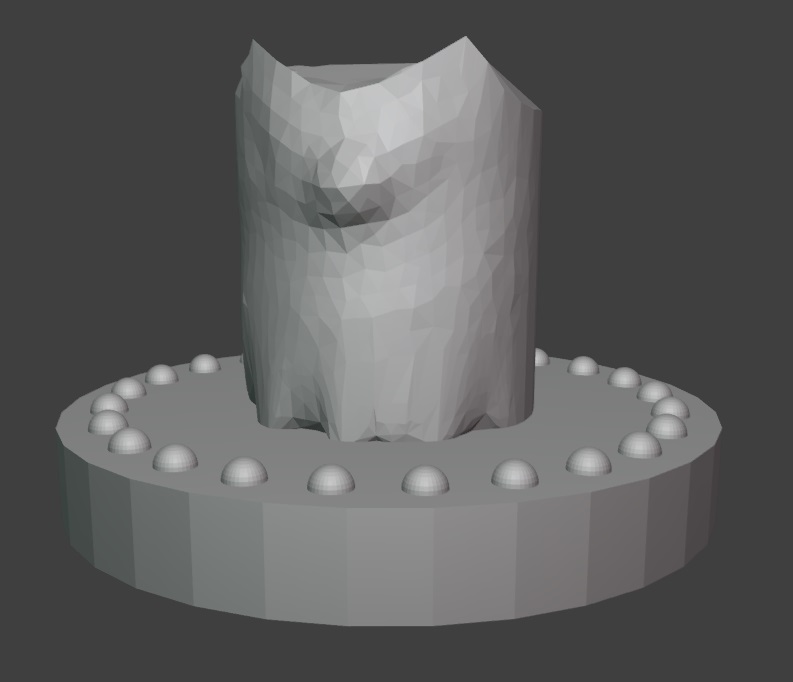
I hand-sculpted bases for my chess set before realizing that I wanted them to be very identical. So I wanted to “cut” the hand-sculpted base off of the figure and replace it with a programmatic one. Except I kept getting this error using box trim — Not supported in dynamic topology mode.

Switch to a drawing brush and uncheck Dynamic Topology box

Then switch back to box trim and it actually trims
And then, of course, you need to remember to turn dynamic topography back on for the drawing tools to draw.
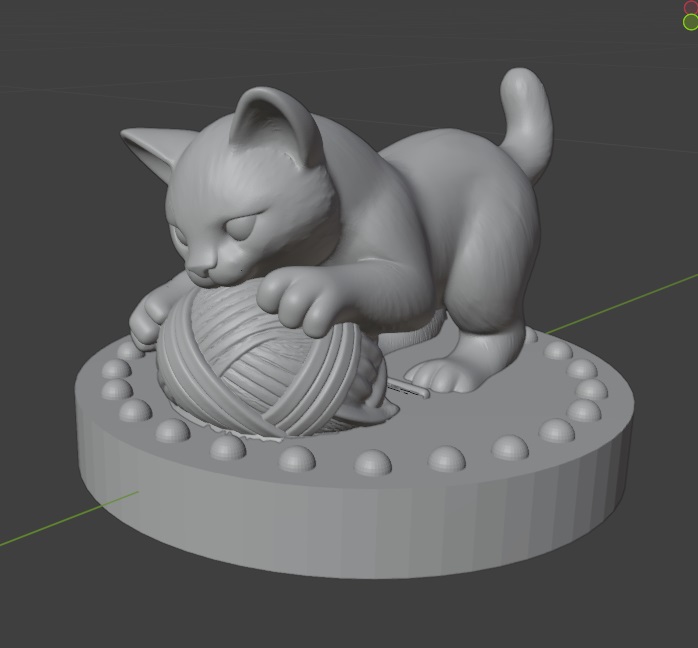
Still working on the yarn ball, but I’ve got a pouncing knight.
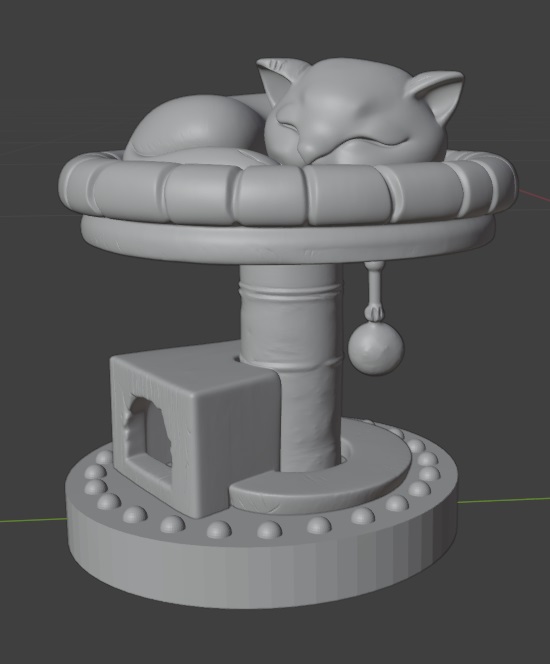
I figured a cat tree was the kitten version of a castle keep. So I’ve got a kitten napping. I’m going to have to take the little ball off. That doesn’t seem like something that would 3d print very well.
I modified the pawn to make a bishop
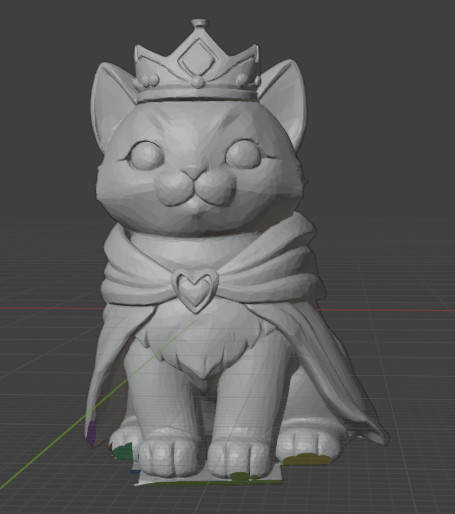
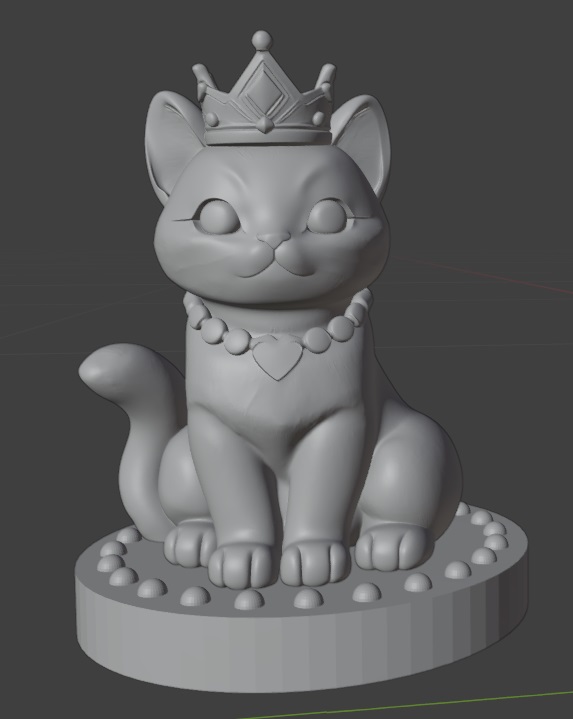
I copied the pawn and grew her a little. Added a crown and necklace … voila, a kitten queen! I’ve been using the smooth brush a lot to even out the surface. I’m curious how these will 3d print because the model is made up of a lot of little triangles.
421,132 to be exact. As I’ve discovered, you can configure the viewport to add data in overlays. Statistics is a nice one!

A pawn … this little guy took quite a long time to get cat shaped, but I think I’ve got it!
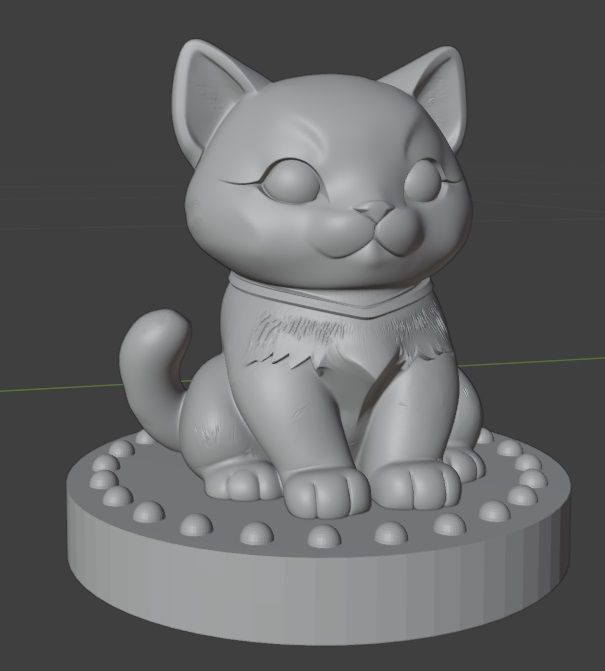
OK, so I don’t know that anyone would see this and say “cat!” … but it’s a start!
My idea is to have a king and queen, a knight pouncing on something, a bishop based on the beckoning cat, and a rook that is a cat sleeping in a little cat tree. Pawns will just be kittens. Should probably start there since they’re the least adorned.