Category: Crafts

Pencil Pouch

We got Anya’s first school list, and it’s got the expected dozen glue sticks and half dozen boxes of crayons. But it also has a pencil pouch for art class. Seems like an opportunity to make something cute and practical. Perusing the Internet for pencil cases, I happened across a pattern for a zippered pencil pouch.

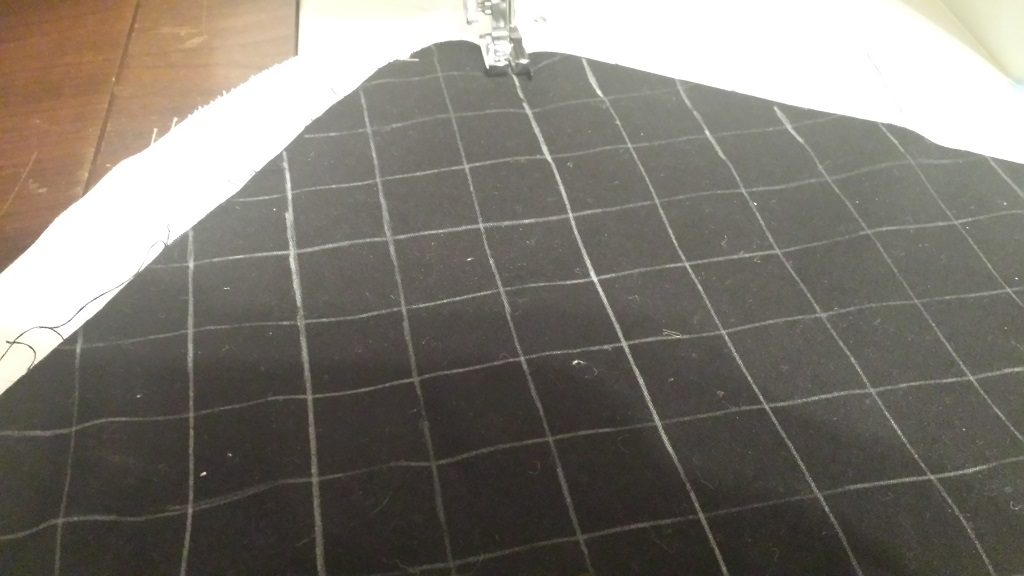
I wanted to use the flower presser foot to stitch flowers around the pouch, but mine doesn’t work! The throw on the sewing machine arm isn’t long enough to advance the ring. I quickly drew out a diamond pattern.

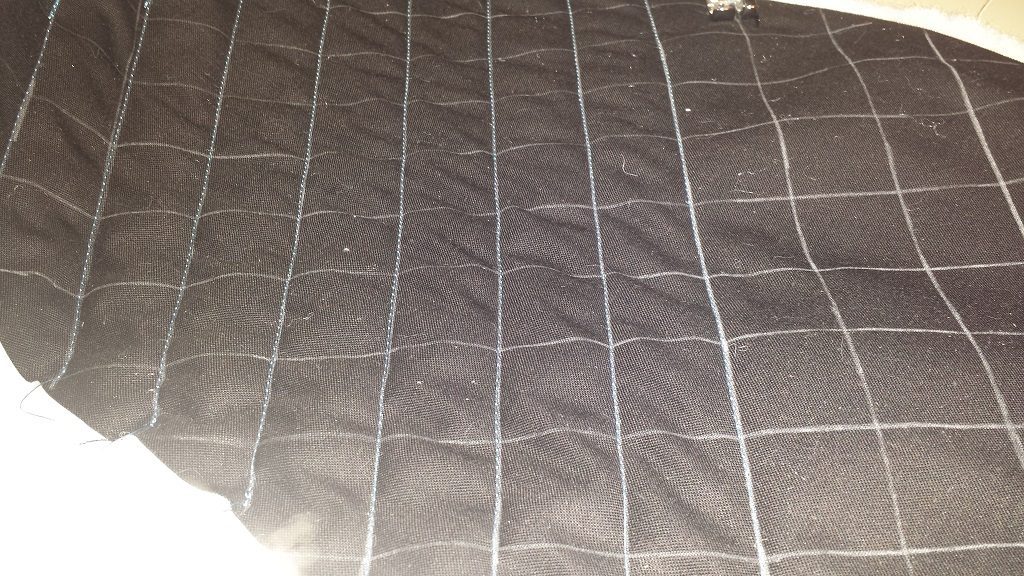
And am stitching it with a blue thread to match the piping fabric.

Continued in part 2.

Bed for Anya: Dimensions

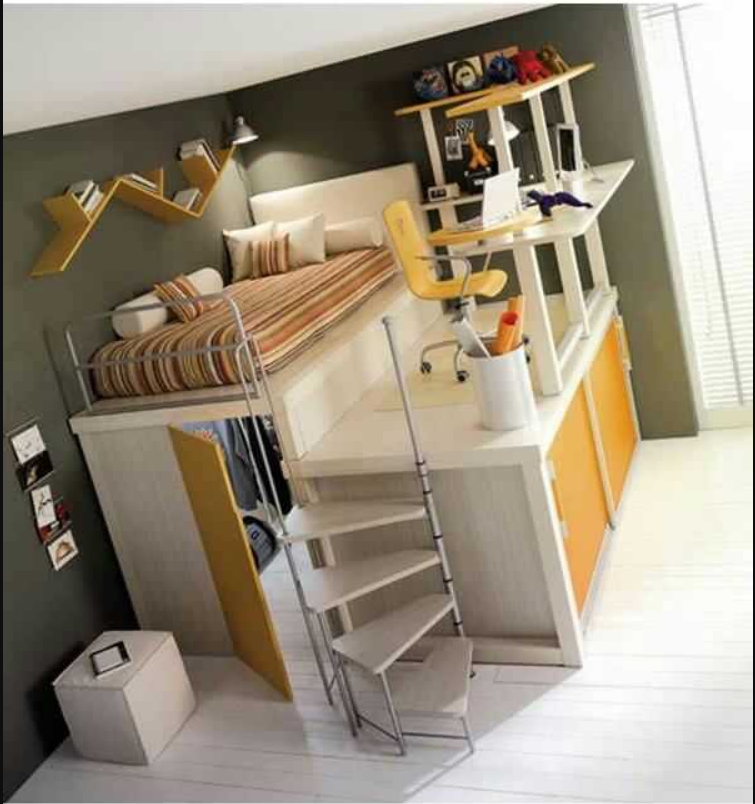
Still trying to work through the dimensions for Anya’s new bed. A twin bed is like 38”x75” – thinking 80” long with the headboard/footboard. Along the 15.5’ wall, that leaves like 8’ for the stairs, open floor space, fish tank, and door swing. Even if we needed to go a little longer to get the headboard/footboard, it should fit.

It’s the other dimension that worries me. With a 38” bed & another ~3 feet for the desk area, that’s just over 6’ wide … which gives a 3’ walkway between the bed/desk and hearth. But I worry that 3’ for the desk and chair area is going to be cramped – kids desk chairs are about 2’ square, and a 12” desk seems really small. Although L shaped desks end up having a lot of space, and having that second layer for more storage … maybe a 12” desk isn’t bad. I’d make the shorter part of the ‘L’ wider for paperwork and books. But a laptop computer will fit fine on a 12” desk.

The other question is height. I thought about doing the under-bed area as a potential walk-in closet … but the ceiling is only like 8’ high. And you don’t want to hit your head getting into bed every night. So that’s pretty much out. Doing the desk at 42” high and the bed platform at 48” – gives a little 5” platform for the mattress, plus the mattress height. But a 4’ hideaway might seem cramped. I’d rather a 5’ hideaway (desk at like 55”) … but that leaves 3’ from the mattress platform to the ceiling. Mattress itself has depth too. Now I was going to do the mattress platform the same width as the mattress so you’d sit up & swing your legs over to the desk platform to stand up. Which gives you 3’5” and that seems uncomfortable. A 42” platform means there’s 4.5’ to the ceiling. Wondering about a desk platform that is 3’ and pretty much close to square on the vertical wall – with the two tiers, the desk itself is 4’ & there’s a foot between that top desk level and the ceiling. Then 4’ for the hideaway, which gives 4’ for bed/sitting and 5’ to stand up next to the bed. No good for a teenager, but we’re designing a kid’s bed/desk … I’m sure she’ll want something else when she’s older.

I think we’re going to try laying it out in cardboard this weekend to make sure the footprint is reasonable & the platform heights aren’t head-bonking.
Project Stack – 2018

Anya’s Sleeping Bag – this is assembled and I am slowly quilting the bag. Very, very slowly 🙂

Warm Fuzzy Slippers – Two of three sets have been assembled sans the rubber bottom. Next up – making a larger husband-foot sized pattern

Holiday Circle Skirts – We have Halloween, Easter, and birthday skirts. I am still working on St Patrick’s and Independence Day.

Bed – a new project to make a bed/desk for Anya’s room

T-shirt embroidery – finished quite a few, but I’d like to get a few more size 5/6 shirts finished.

Bed for Anya

It’s about time to get a bigger bed for Anya. And a desk. She doesn’t have a particularly small bedroom, but one wall is eight foot of sliding glass door and another is fifteen and a half feet of closet / raised hearth / doorway. The third wall has four foot of doorway, where you stand to access her closet, and the remaining three feet house a bookshelf and her fish tank. This configuration greatly restricts the space available for beds and desks. Unfortunately most loft beds with desks underneath aren’t attractive to me. Then a random image in Pinterest had this desk/bed combo — storage under the desk platform and a hide-away under the bed platform.

I’m working out reasonable dimensions for the unit and hope to make one this spring.

Pieced Rainbow Circle Skirt

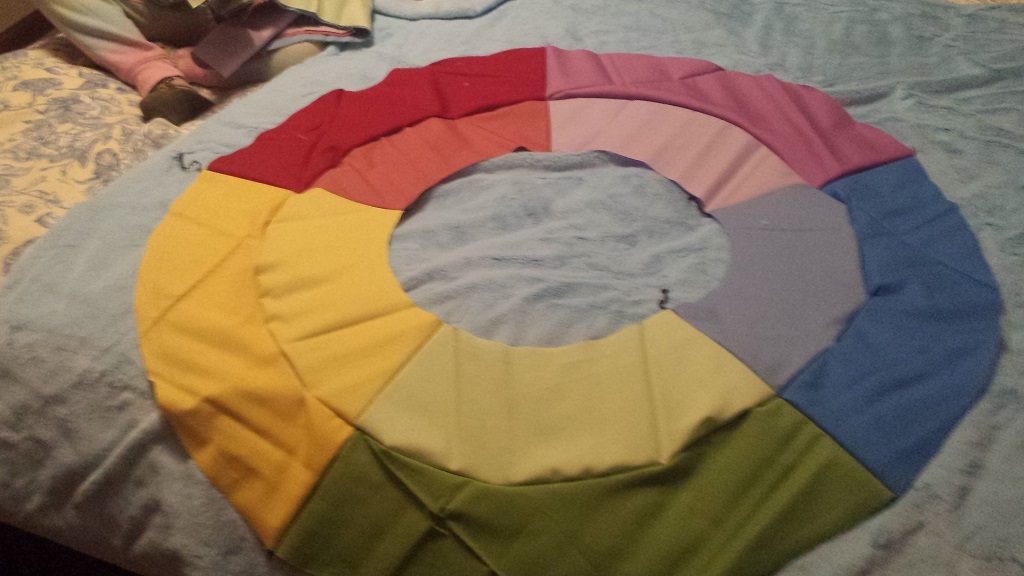
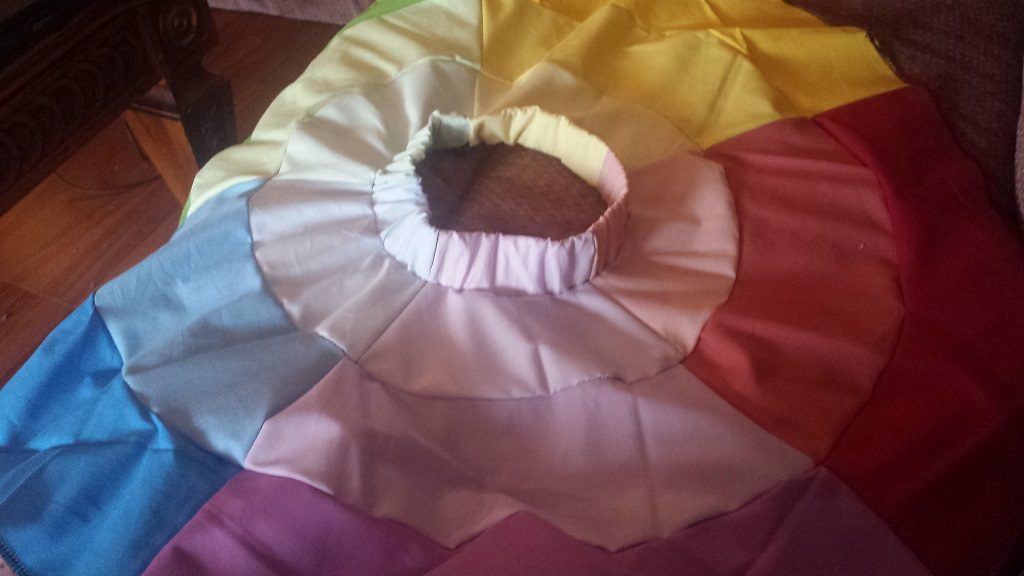
I am finally making the pieced circle skirt my mom had found a few years ago. I’d worked out the proper dimensions and created a pattern to make an Anya-sized circle: t uses fifteen different cotton solid fat quarters. I purchased the fabric in half-yard cut, then cut each piece into a fat quarter so mom and I can make skirts for both Aisha and Anya.

I was hesitant to make the skirt until I was more adept with my serger. After making a Peppermint Swirl Dress, I felt a lot more confident serging these curved pieces.

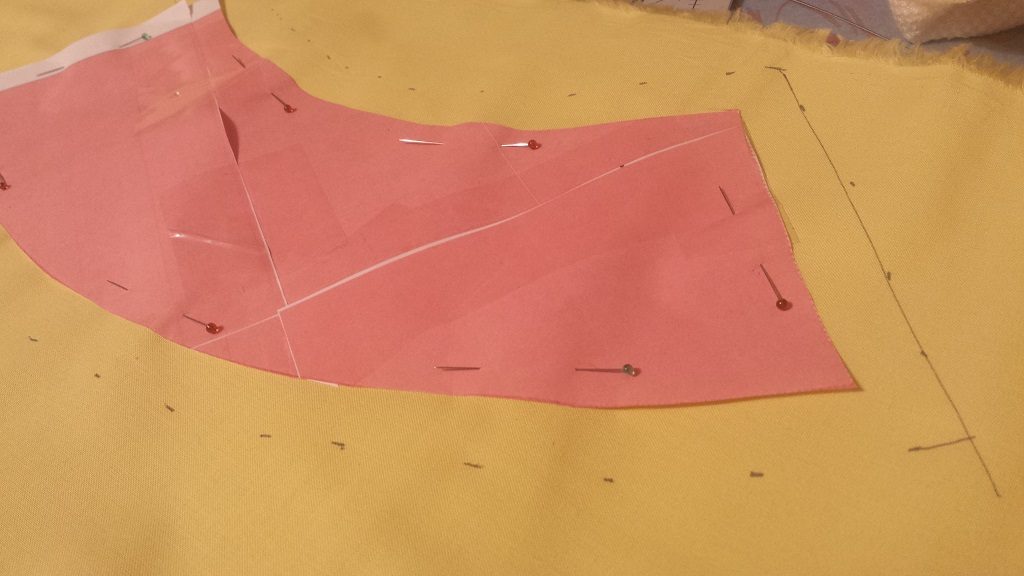
The pattern pieces did not include a seam allowance; the allowance was added on the fabric. I also traced the pattern piece itself, then serged the pieces together with the needle farthest from the blade along the pattern piece’s line.

I assembled the circles instead of making wedges.

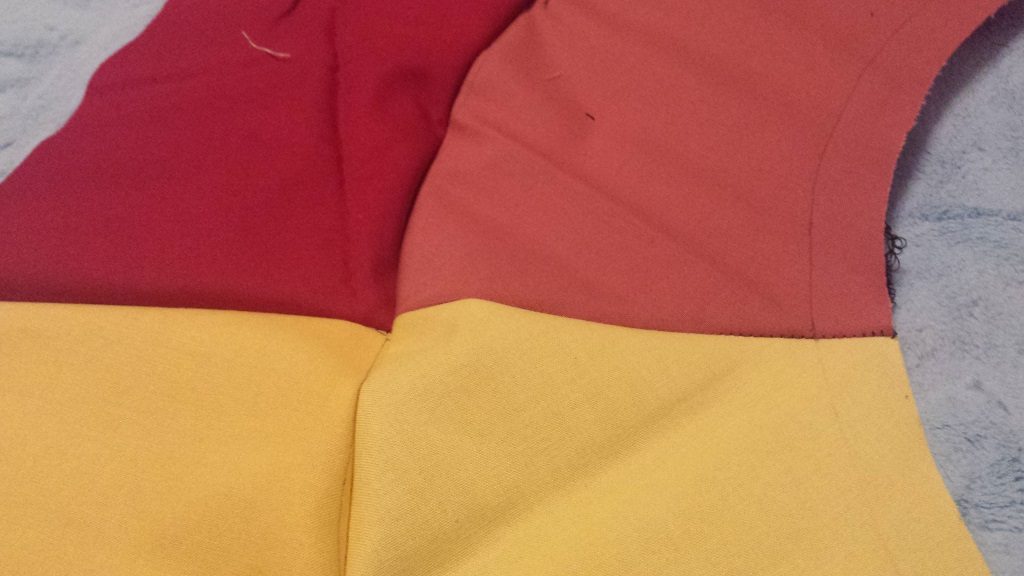
The concentric rings matched up well (Whew! That was a big relief … I was worried that I’d end up with a wonky misaligned mess).

I cut strips of each colour for the waistband and attached them individually to the color-matching circle to ensure the corners lined up. Once each piece was in place, I connected the different colors together. The bottom hem needs to be turned up and stitched, but I’ve got a gradient rainbow circle skirt!


First Sewing Projects

Anya’s birthday present this year is learning to sew with a machine. I’ve already got sewing practice papers ready to go, and need to come up with a few projects for her to get started. She’ll do the project end to end (i.e. we’ll read through the instructions, figure out what it requires, shop for fabrics {shop may mean peruse mom’s stash} and hardware {certainly means peruse mom’s stash. Any component I don’t need quickly, I order direct from China via AliExpress for 80-90% less than retail.}, measure, mark, cut, sew. The only thing I’ll do is run the edges through the serger to ensure she doesn’t have frayed fabric.

So far, I have three projects for her:

A two layer gathered skirt – a project for the author’s five year old. I would love to find an all-over eyelet fabric in black and use it over a bright neon solid, but haven’t been able to find any all-over eyelet fabrics. So we’ll see what Anya likes. This teaches sewing straight lines & running elastic through a casing.

The ‘magic pillowcase‘ – I made one of these, so I know it’s pretty easy. This requires more straight line sewing, but adds complexity because the multiple layers of fabric need to be lined up. Also teaches the idea of getting some fabric out of the way so you can stitch things together.

A fabric belt with D-rings at the end. Turning a small tube right side out and top-stitching.

Kid Sewing

Anya wants a sewing machine — and while I try not to be a crazy overprotective “everything is going to kill you” mom … well, high speed pokey things coming at little fingers kind of freak me out. I kept her request in mind, though. Then this month’s Nancy’s Notions catalog had a finger-safe plastic foot in the front cover, complete with a young girl using the machine. That is exactly what I didn’t know I needed. So I set out to research a good beginner sewing machine for an almost five year old kid.

There appear to be two paths – a quasi-toy with a lot of safety features and simplified operation or portable sewing machines that are riskier to use and can be frustrating for few sewists. The deciding factor for me was the device’s useful life. I don’t want to buy something that will need to be replaced in a year or two when she’s more experienced in operating a machine. And I figure it’s best to learn everything at once rather than add the foot controller later — a bit like learning with a manual gearbox v/s learning with an automatic and then having to un-learn some bad habits that weren’t bad habits on an automatic. Plus Anya knows when we have a ‘real’ one and she’s got a ‘fake’ one for kids. I decided on the Janome Derby – a little five pound machine that has several stitch options. Happened to find it for sale at Michael’s for 60$ and they had a 20% off almost everything coupon — 51.60$ including tax!

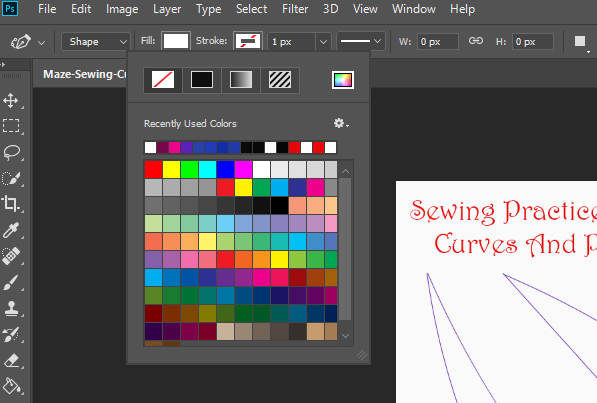
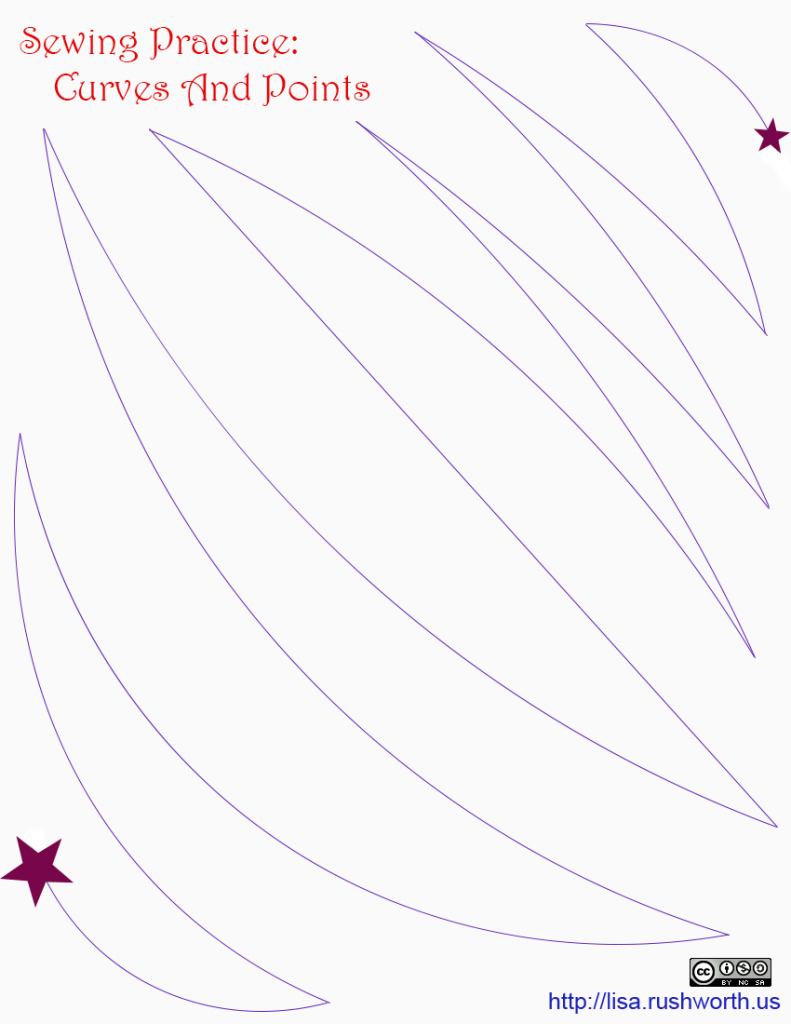
I wanted to come up with some sewing practice for her, and I found a printable ‘sewing maze‘ online. Such an awesome idea – you haven’t “ruined” a project if you don’t sew exactly on the line. I printed a few copies for Anya (and a few for me). I could not find anything similar to practice sewing curves. Longer than I’d like to admit figuring out how to get Photoshop’s curvature pen to make a shape instead of a light blue ghost that doesn’t actually show up anywhere. (Once you’ve selected the tool, you have to change the ‘stroke’ setting from the white with a red line through it to, well, something. I nulled out fill, but I do not know if that was necessary.)

Once I could draw a smooth curve that prints instead of a fully printable squiggle or a lovely curve that disappears when you print or export, I have my own sewing practice sheets for curves and points! Now I just need to think of a cool project to do next.