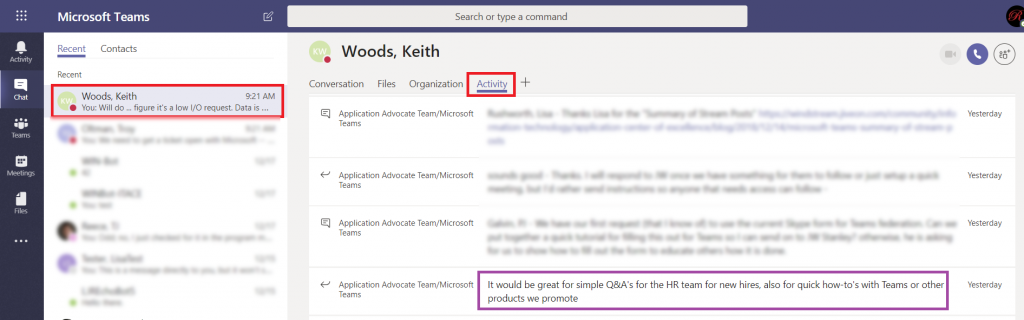
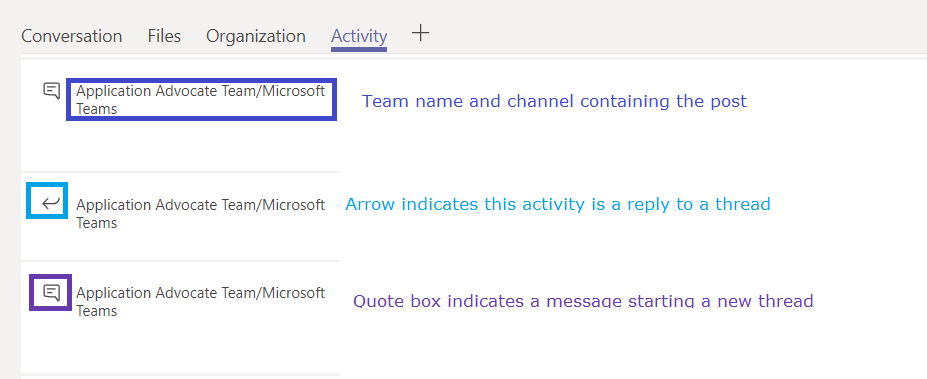
If you want to create a simple bot that uses natural language processing training to allow users to ask questions that aren’t exactly what has been attached to the answer (i.e. I could say “I forgot my password”, “I don’t remember my password”, or “what’s my password” and be directed to the password portal URL without anyone having to come up with every possible iteration of the query),you can create one without actually programming a bot. You’ll need to enter some questions and answers – and it’s best to have a few questions associated with each answer so the bot can ‘learn’ what a real user might ask.
Before we start, understand how the billing works for Microsoft’s cloud services. There are generally free tiers for selections, but they are resource limited. When you first start with the Azure magic cloudy stuff, you get a 200$ credit. A message indicating your remaining credit is shown when you log into the Azure portal. Pay attention to that message – if you think you are using free tiers for everything but see your credit decreasing … you’ll need to investigate. Some features, like usage analytics,cost extra too.
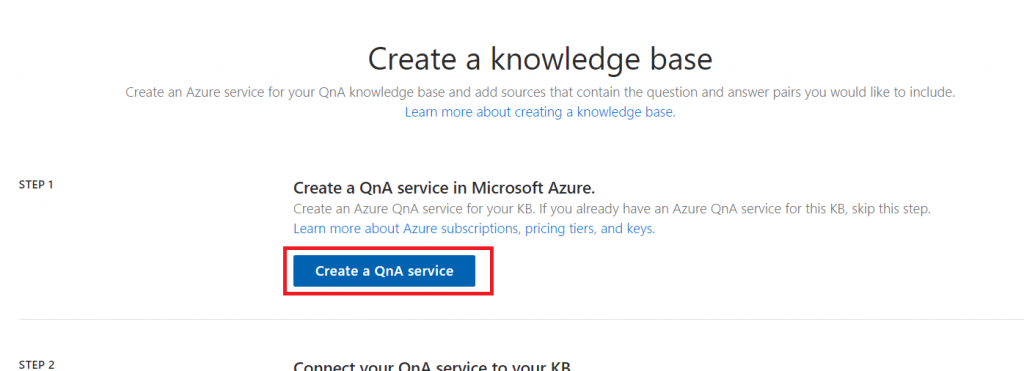
Instead of programming a bot, you can use a pre-built bot and a question/answer knowledgebase maintained at https://www.qnamaker.ai/ Sign in to your company account

Select “Create a knowledge base” to start.

Click the button to “Create a QnA service”
A tab will open to the Azure portal, and you’ll see a wizard to create a QnA Maker resource. Provide a name and select your subscription – you may be walked through creating a new trial subscription. For the management pricing tier and search pricing tier, select the free plans unless you expect high usage or need to store a lot of documents. The selections below are the free tiers.
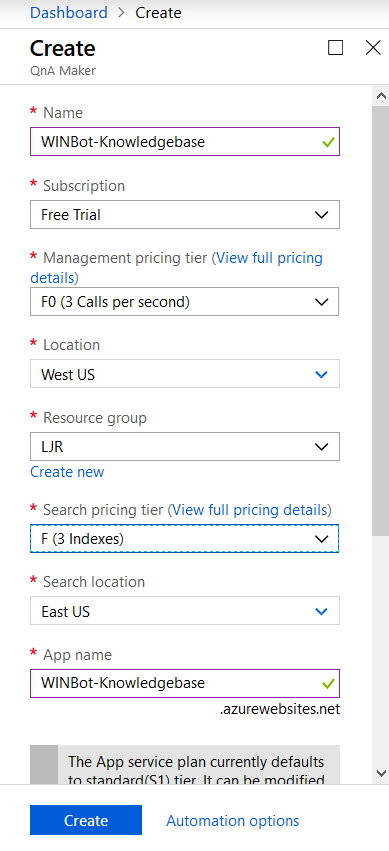
Disable app insights unless you want to study usage of the q&a – app insights is a paid add-on. Click create to create.

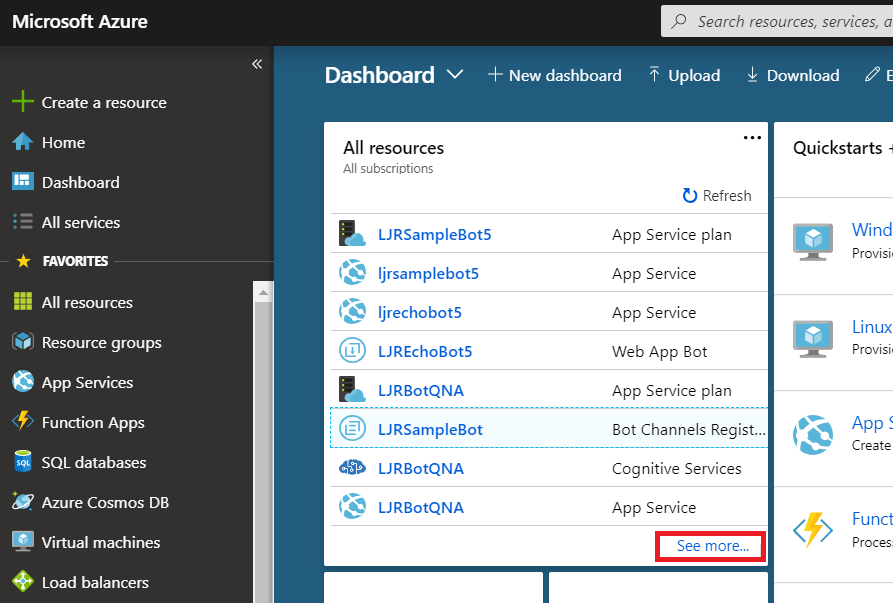
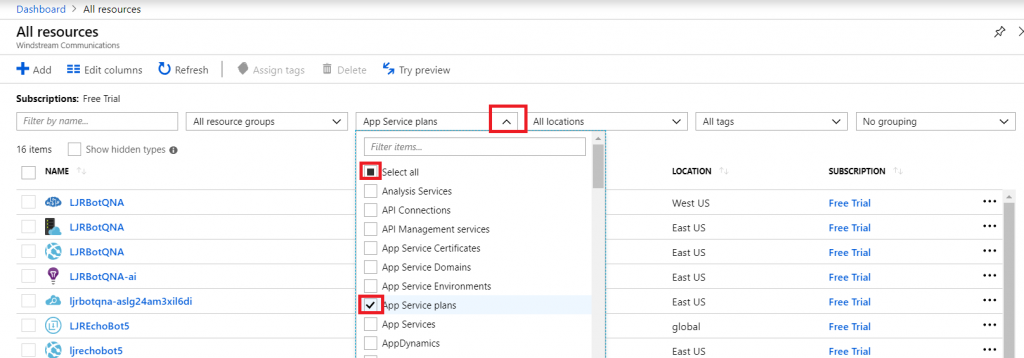
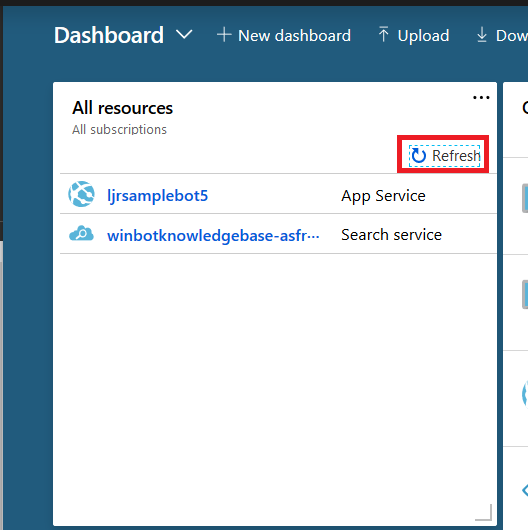
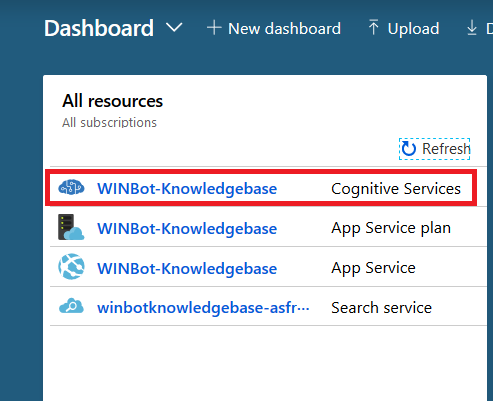
Return to the Azure Portal dashboard and click “Refresh” in the “All resources” section. Eventually, you will see your knowledge base appear.
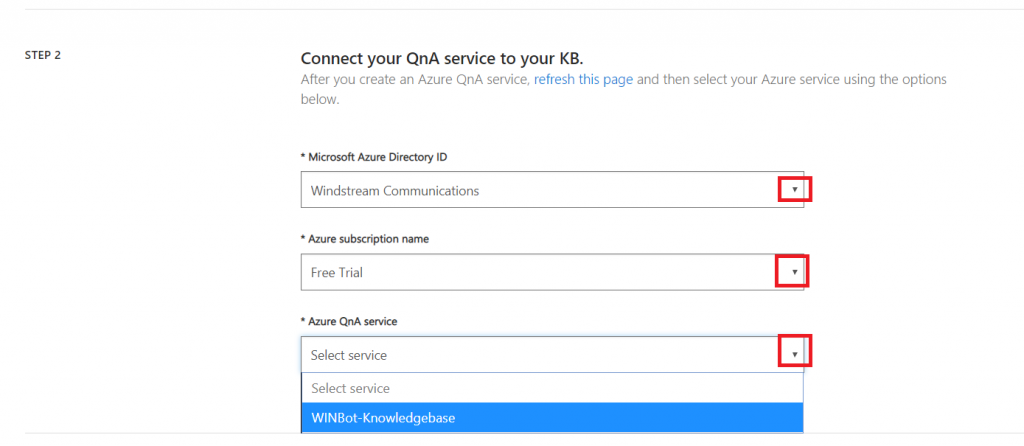
Return to the QnA Maker tab. In “Step 2”, click the drop-down arrows to select the Azure Directory (you should just see our company), the subscription (again, probably just the one), and the knowledge base we just created.
In “Step 3”, provide a name for your knowledge base. If you have an existing Q&A file, or a URL with Q&A pairs, you can import them here. I will enter question/answer pairs manually later.

Optionally, add ‘chit chat’ – this allows your bot to respond to common things users type like “do you know Siri” or “how are you”. It isn’t needed, but it saves adding answers to “are you there” manually. This imports question sets to your KB, so you can remove any you don’t feel are appropriate for your implementation.

Click “Create your KB”.
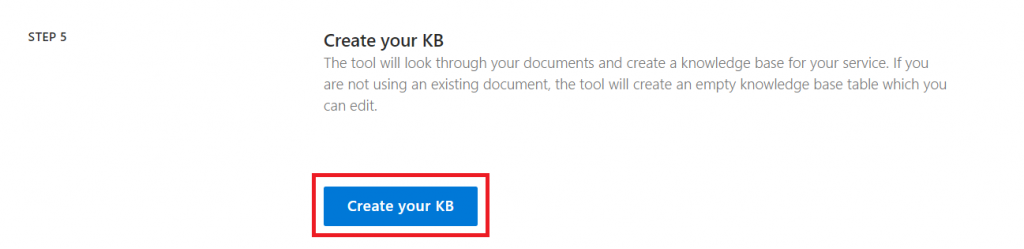
And wait a few minutes.
Once the KB has been created, click “Add QnA pair” to begin adding questions. You can also scroll through the imported “chit chat”questions and modify/remove any you don’t like.
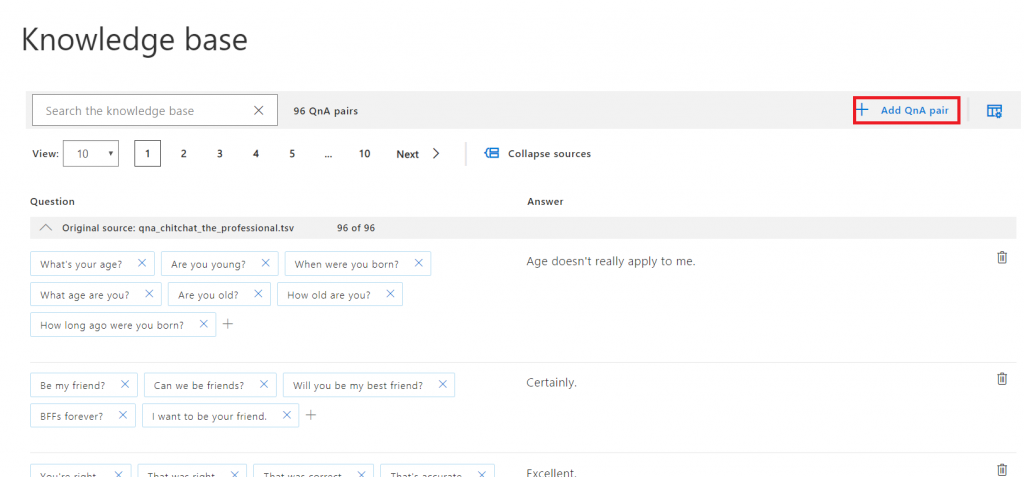
Answers use markdown formatting, so you can add hyperlinks, italics, bold, numbered lists.

Once you have added your question/answer pairs, click “Save and train” – training allows the bot to respond with an appropriate answer when the question isn’t exactly one of the questions provided.

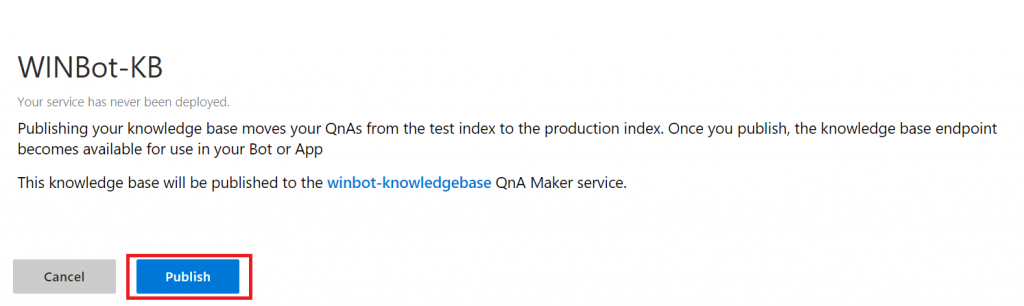
Wait again … when you are returned to the q&a pair screen, click “Publish” – this implements your changes in production. You can stage changes, allowing others to review them, by waiting to click Publish.

Read the warning – assuming you actually want your changes to be in production, click “Publish”.
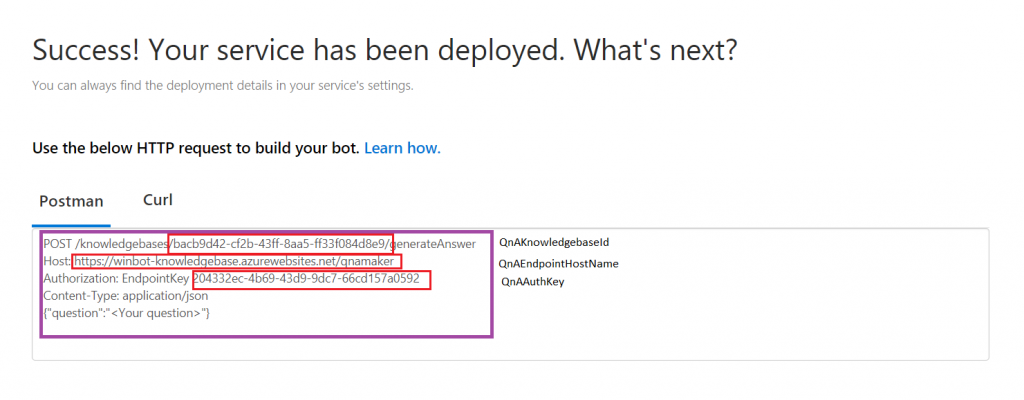
Wait some more, and you have an endpoint!
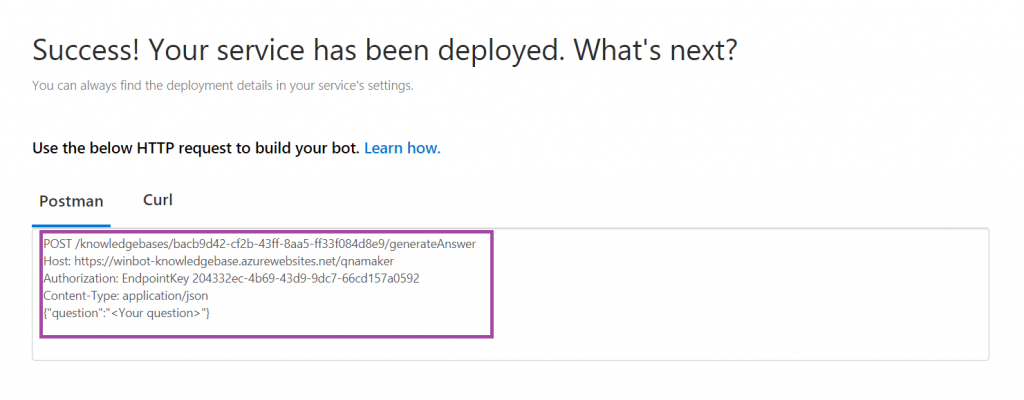
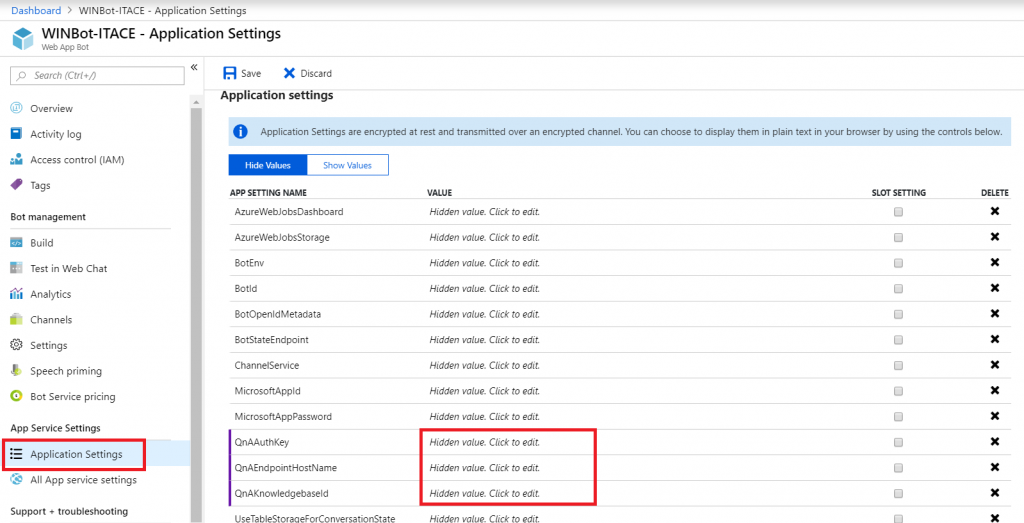
Copy the ‘stuff’ from the box into a text file somewhere. Find your QnAEndpointHostName, QnAKnowledgebaseId, and QnAAuthKey
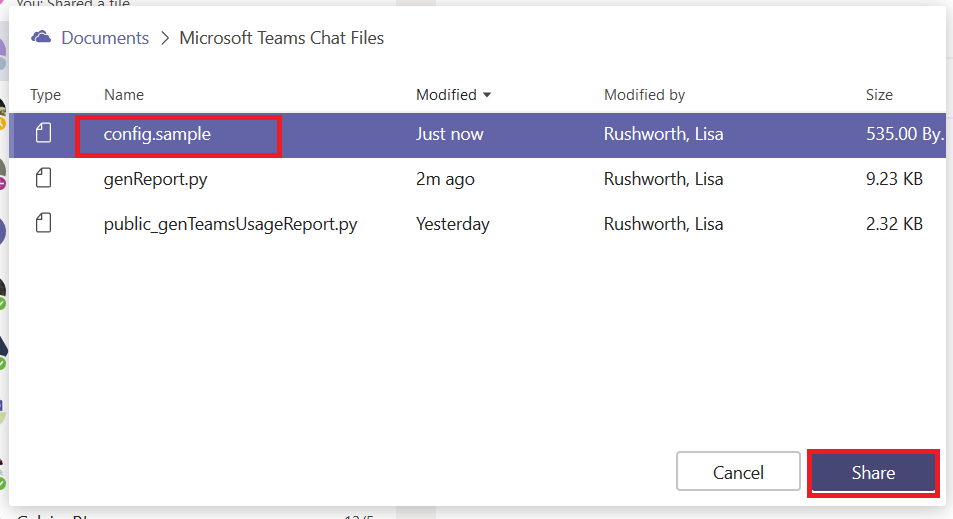
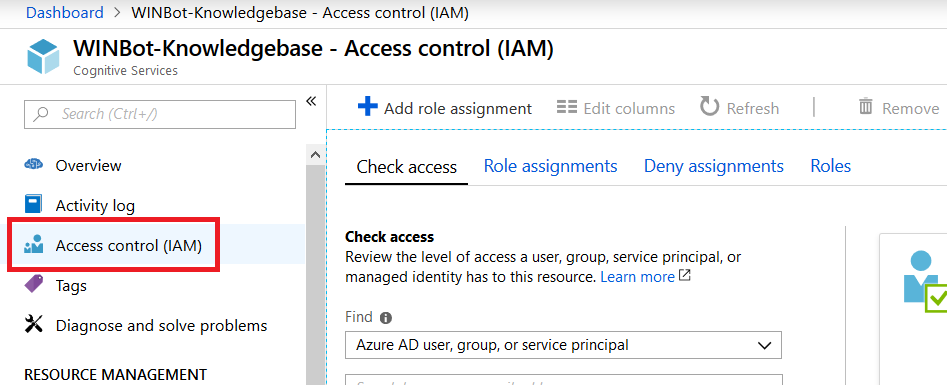
Unless you are going to be the *ONLY* person editing your KB (and never go on holiday, never ring up sick), you’ll want to share access with others. Log into https://portal.azure.com and locate your “cognitive service”. Click on its name to edit it.
Click on “Access control (IAM)”
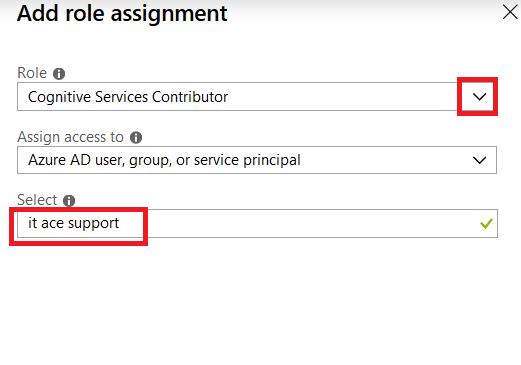
In the “Add a role assignment” section, click “Add”.
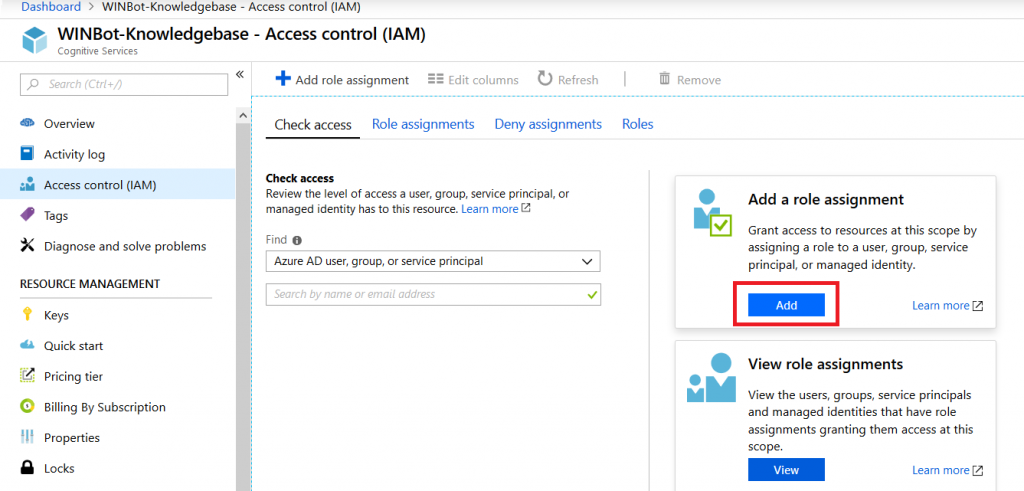
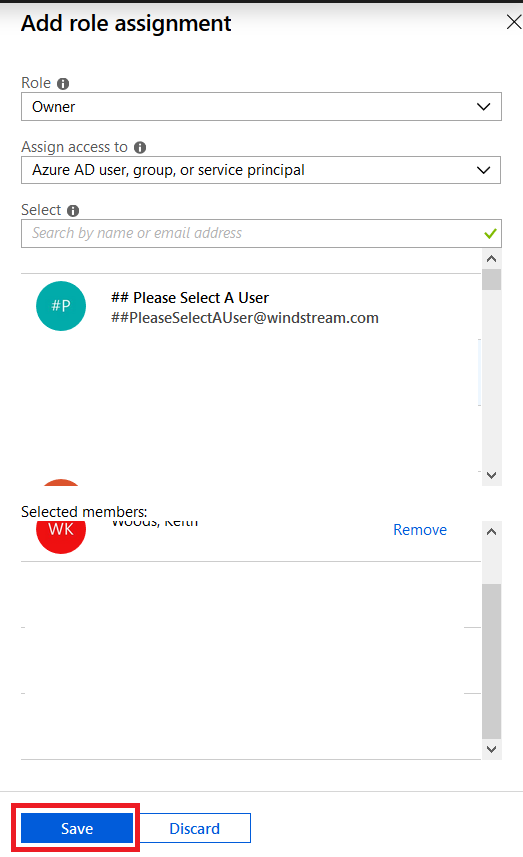
Select either “Cognitive Services Contributor” or “Owner” as the role (owners are allowed to manage all settings, including permissions whereas service contributors can only manage data within the knowledge base). Enter an Active Directory group name – you can enter individual people, but then someone will need to manually edit the permissions as people join and leave your group.
If you didn’t select owner, make sure you add some other owners (either a group or a few people)
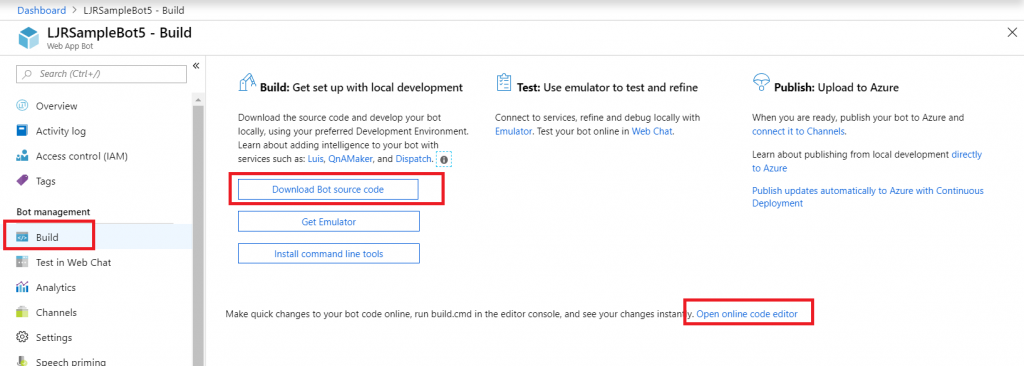
Now we’re ready to set up a bot …
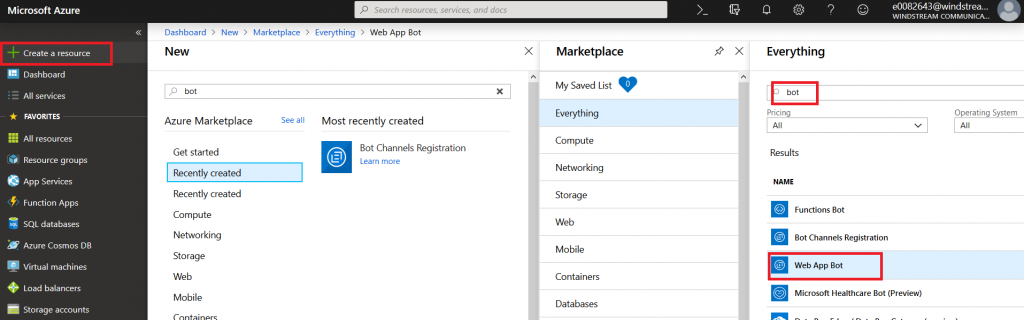
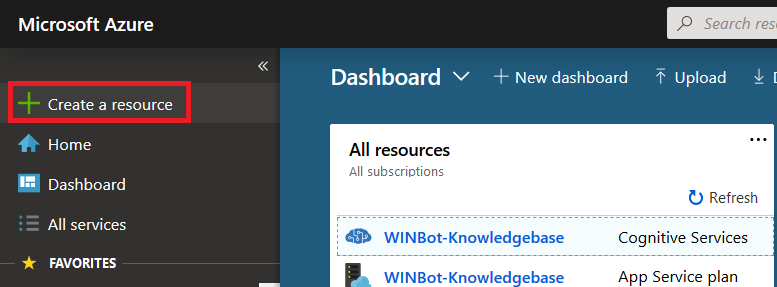
Microsoft Teams uses Azure bots – so you’ll need to create an Azure bot. From https://portal.azure.com, click on ‘Create a resource’.
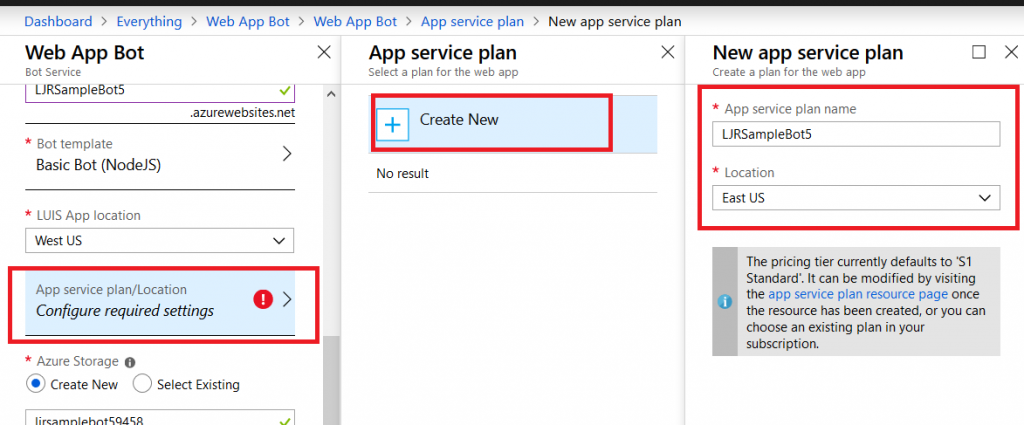
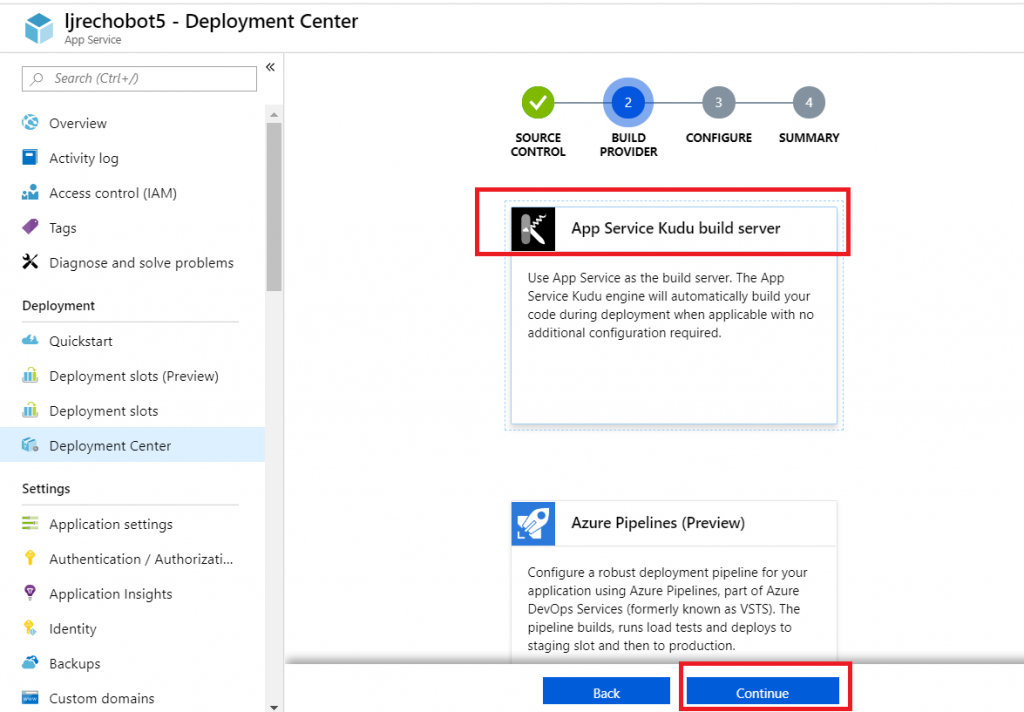
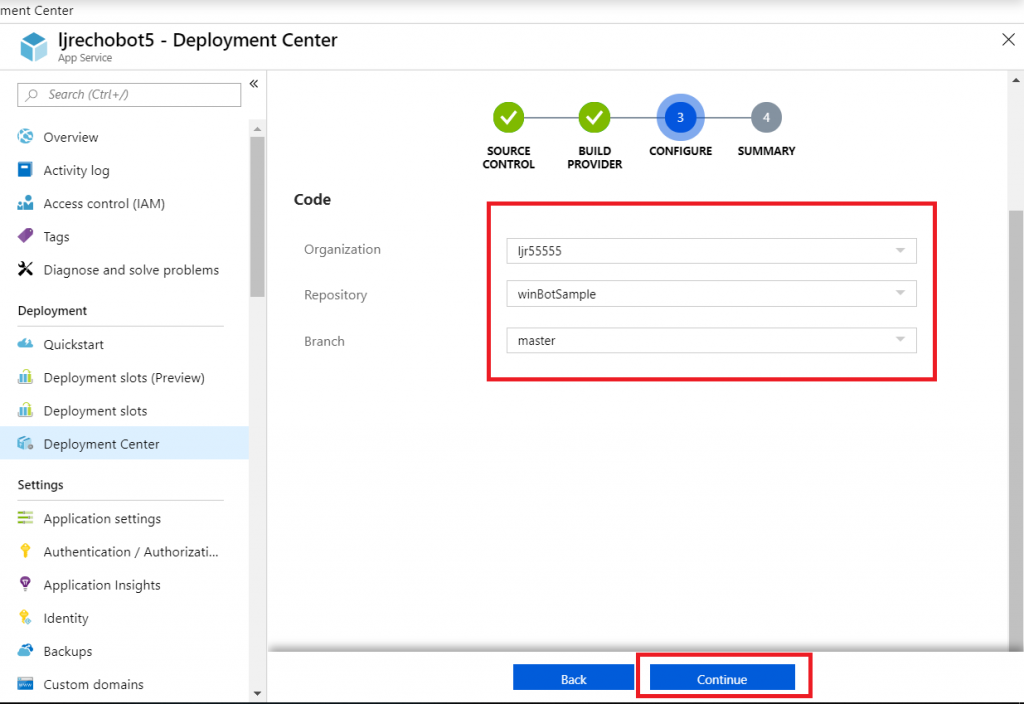
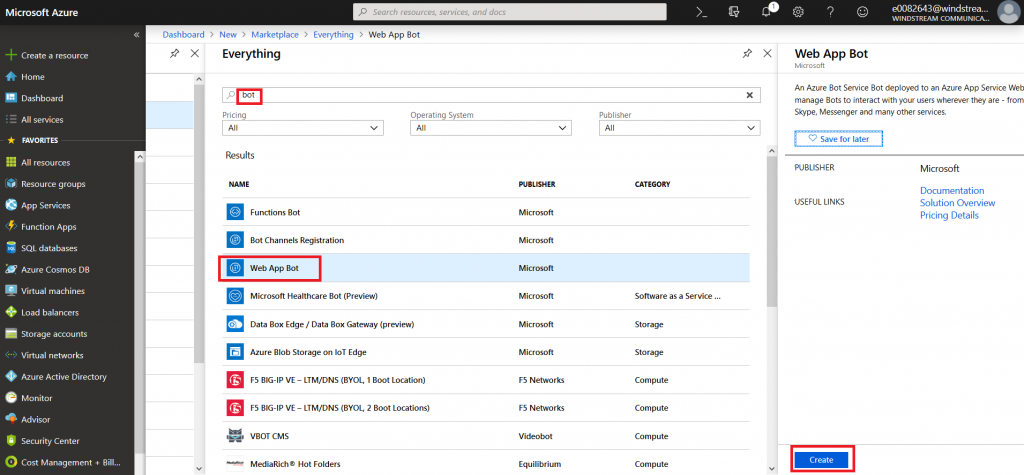
Search for “bot” and find the bots you are looking for. Either “Functions Bot’ and “Web App Bot” can be selected – I am using a WebApp bot because that’s what I’ve used for other bots I’ve coded. Functions bots use Azure functions, which are C# scripts, for logic processing; WebApp bots use WebAPIApp Service for logic processing (C# or NodeJS). If you’re not planning on tweaking anything … doesn’t much matter. Click “Create” to create the bot.
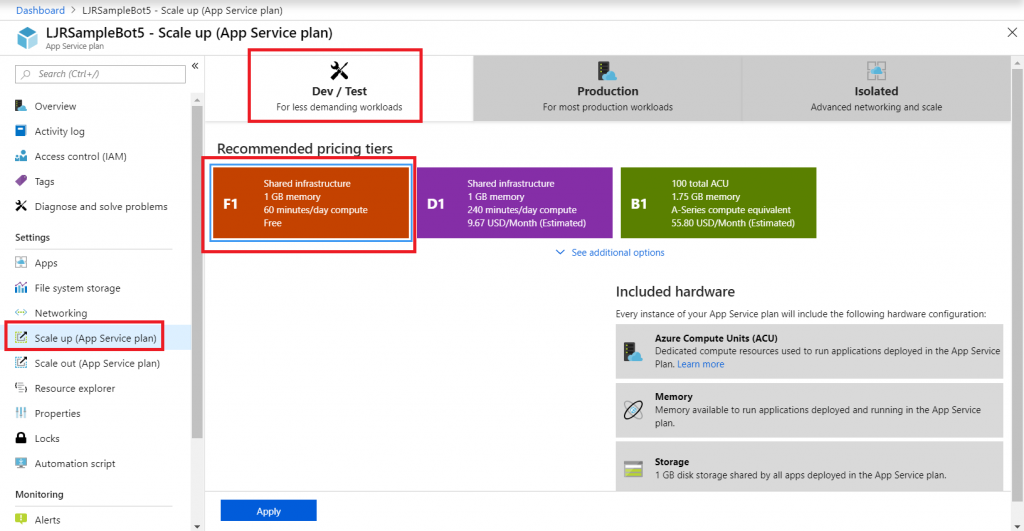
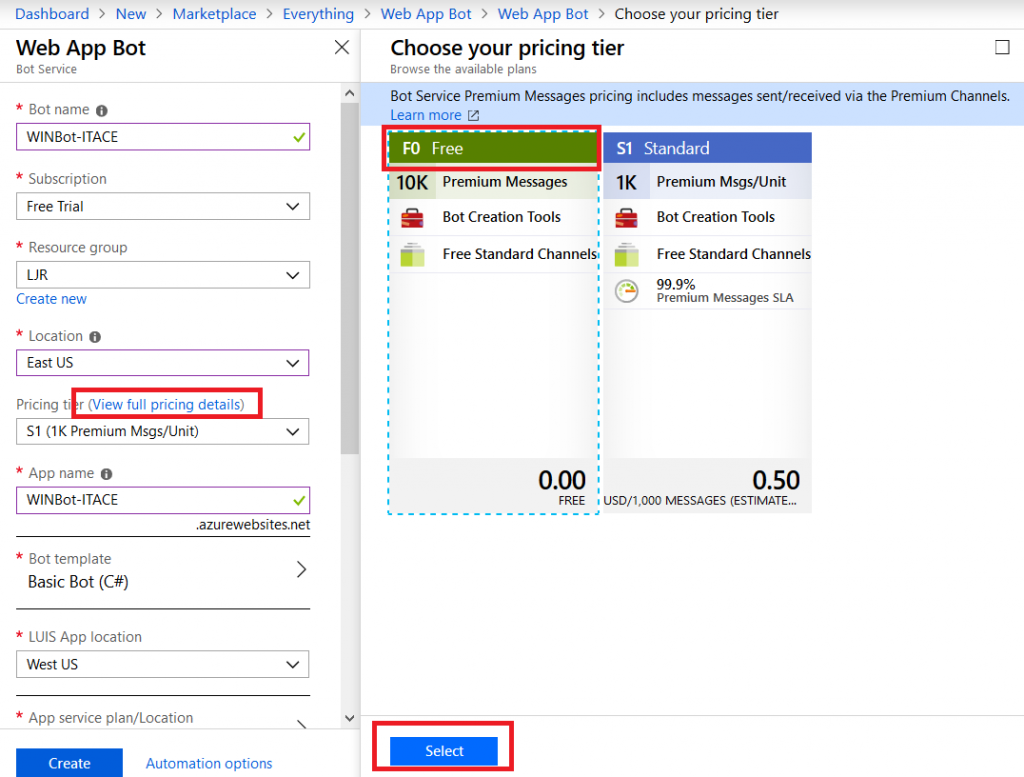
Give your bot a name – this needs to be unique. In the pricing tier, click on “View full pricing details” to see the options. Again, I am selecting the free tier. Don’t forget to hit ‘select’, or your selection will not be updated.
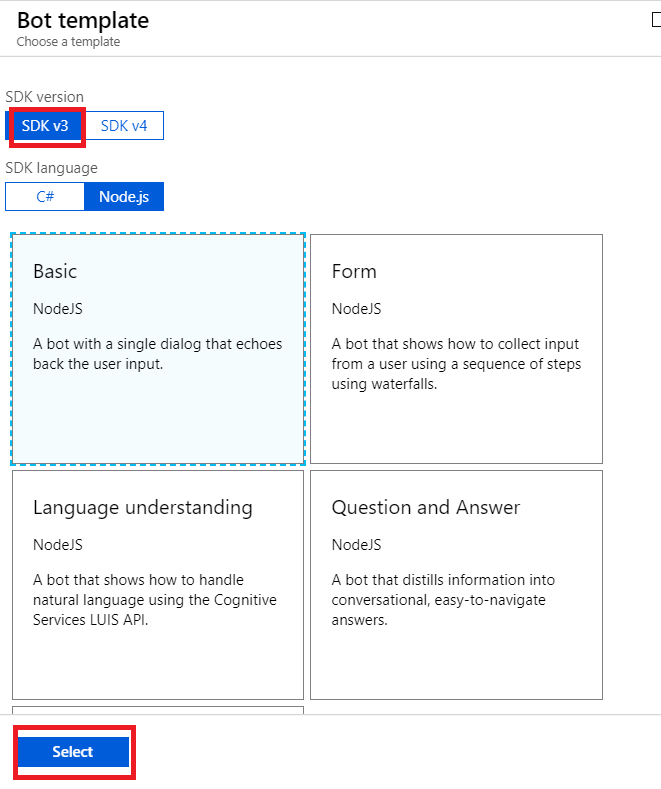
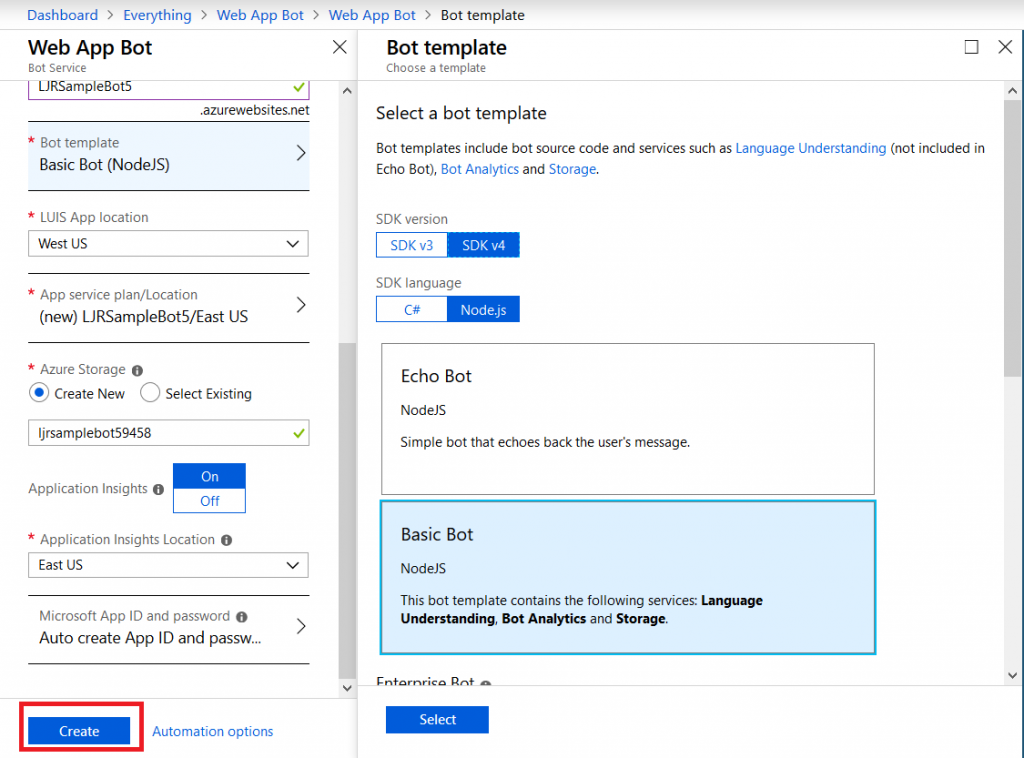
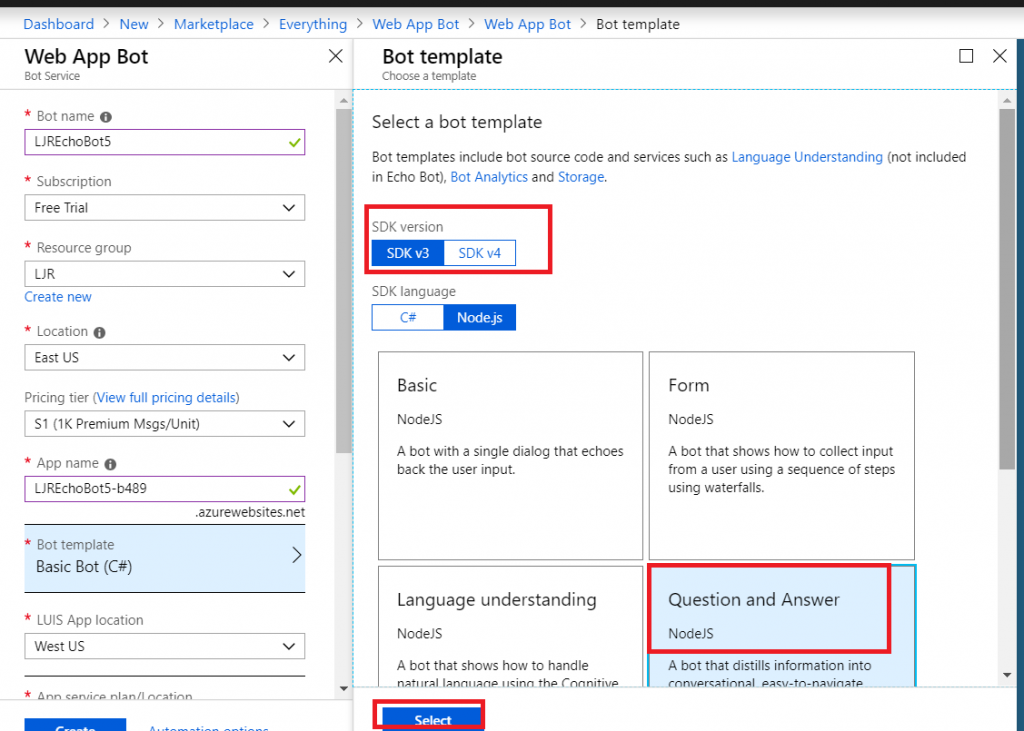
When you get to the bot template section, you can pick either C# or NodeJS – again, if you don’t plan on tweaking anything … doesn’t much matter. I am using C# because I know C#. Select the SDK v3, then find the “Question and Answer” bot template. Again, don’t forget to click “Select” or your selection won’t be saved.
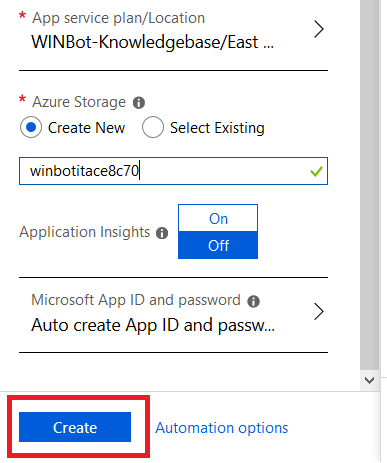
Create a new storage location, disable application insights (it’s a for-fee add-on), and click “Create”.
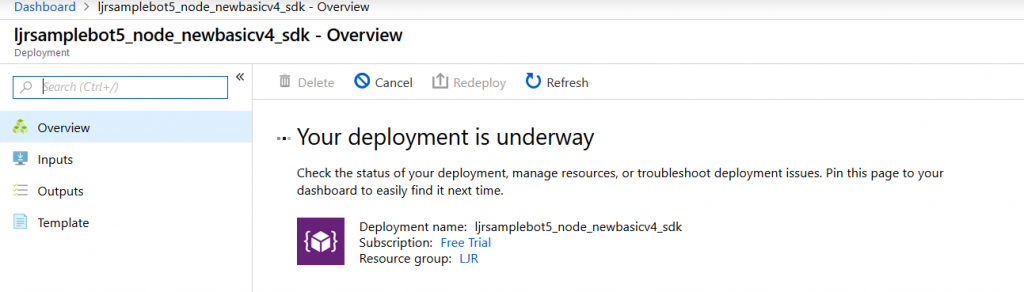
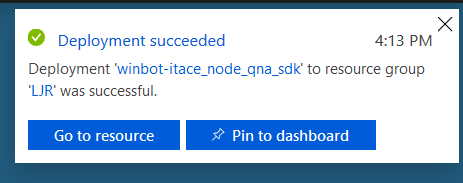
Wait for it …. You’ll see a blue bar running under the bell icon in the upper right-hand corner of the site.

Soon, you’ll see a success message in the upper right-hand corner.
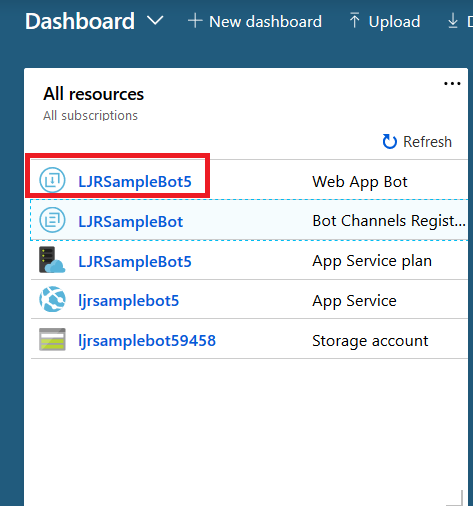
Refresh the resources on the dashboard and select the “WebApp Bot”. Under ‘App Service Settings’, go into “Application Settings”. Here’s where you enter the QnA information we saved after your knowledge base was published. Click in the “Value” column to paste in the values for QnAAuthKey, QnAEndpointHostname, and QnAKnowledgebaseId. Don’t have them? No big – go back to QnA Maker, open your KB, and select the “Settings” tab. There it is again!
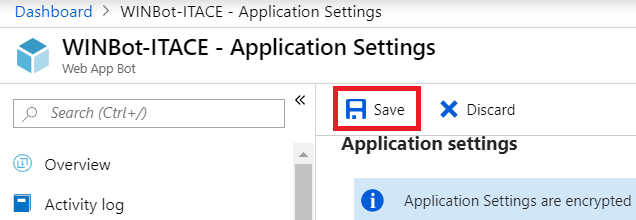
Click “Save” to commit your changes.
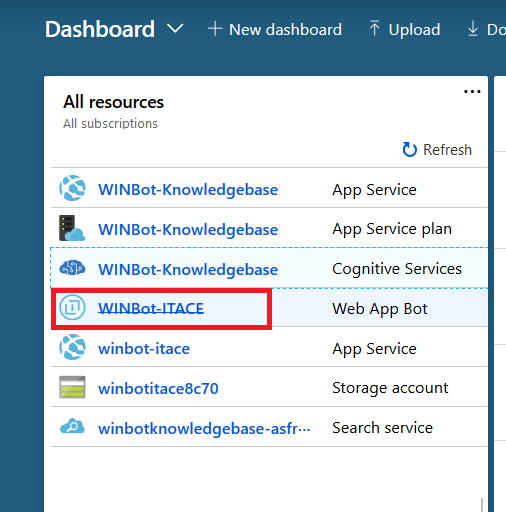
Return to the Dashboard and select your “Web App Bot”
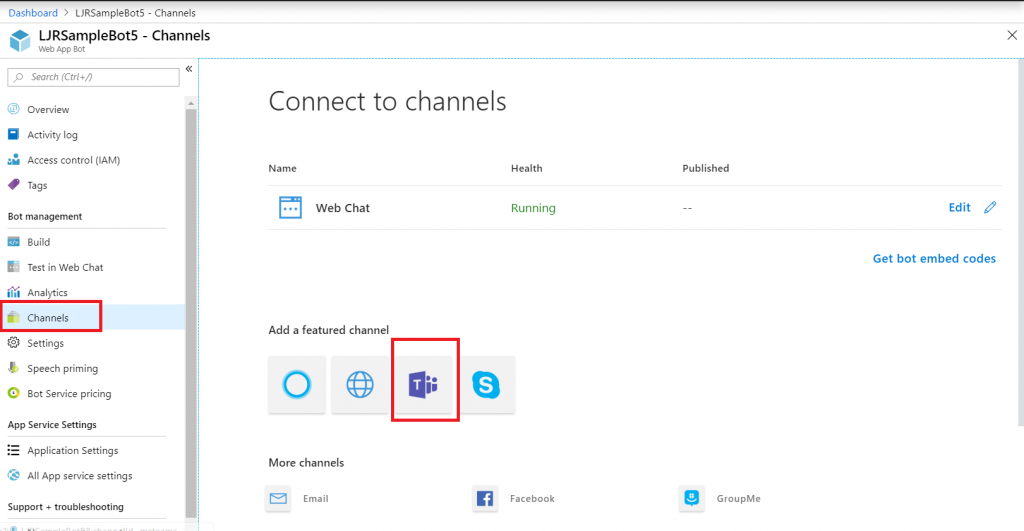
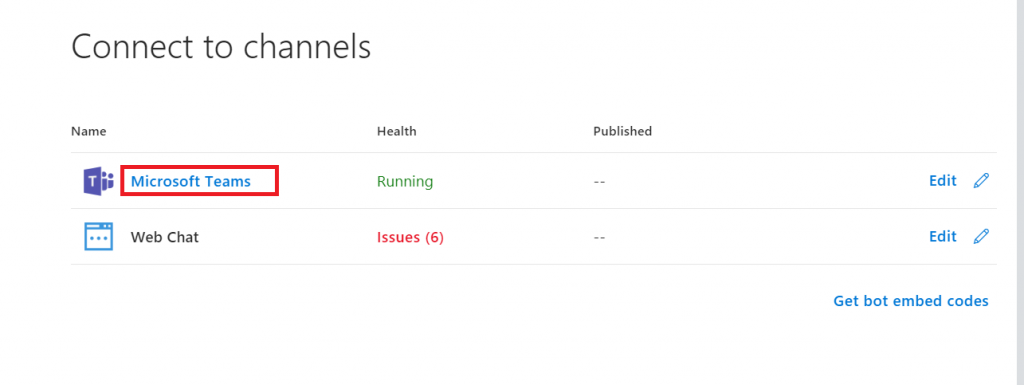
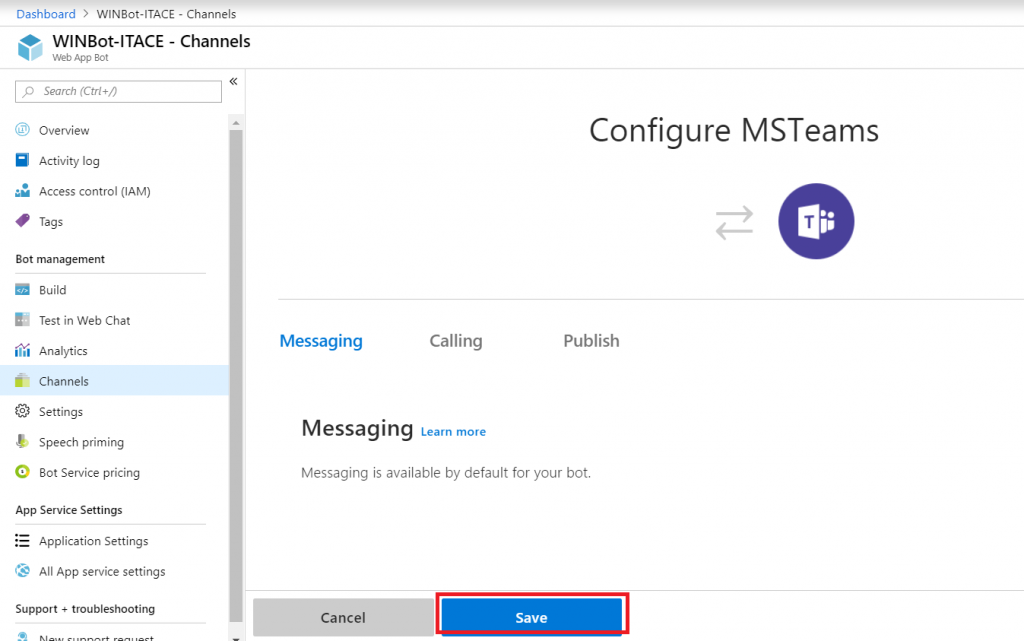
In the left-hand navigation column, select “Channels”. Click on the Teams logo.
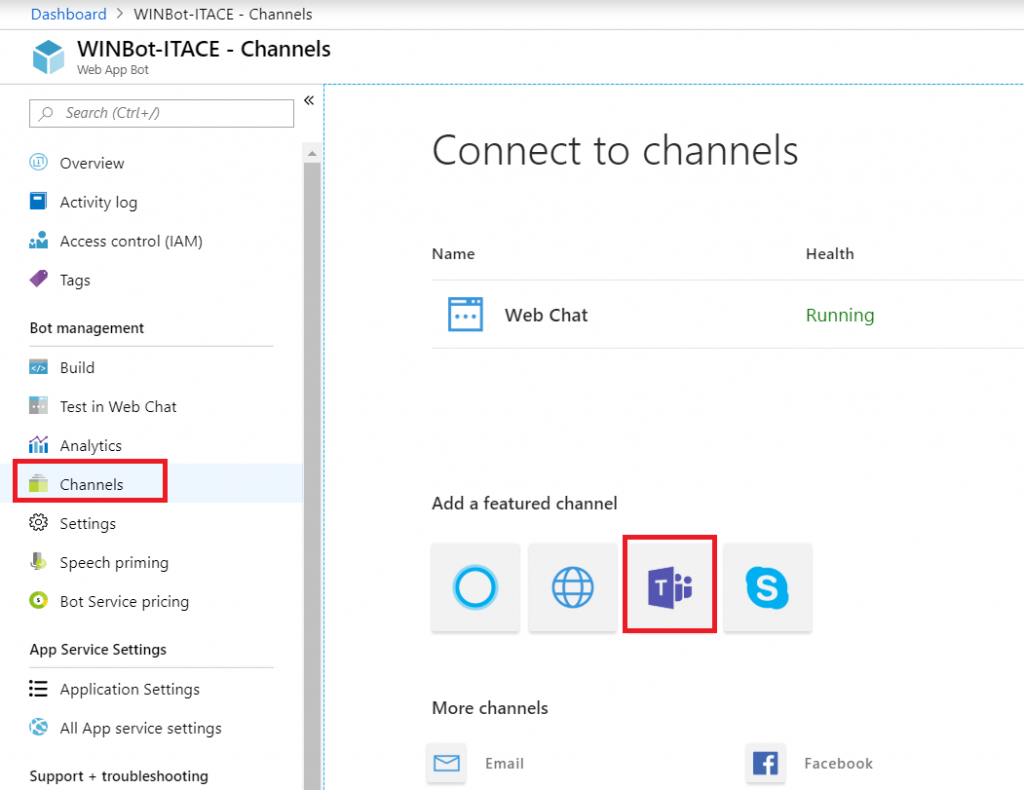
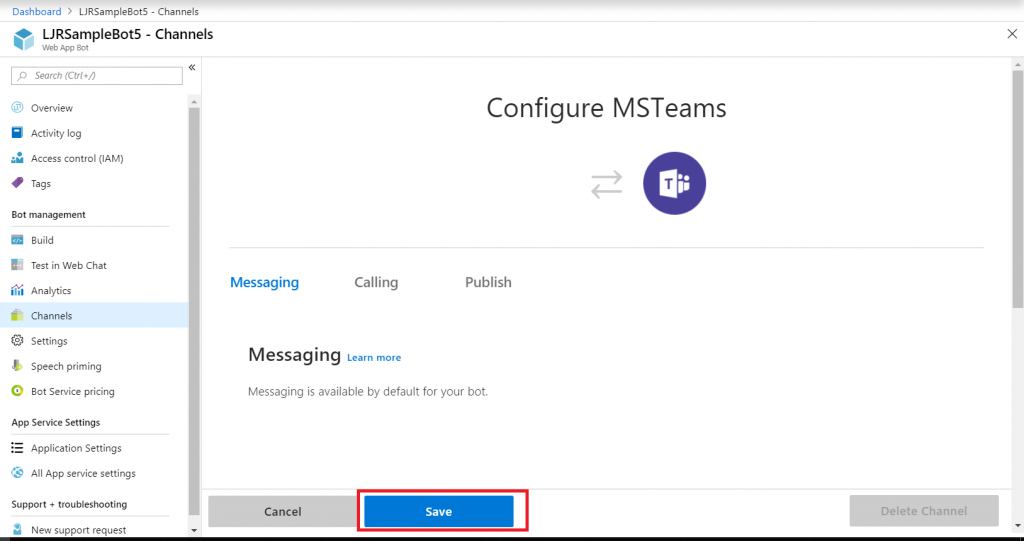
The “Calling” tab will enable IVR or real-time media interaction with your bot – I have never done this, it may not be possible with our product set. “Publish” is to publish your Bot in the Microsoft store – not something I want to do with a bot designed to answer employee-specific questions, but I could see creating a Enterprise Customer Q&A bot that enterprise customers can add to their Teams spaces … in which case, making the bot available in the Microsoft Store would be convenient. Click “Save” to create a Teams channel for communication with your bot.
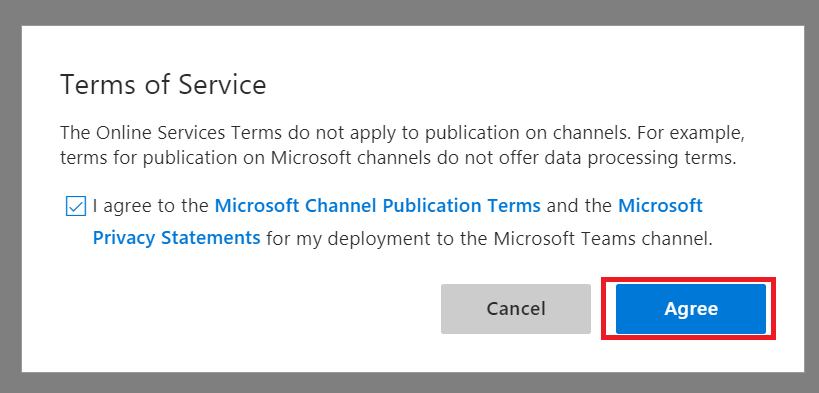
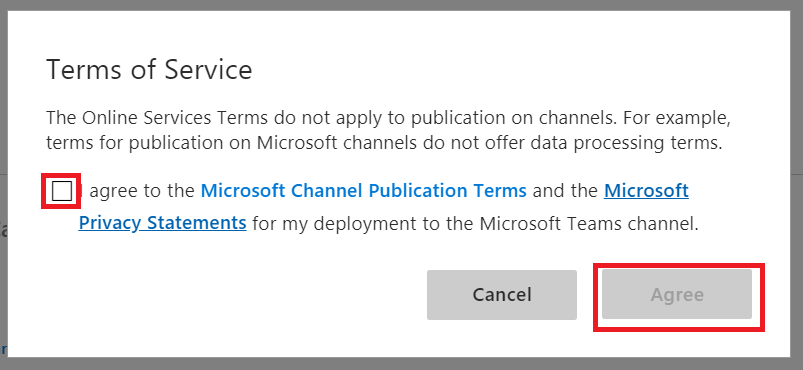
Read the publication terms and privacy statement. If you agree, check the box and click “Agree”.
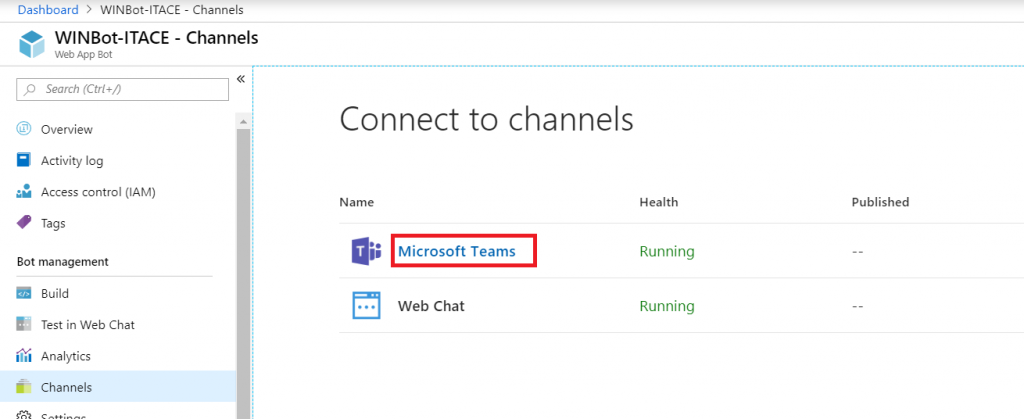
In the Channel section, click the “Microsoft Teams” hyperlink.
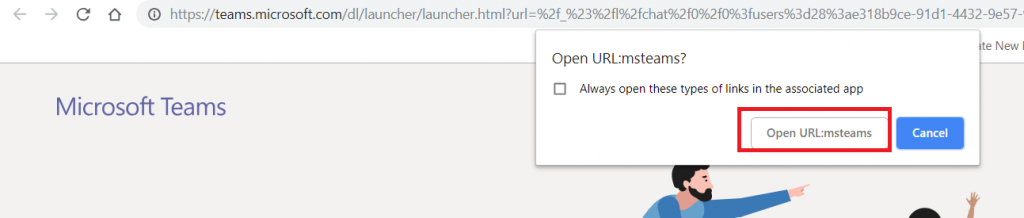
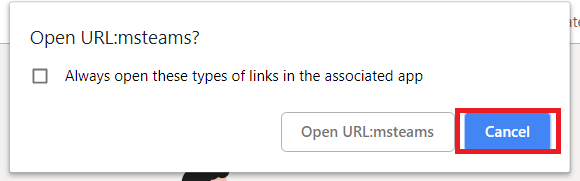
This will open a new browser tab. Click “Cancel” so you can copy the URL.
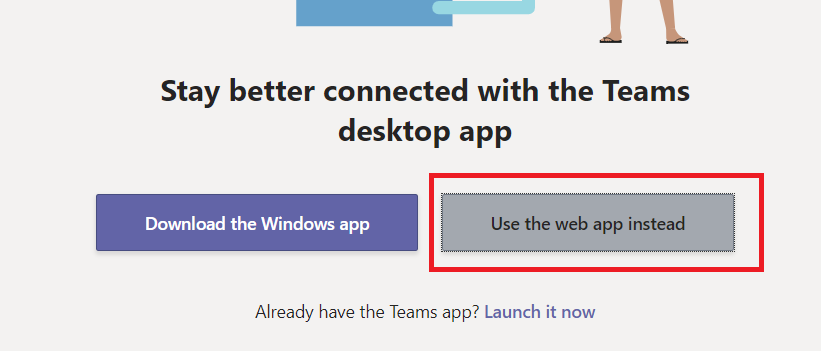
Once you’ve copied the URL, click “Open in Teams web app” to interact with your bot using the Teams web client (or ‘launch it now’ for Teams desktop client)

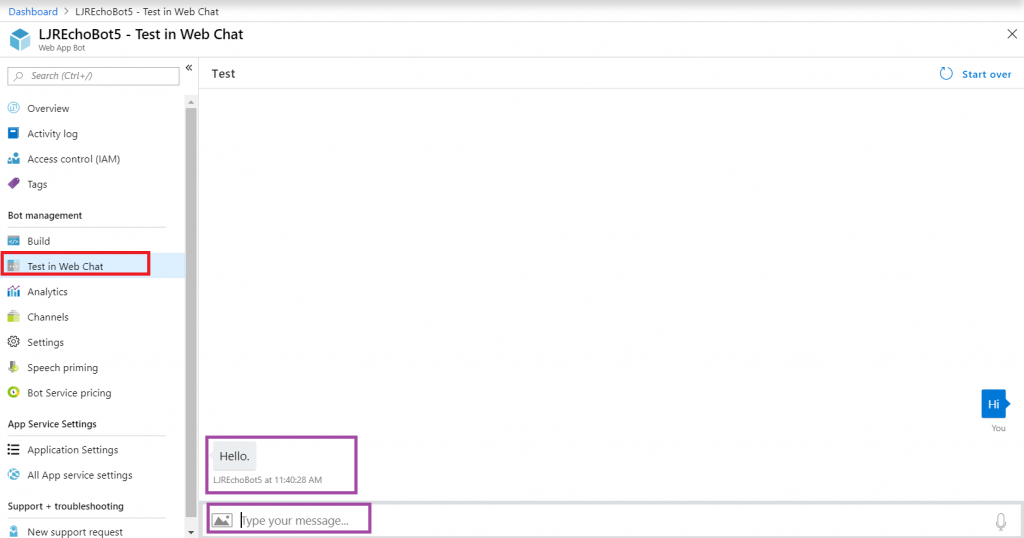
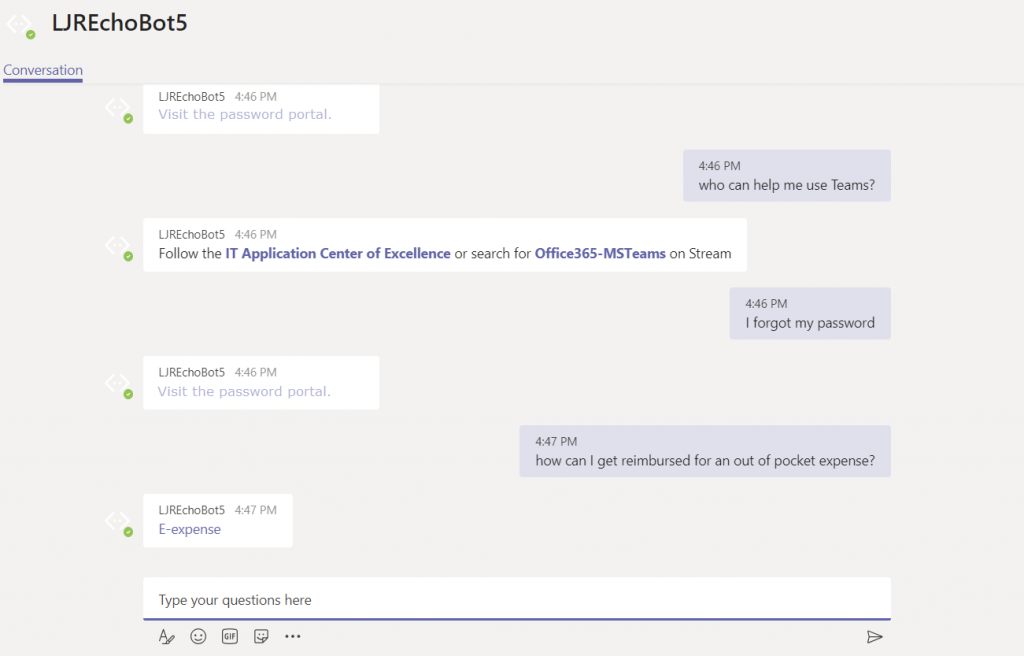
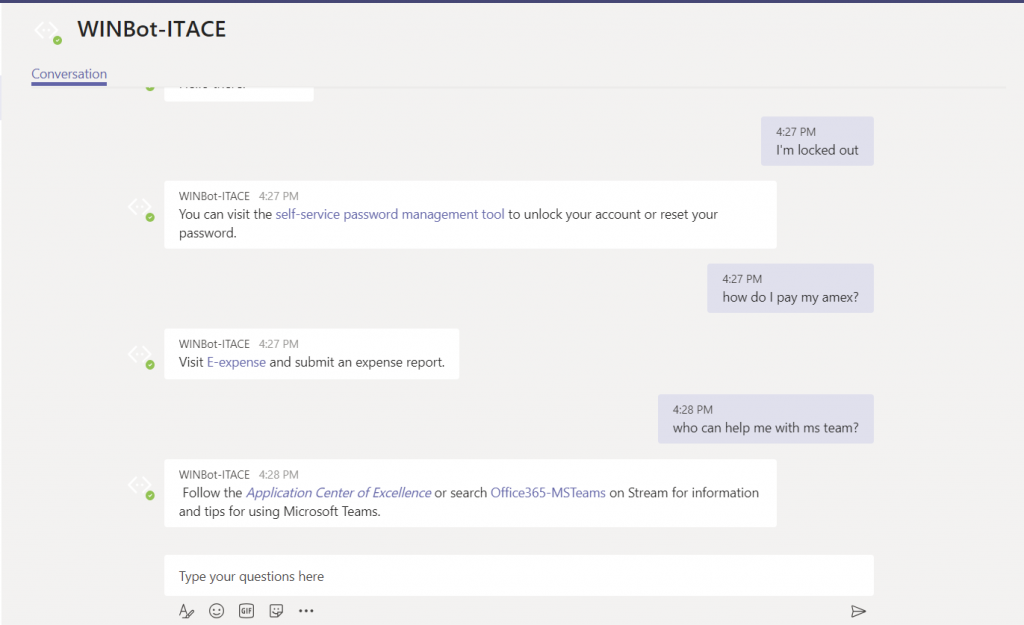
It’s alive! Ask some questions and verify that your answers are being delivered. Check for formatting problems or bad hyperlinks.
I don’t want a bunch of people attaching to my test data, so the resources created above have been deleted. I’ve created a new bot with different details. Open https://teams.microsoft.com/dl/launcher/launcher.html?url=%2f_%23%2fl%2fchat%2f0%2f0%3fusers%3d28%3aab23fc5a-3151-495c-a02c-592b38148599&type=chat&deeplinkId=64b01c1e-5a2a-4456-a673-c02c3e04b532&directDl=true&msLaunch=true&enableMobilePage=true in Teams, you’ll be able to interact with my bot.
Q&A Maintenance
Anyone you have set as “Cognitive Service Maintainer” or“Owner” should be able to use QnA Maker to maintain the question and answer set. Log in to https://www.qnamaker.ai, select the “My knowledge bases” tab, and click on the knowledge base name. Modify/add question/answer pairs, then click “Save and train”, then “Publish”.