I usually find myself at-mentioning the same handful of people in Teams channels – the managers, project leads, or SME’s. In a situation where I know everyone pretty well, that’s OK. A little time consuming as I get the three or four names typed in. And it’s not always obvious who the “go to” people in a Team should be. I find myself reading through a bunch of old posts just to figure out who is a good contact for a question.
Microsoft has introduced the idea of tagging individuals in Teams. These tags are defined within a Teams space – so the “managers” in Team XYZ aren’t the same “managers” from Team ABC. Tags both provide a shortcut – instead of typing the three individual manager’s names, I can at-mention managers – and a way of identifying people’s roles within the team – you can find the SMEs, Team Leads, or Tech Contacts just by looking at those tags.
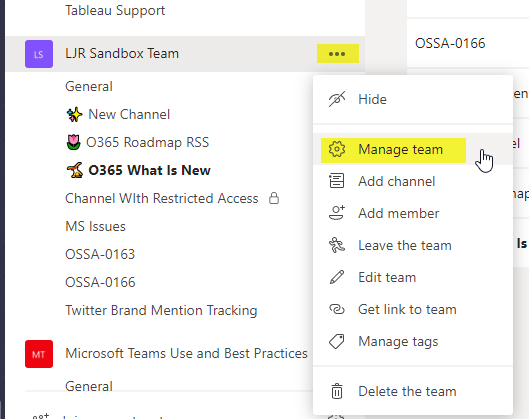
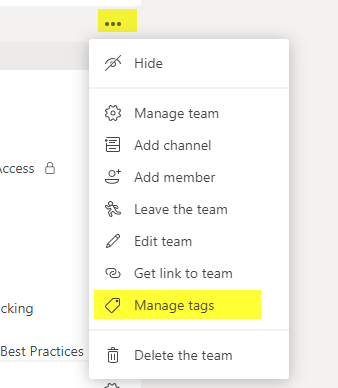
How do you set up tags? You need to be a Team owner. Anyone can view the tags you set up, but creating tags is something only Team owners can do. Click on the ellipses next to the Team name and select “Manage tags”
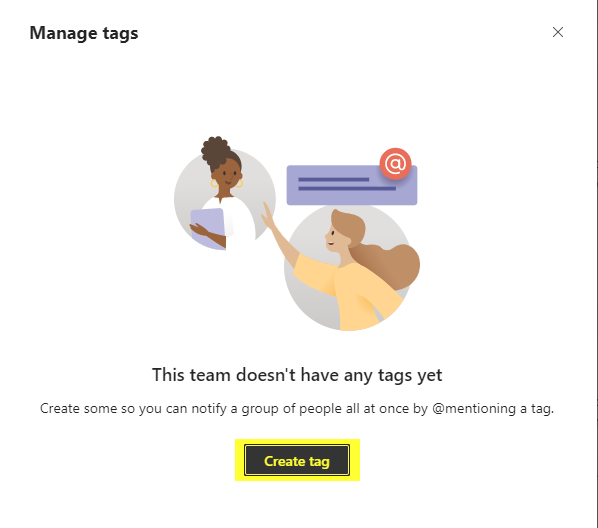
Select “Create tag”
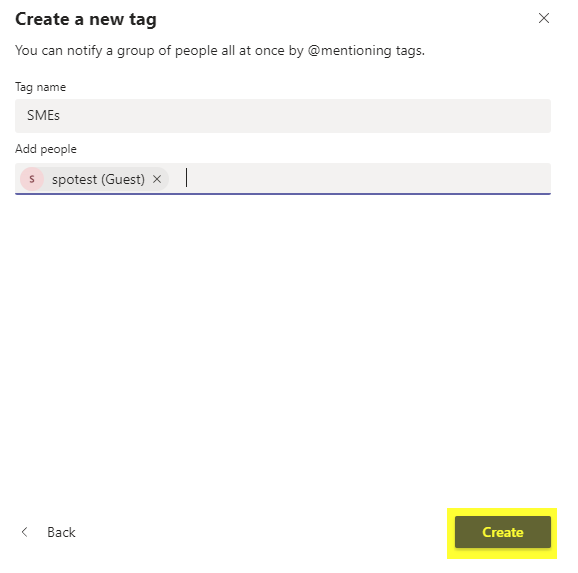
Give a name to your tag & start adding members
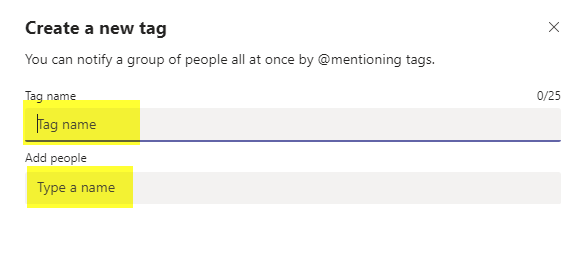
Tags aren’t objects that can be deleted – simply by removing all members from a tag, it disappears. So you’ll need to add someone here, even if that’s you. Click “Create” to create the tag.
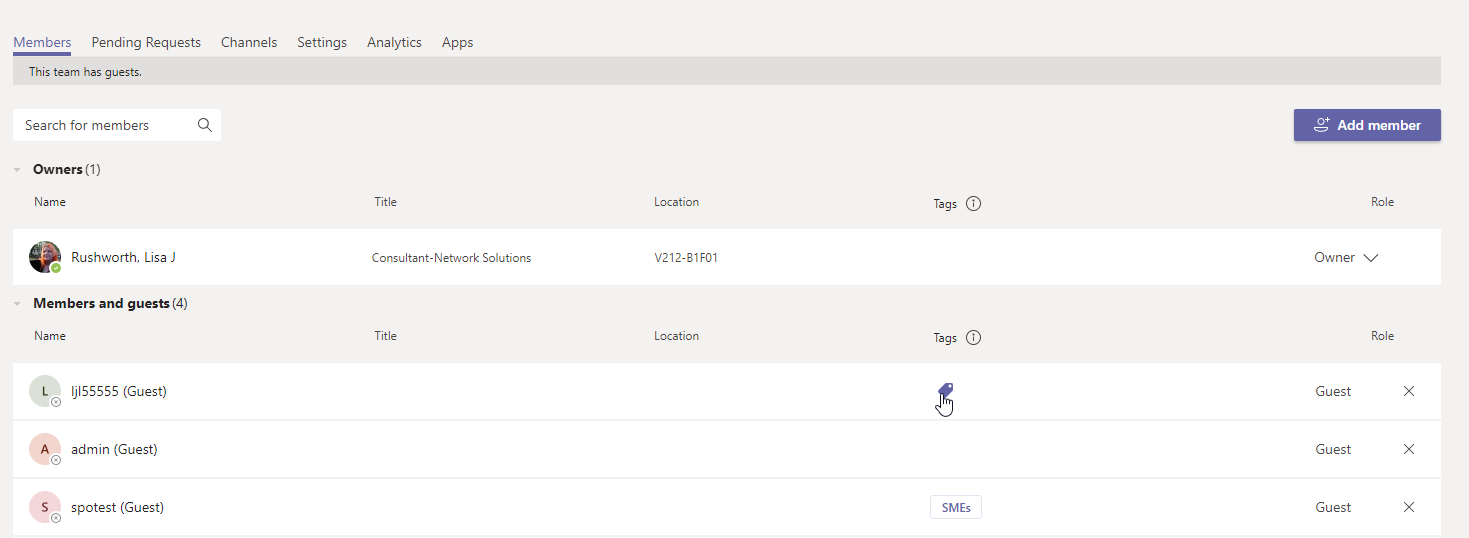
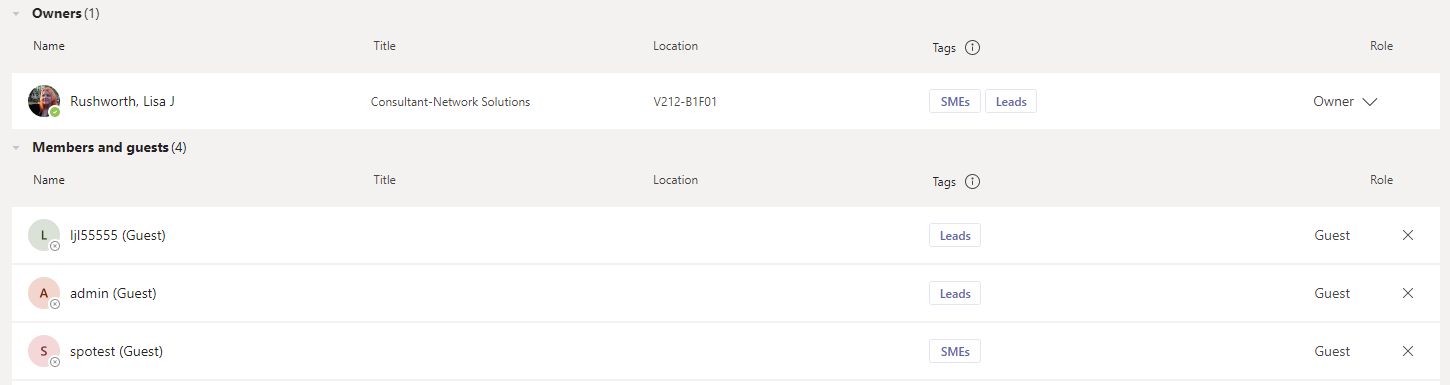
You can also manage tags by managing the Team members – you’ll see a column for the tags, and moving your mouse into the tags column for an individual will display a little tag icon you can use to add tags to the individual.
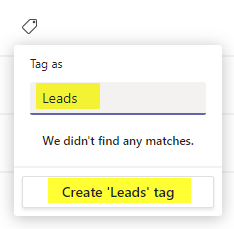
If you enter a tag that does not exist, you can click the button to “Create …” the tag.
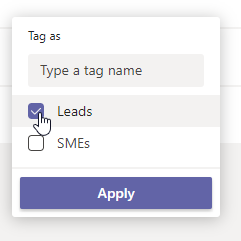
For existing tags, you can click the box to select the appropriate tags and select “Apply”
Now any team member can view the Team membership and see who is a project lead and who is an SME
Additionally, any Team member can at-mention these individuals by the tag. The display will indicate how many individuals are included in the tag – asking three people a question is probably reasonable, asking fifty may not be!
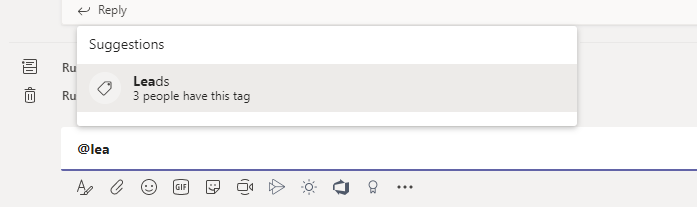
The at-mention will resolve as the tag name

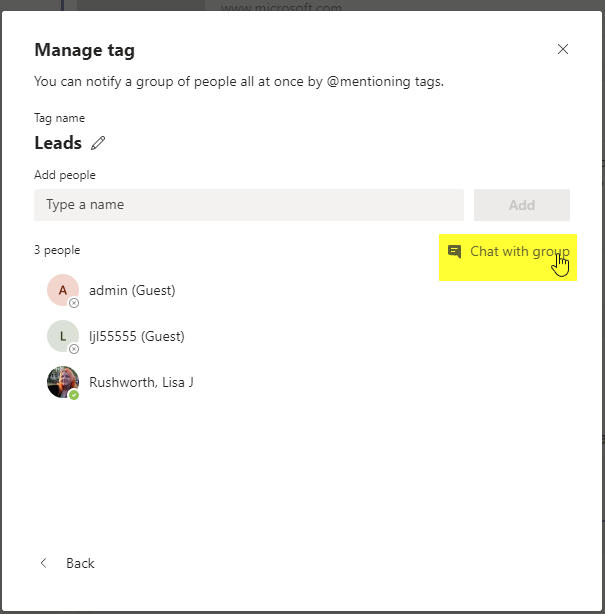
Another cool feature — when I look at the members of a tag, I can start a chat with those people.