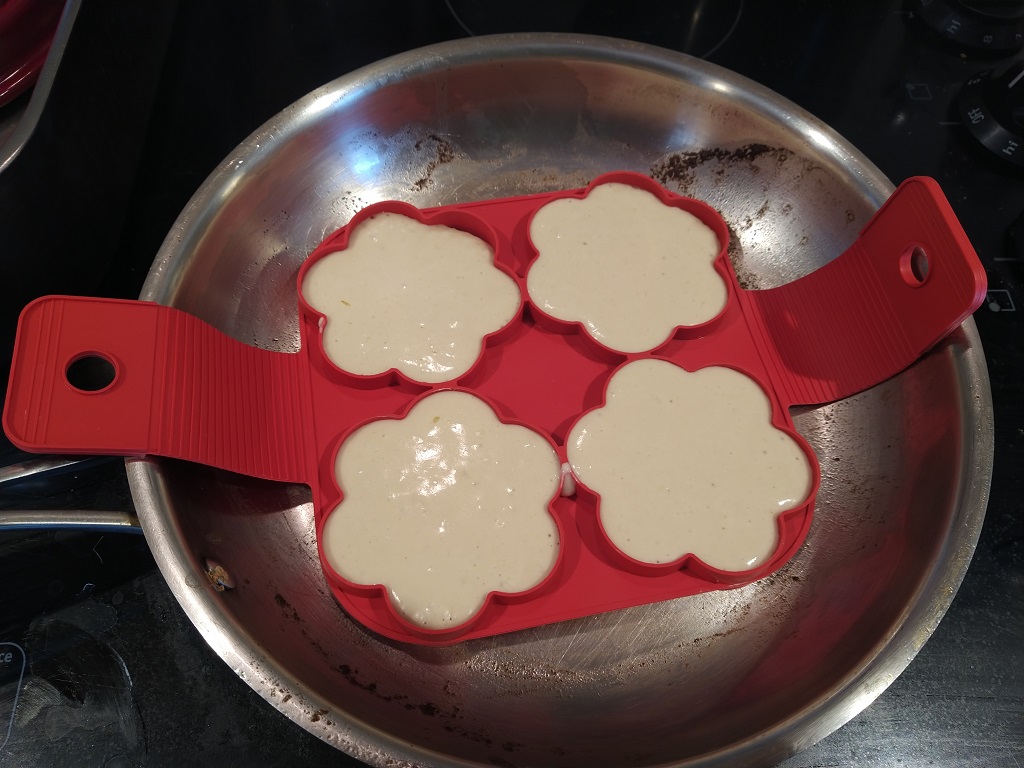
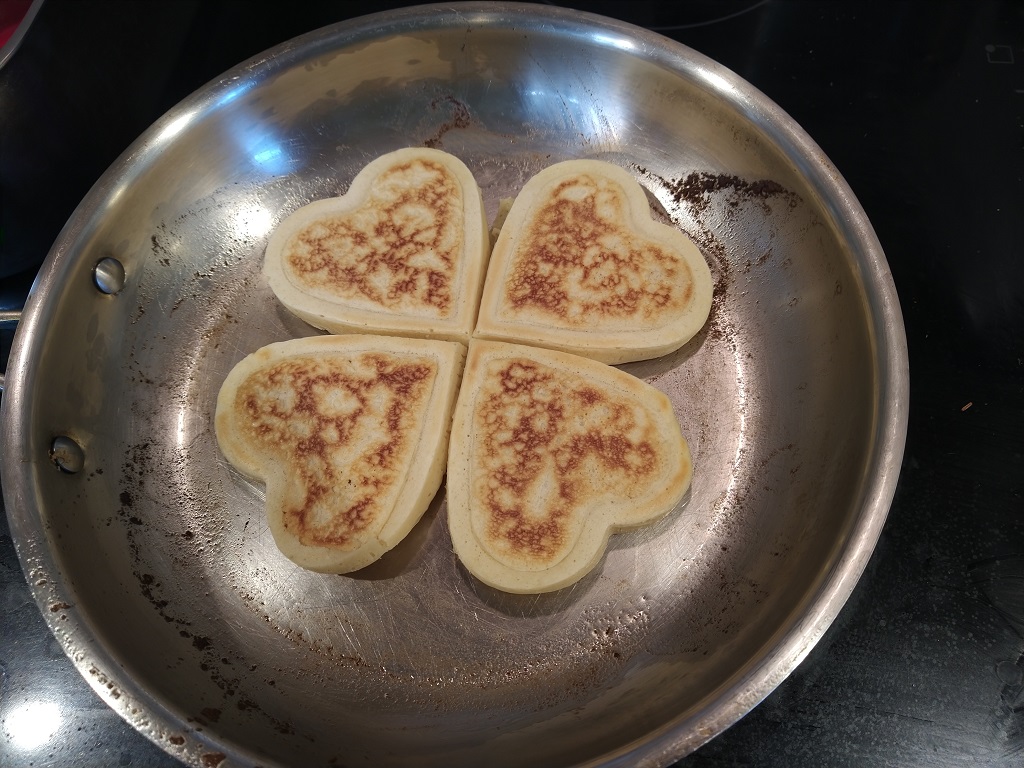
I had purchased silicone pancake molds a while ago — Anya likes to make fancy shaped pancakes, but I really do not like scrubbing cookie cutters that have been used as pancake forms. Finally tried them out today — they are really easy to use. If you put the part with the lip facing down, pour in some batter, and let them cook … you can pick up the mold and flip it to continue cooking the other side.
Voila — we’ve got heart and flower shaped pancakes:
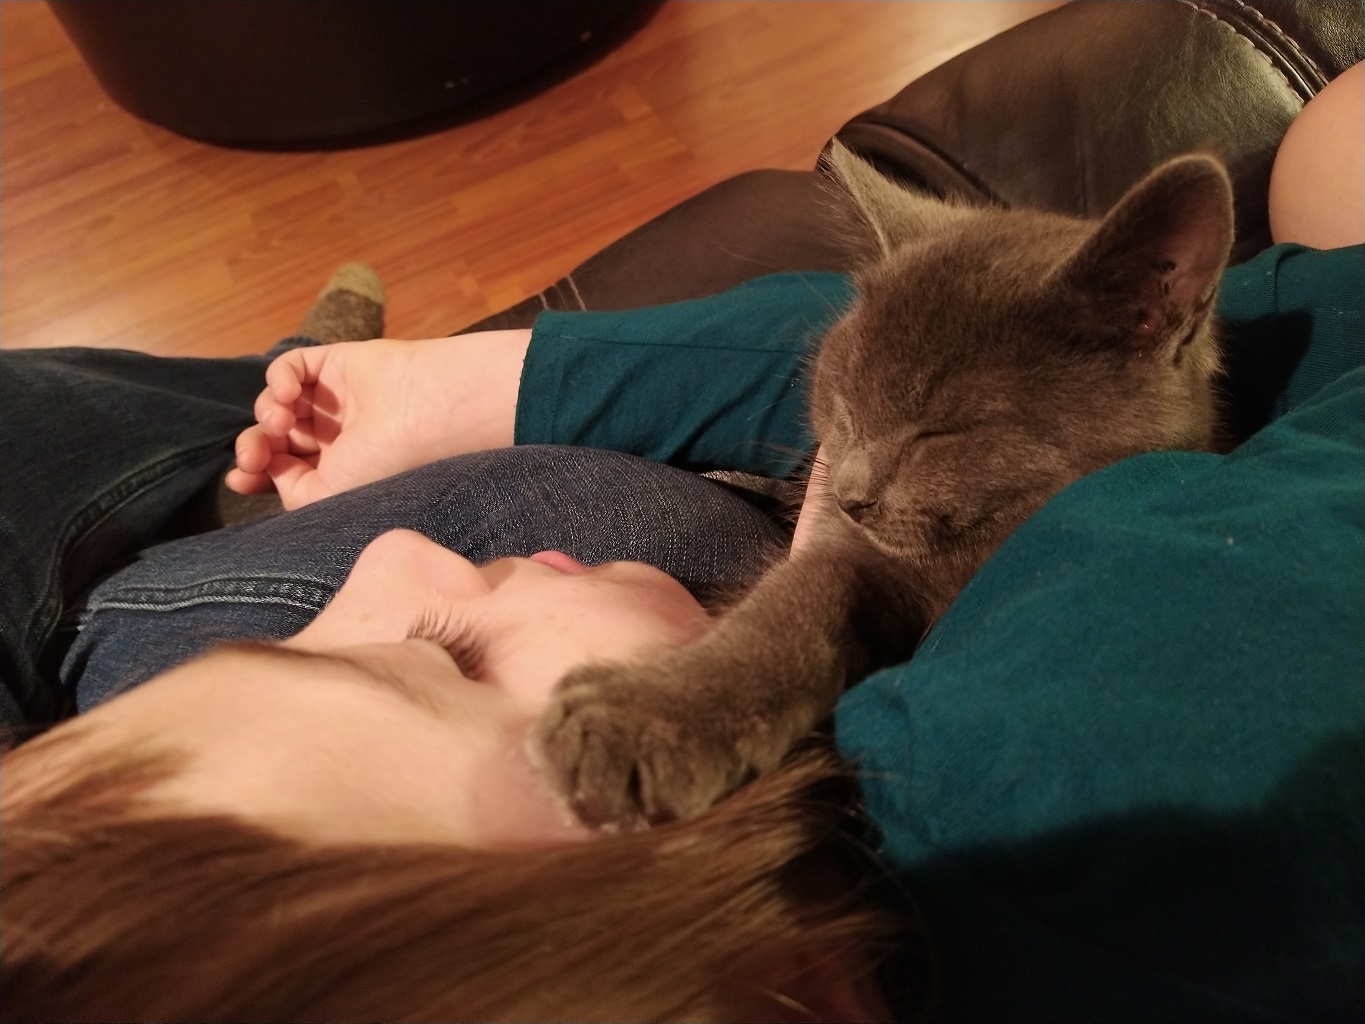
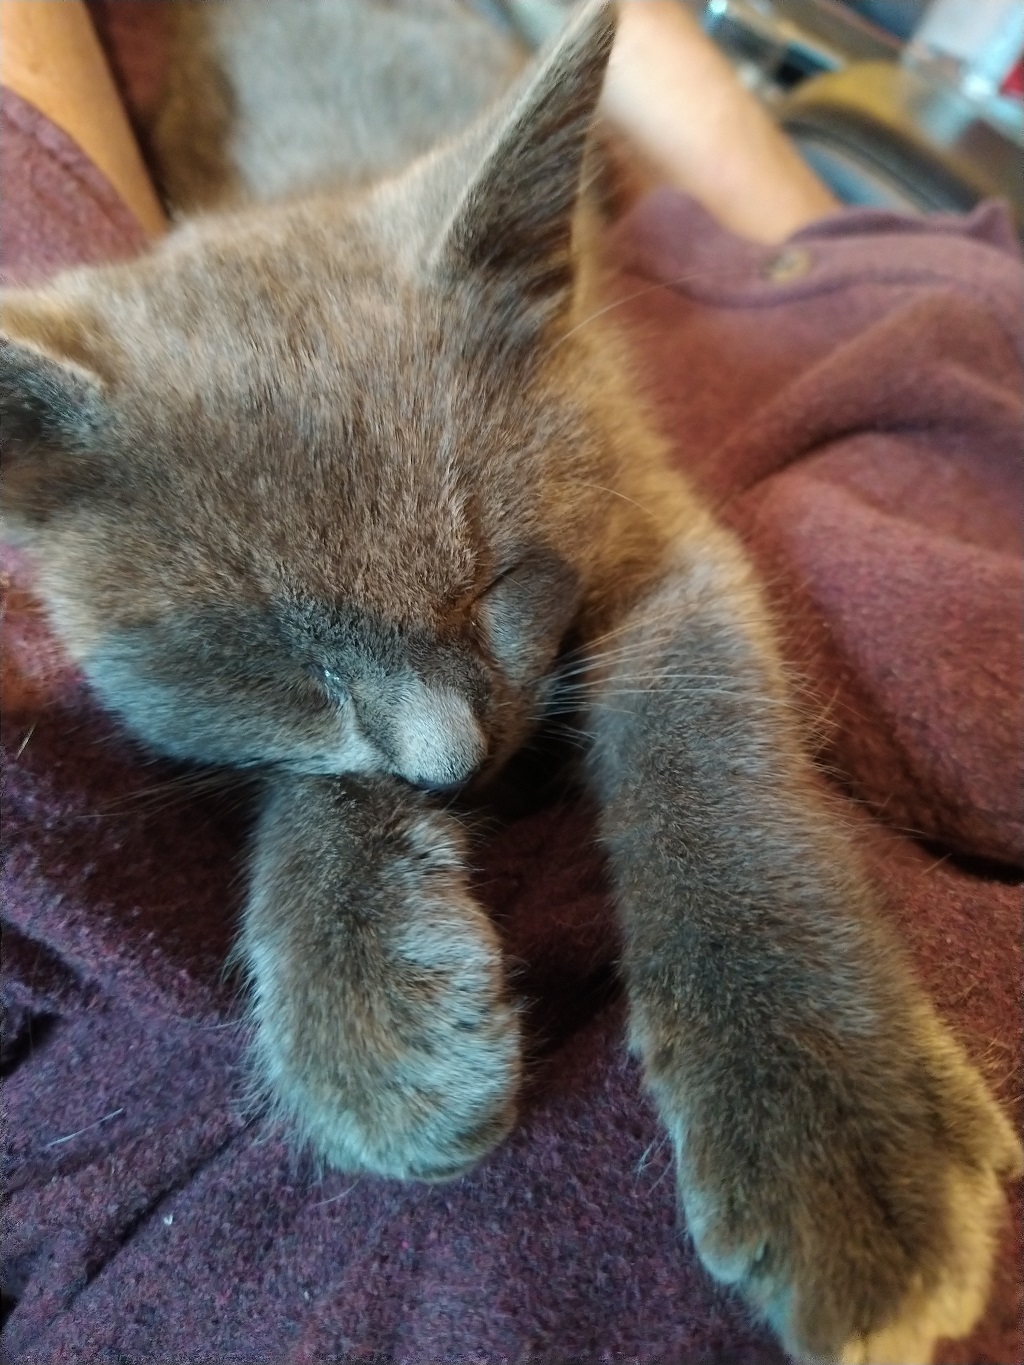
Ash is still a very snuggly kitten. Anya spends a lot of time holding him — she will read a book while he sleeps (and sometimes she naps too … I always tell her you know you are getting old when a nap sounds like a good idea, so now she tells me she’s getting old!)
This past week, I’ve been reading about how Musk expects “dedication” from employees like 87 hour work-weeks and somehow that’s OK because it’s nothing he doesn’t do himself. I’m sure it’s willful ignorance, but how can he not see the difference between the owner of a company putting 80+ hours a week into their company and the person whose 40 hours his company bought being expected to donate another 40+ hours a week to his cause?! Does he get angry at the steel manufacturer because they only deliver five tonnes when he ordered and paid for five tonnes?
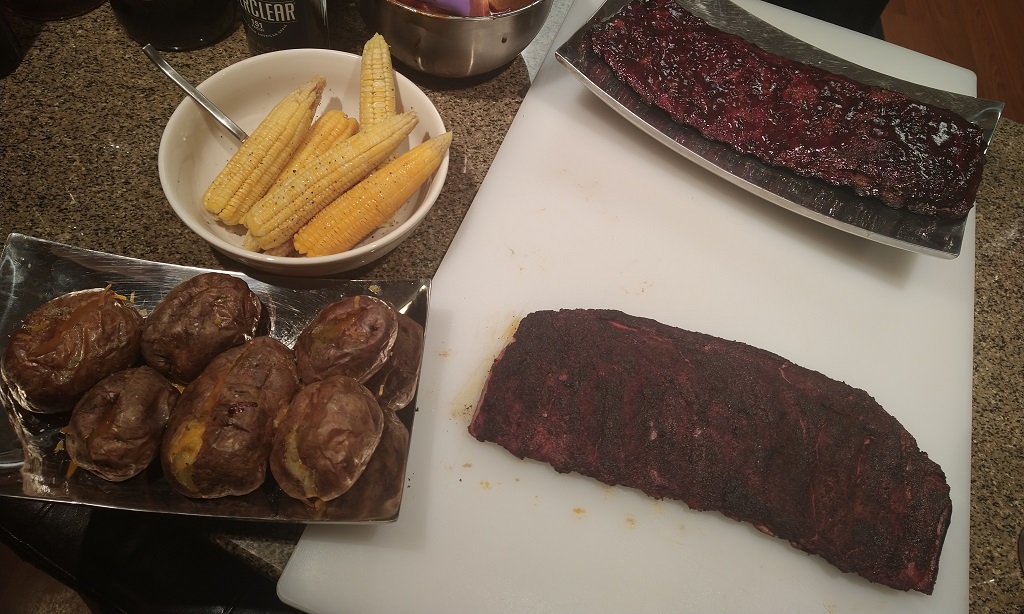
Scott and his friend Joe smoked ribs tonight — I baked potatoes and cooked up some of the corn from our garden. Very tasty — and I need to remember that I like BBQ sauce when it’s been heated on the grill for a while and has gotten caramelized and sticky!
I created a few new Kafka topics for a project today — but, in testing, messages sent to the topic weren’t there. I normally echo some string into “kafka-console-producer.sh” to test messages. Evidently, STDERR wasn’t getting rendered back to my screen this way. I ran the producer script to get the “>” prompt and tried again — voila, a useful error:
[2022-10-31 15:36:23,471] ERROR Error when sending message to topic MyTopic with key: null, value: 4 bytes with error: (org.apache.kafka.clients.pro.internals.ErrorLoggingCallback) org.apache.kafka.common.InvalidRecordException: Compacted topic cannot accept message without key in topic partition MyTopic-0.
Ohhh — that makes sense! They’ve got an existing process on a different Kafka server, and I just mirrored the configuration without researching what the configuration meant. They use “compact” as their cleanup policy — so messages don’t really age out of the topic. They age out when a newer message with that key gets posted. It’s a neat algorithm that I remember encountering when I first started reading the Kafka documentation … but it’s not something I had a reason to use. The other data we have transiting our Kafka cluster is time-series data where we want all of the info for trending. Having just the most recent, say, CPU utilization on my server isn’t terribly useful. But it makes sense — if I instruct the topic to clean up old data but retain the most recent message for each key … I need to be giving it a key!
Adding a parameter to parse the string into a key/value pair and provide the separator led to data being published to the clients:
The office is almost done! We have most of the bookshelves completed and have started loading the shelves with books. We still need to find a smaller game table for the space between the family room and the office area.
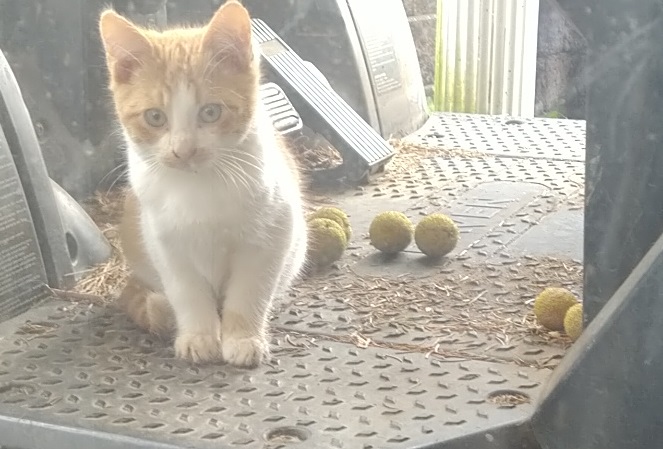
This is Ash — our rescue kitten. The Cali-Kitty had four kittens. They were all around on the 27th playing and napping. The morning of the 28th, I woke up really early — just after sunrise. One of the gray kittens was sitting under our garden cart. When he saw me move, he came over to the door and started crying.
This was odd because, just the day before, Anya had observed that we’ve never heard any of these cats talk. I put his food outside (we take it in at night to avoid feeding the raccoons), and he ate while I let the ducks, chickens, and turkeys out. Throughout the day, he was staying near our house, all alone, and crying. But he was afraid of us so dart away any time we opened the door. Finally, we put the small trap out with his food in it. And, in the evening, we had a little gray kitten in the trap.
Scott spent some time getting the kitten to trust him while Anya and I got the birds into their coops. We brought him inside in a larger cage, gave him food and water, and a cat box. Anya sat next to the cage petting him (something that seemed to soothe him). By the next day, we could pick him up and hold him. He purrs when you cuddle and pet him. Anya has been taking him into the bathroom so he has a chance to explore without getting lost somewhere in the house.
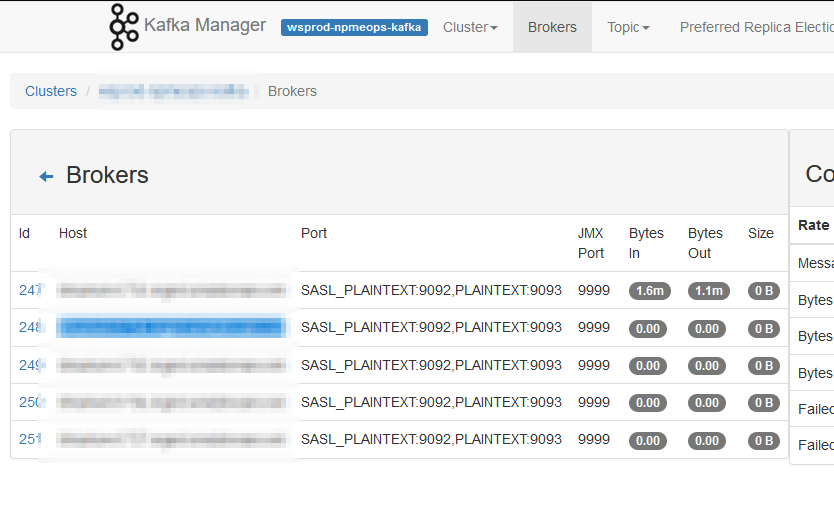
I noticed, today, that our Kafka Manager interface only shows details from one server — the one where we run Kafka Manager. We’ve done everything that we need to do in order to get this working — the port shows as open with nmap, the command to run Kafka includes all of the settings. I’ve even tried setting the JMX hostname, but still there is just one server reporting data
Then I happened across an article online that detailed how JMX actually uses three ports — the configured port 9999 and two other randomly selected and non-configurable ports. I used netstat to list all of the ports in use by the Java PID running my Kafka server and, voila, there were two odd-ball high ports (30000’s and 40000’s). I added those additional ports to the firewall rules and … I’ve got data for all of the Kafka servers!
This is obviously a short-term solution as the two randomly selected ports will be different when I restart the service next time. I’d prefer to leave the firewall in place (i.e. not just open all ports >1024 between the Kafka Manager host and all of the Kafka servers) so might put together a script to identify the “oddball” ports associated to the Java pid and add them to transient firewalld rules. But the last server restart was back in 2021 … so I might just manually add them after the upgrade next week and worry about something ‘better’ next year!
Neko’s favorite toy was two feathers mounted to a string so they made a V shape and spun like a maple seed as the string was pulled through the air. With a bunch of birds around the farm, though, I didn’t think it would be a good idea to train the kittens to chase after fluttering feathers. Anya has played with the kittens with string, she’s wiggled her fingers along the glass and they bat at them, she’s made a ball for them from her old socks. But today we encountered the ultimate cat toy — the seed pods from a sycamore tree — Scott picked a few up whilst he was mowing the lawn. Wow do the kittens enjoy batting these things all over the place. But you have to be careful walking around the back patio — never know where a ball might be lurking!