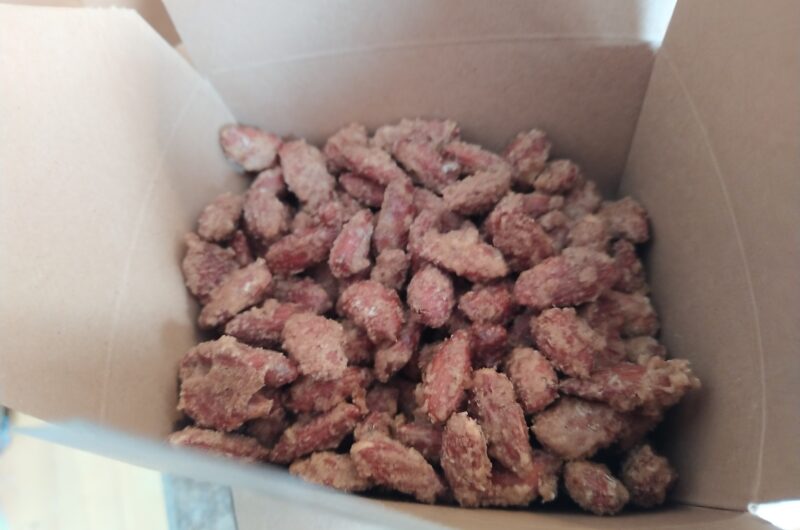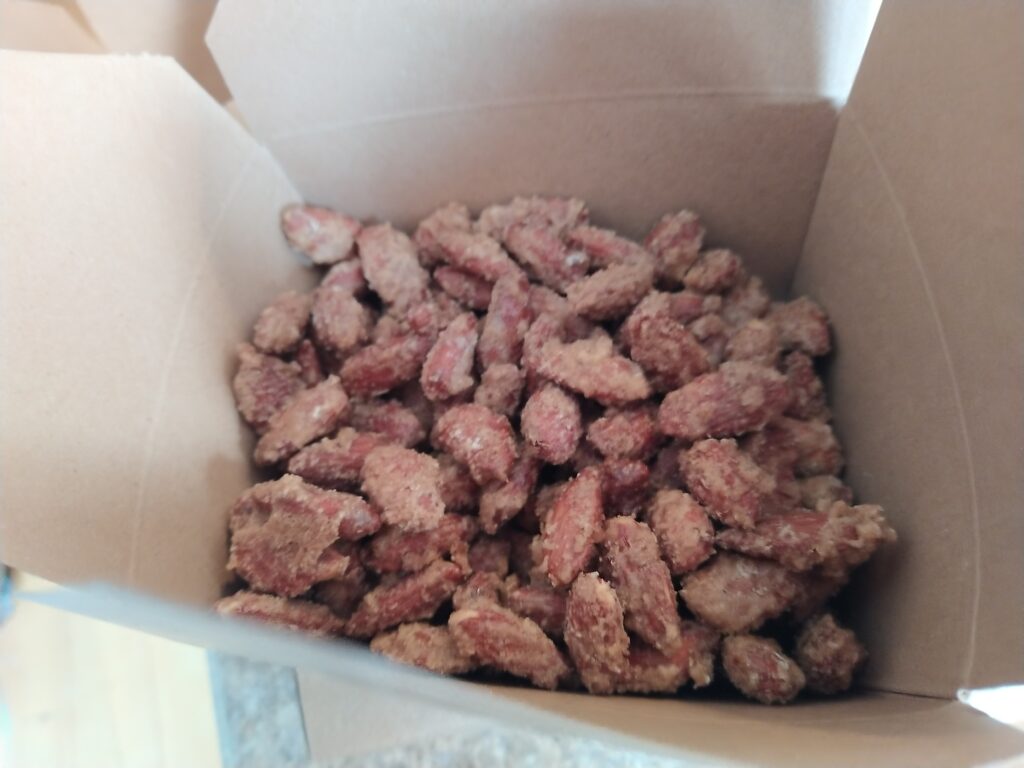
Maple Candied Almonds
Course: Snacks, DessertCuisine: AmericanPrep time
10
minutesCooking time
1
hourIngredients
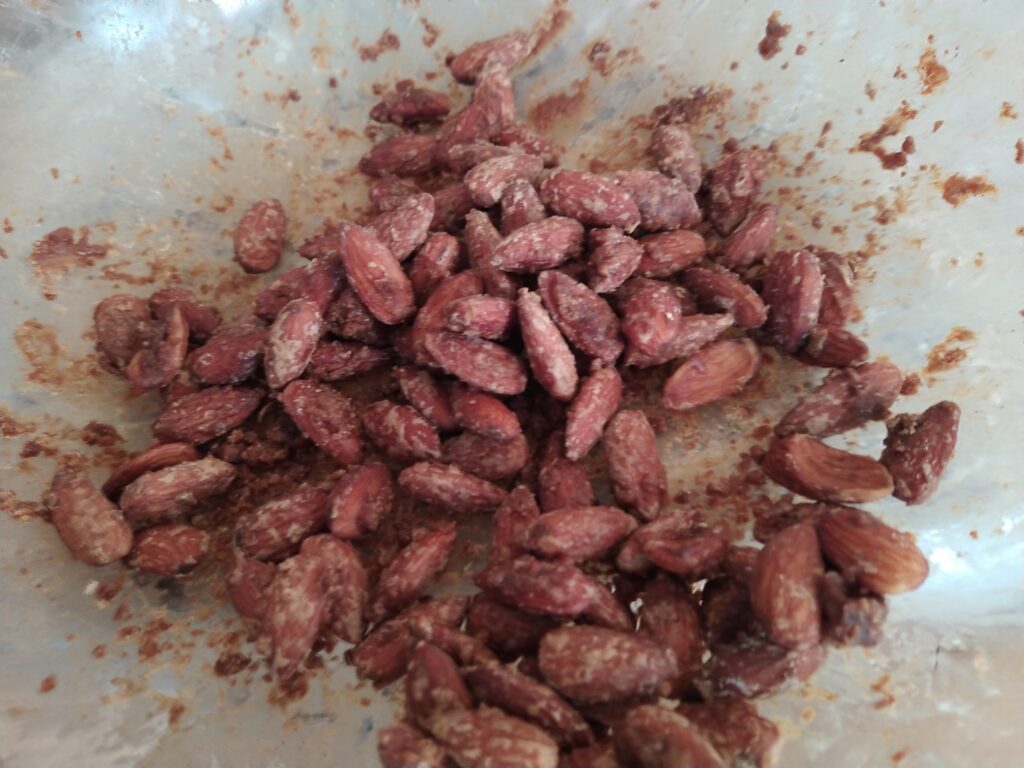
4 cups raw almonds
1/2 tsp salt
1/2 cup maple syrup
1/4 cup olive oil
Method
- Preheat oven to 250 F.
- Mix maple syrup, olive oil, and salt. Stir in almonds and mix to combine.
- Line a baking tray with a silicone baking liner. Spread almonds in a single layer.
- Bake for 30-60 minutes, stirring every 10 minutes.
- Allow to cool before packaging.
Notes
- Make sure to check every ten minutes while baking to avoid scorching maple syrup.