We stopped by CAM International Market on Saturday to see if they’ve got bat nuts, find fruit I don’t find at the local supermarket, and pick up a few expensive-elsewhere items (sesame oil!). Scott spotted a large, pokey looking fruit and asked if we should get one of those. Durian, the sign said … and I had to stop for a second because I don’t think I’ve had those before. And then I remembered where I’d heard the name …
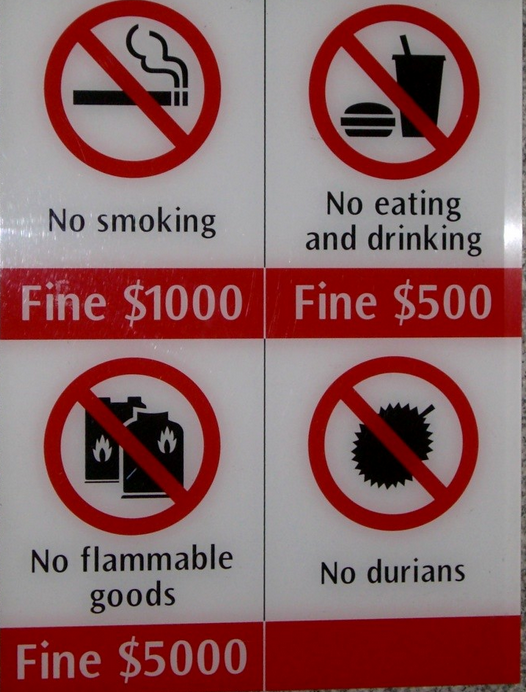
The Singapore subway banned them because the odor was so offensive. And some people loved the things. We did not get the big durian fruit. Or the smaller vacuum sealed pack of durian flesh. He spotted durian-stuff a few more times and kept asking if we should try that. Finally, we happened across some mochi balls with durian ice cream. If you’re going to eat something with a stench awful enough that a subway system would bother banning it … a bit of it in ice cream is probably the way to go, so yeah … we’ll try it. There were four balls, just enough for each of us to have one.
I diced up a few persimmons — something that I knew was sweet and tasty — as a chaser. One ball out of the package in a bowl, and it smelled floral with a hint of not-so-good onions to me. But my nose doesn’t pick up a lot of chemicals and I figured, honestly, I’d be among those who don’t notice the smell. Scott tried a bite. He gave Anya a bite (and why didn’t we think to record this? She make an incredible YUCK face before and after trying it). I tried a bite. It was not good. The flavor was very onion-y with a sweetness like caramelized onions. But onion and ice cream isn’t really something that goes together in my mind. Maybe durian with roasted pork, but dessert? Nope. And then the half-a-ball sat in its dish. It got stinkier as it warmed up. Until it was voted off the island and into the city sewers (sorry gators!).
None of this prepared me for the horror of durian burps. A terrible combination of sewage and onions coming back to haunt me. Or sitting next to someone with a durian burp and thinking the stench has somehow lodged itself in my nasal passages. It was a good twelve hours before I wasn’t experiencing durian again.
Which makes me wonder … What in the world does a durian plantation smell like? I have fond memories of driving along the Nile at sunset and smelling sugar cane on the air. Even if the smell is significantly reduced in the whole fruit, a whole plantation of the things baking in the sun?!? And what does this stuff smell like if it’s gone bad? Does it rot and smell better? Or is it sewage and gym socks without the floral undertone?
But it was an entertaining experience. We’ve all had our lifetime supply of durian. And there are still three of these things in the freezer 🙂