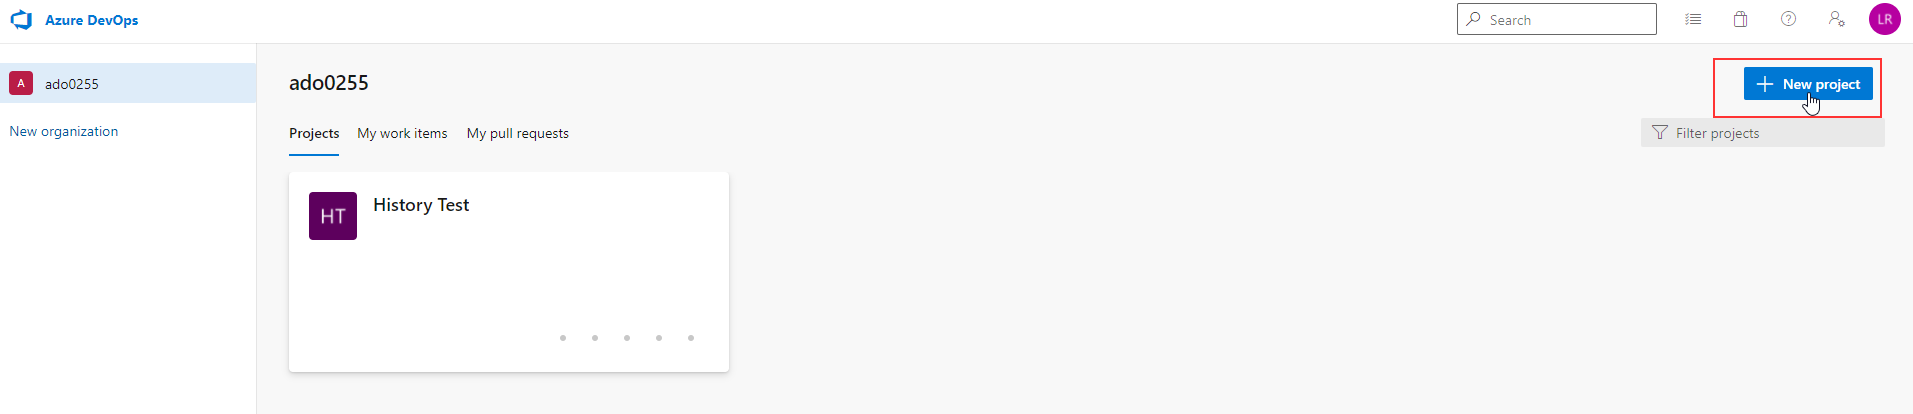
The most direct way to migrate a repo into Azure Repos is to create a new, blank repository. This may mean making a new project. From the organization’s main page, click “New project”
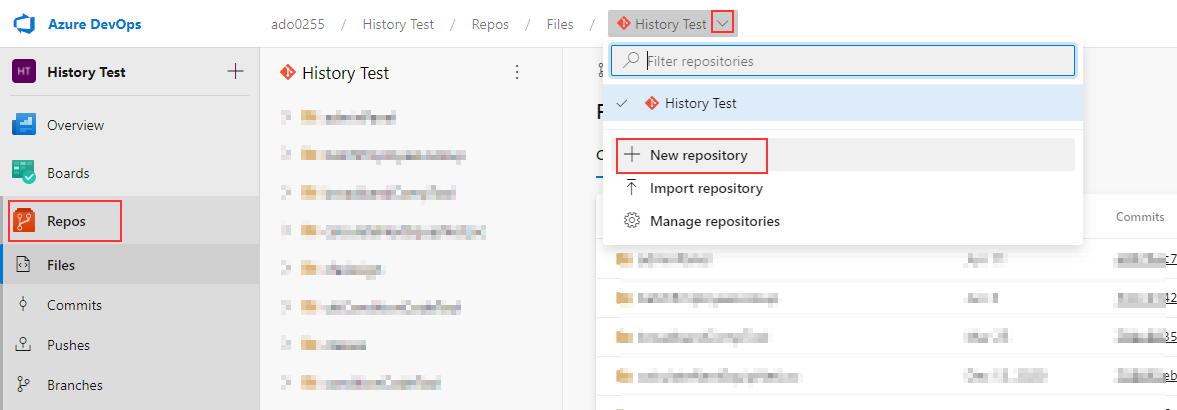
Or it may mean making a new repo in an existing project. From an existing repo, click the drown-down next to the repo name and select “New repository”
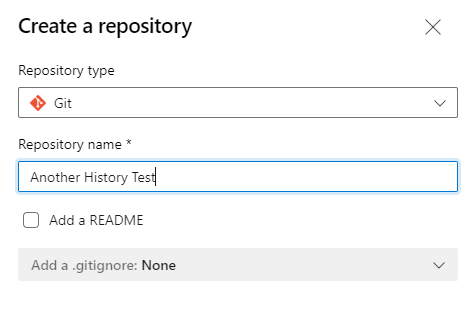
Name the repository but don’t add a README. We want a blank repo
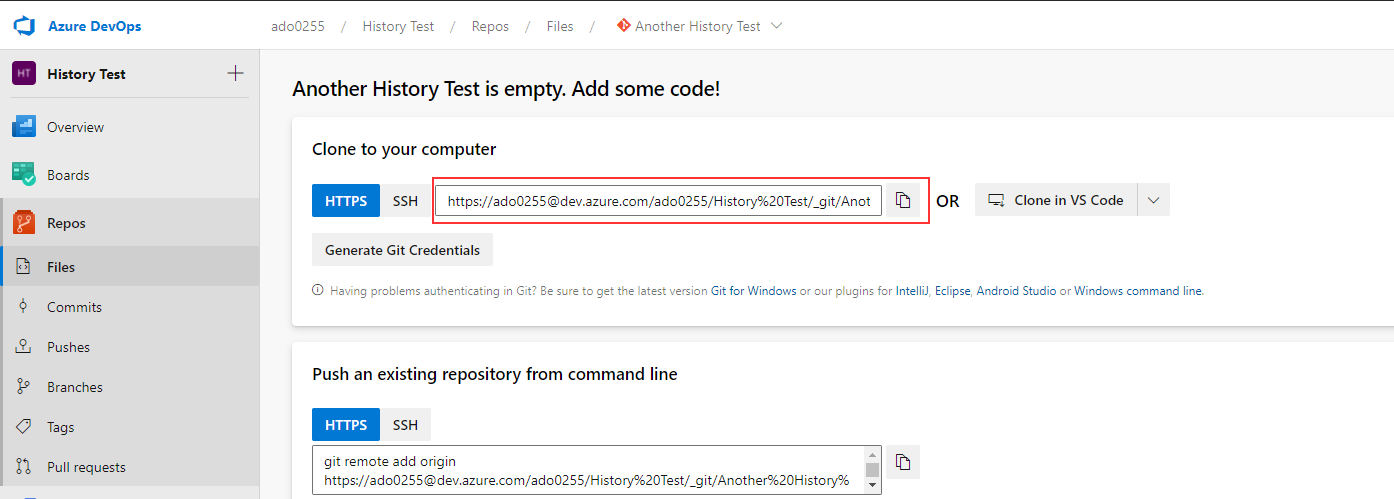
Note the URL to the repository – in this case, it’s https://ado0255@dev.azure.com/ado0255/History%20Test/_git/Another%20History%20Test
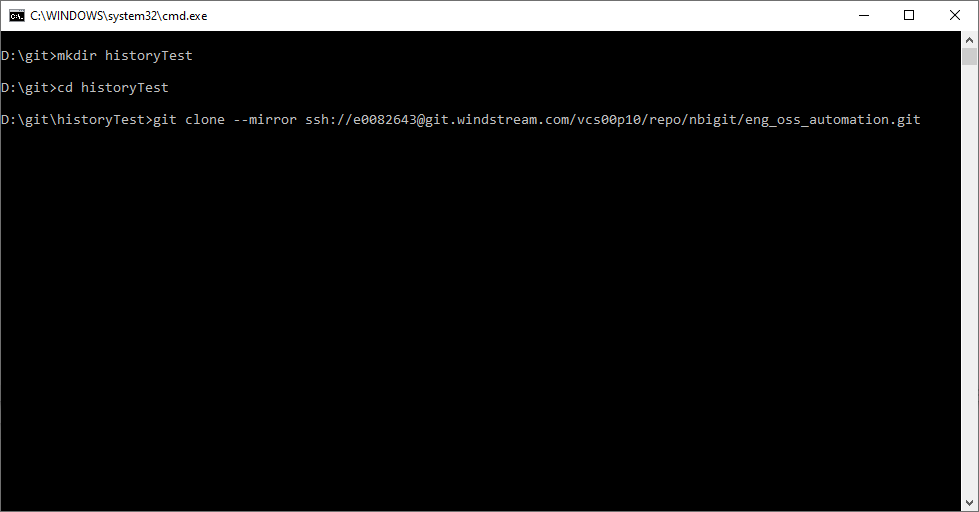
Find the URL for your existing Git repo – if you cd into the project’s folder and run “git remote -v”, you will get a list of the repos. Make a new folder somewhere – this is a temporary staging area to move the data from your existing repo over to the new Azure Repo. Change directories into your new folder. Run git clone –mirror URLToOldRepo
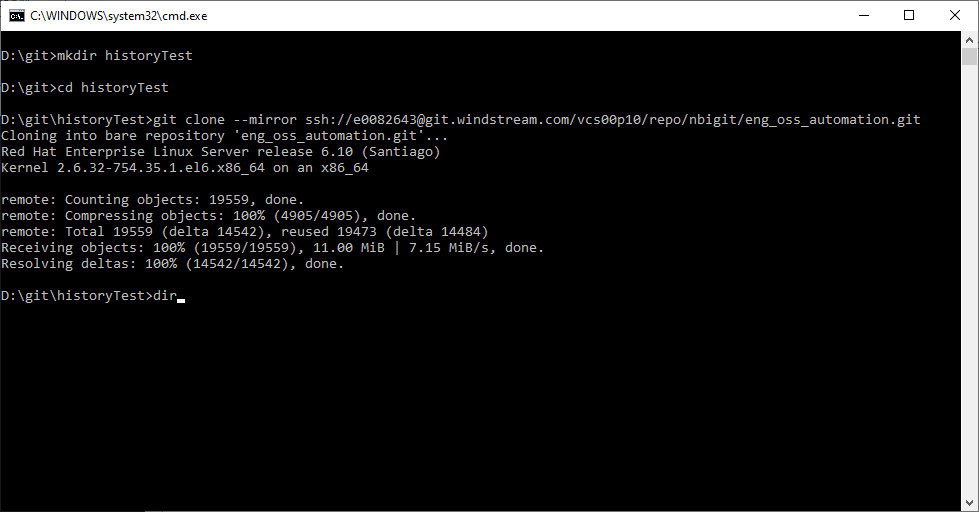
You will see data being downloaded from your git server.
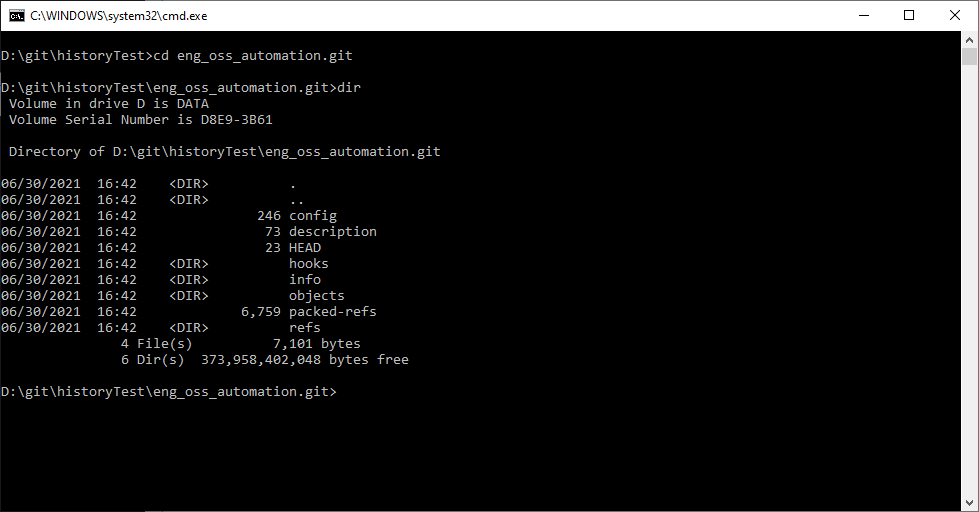
Change directories into the folder that just got downloaded. You won’t see your code like you normally do when you clone a git repo. You’re looking at the underlying git stuff that makes up the repo. You’re code is all in there, as are all of the branches and commit history.
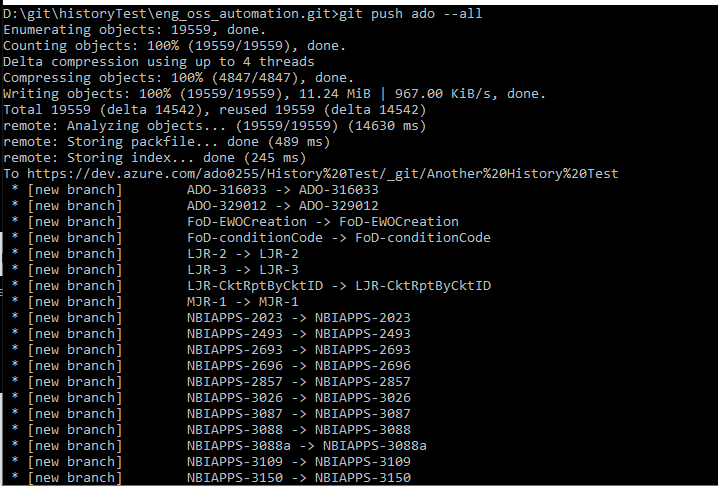
Now add the new Azure Repo as a remote – in this case, I’m naming the remote “ado”. Then run “git push ado –all” to push everything up to the new Azure Repo.

Stuff will transfer – you may be prompted to log into your ADO repository first. Eventually, you’ll see new branches being created on the remote and the process will complete.
Refreshing the Azure Repo, you’ll now see the files.

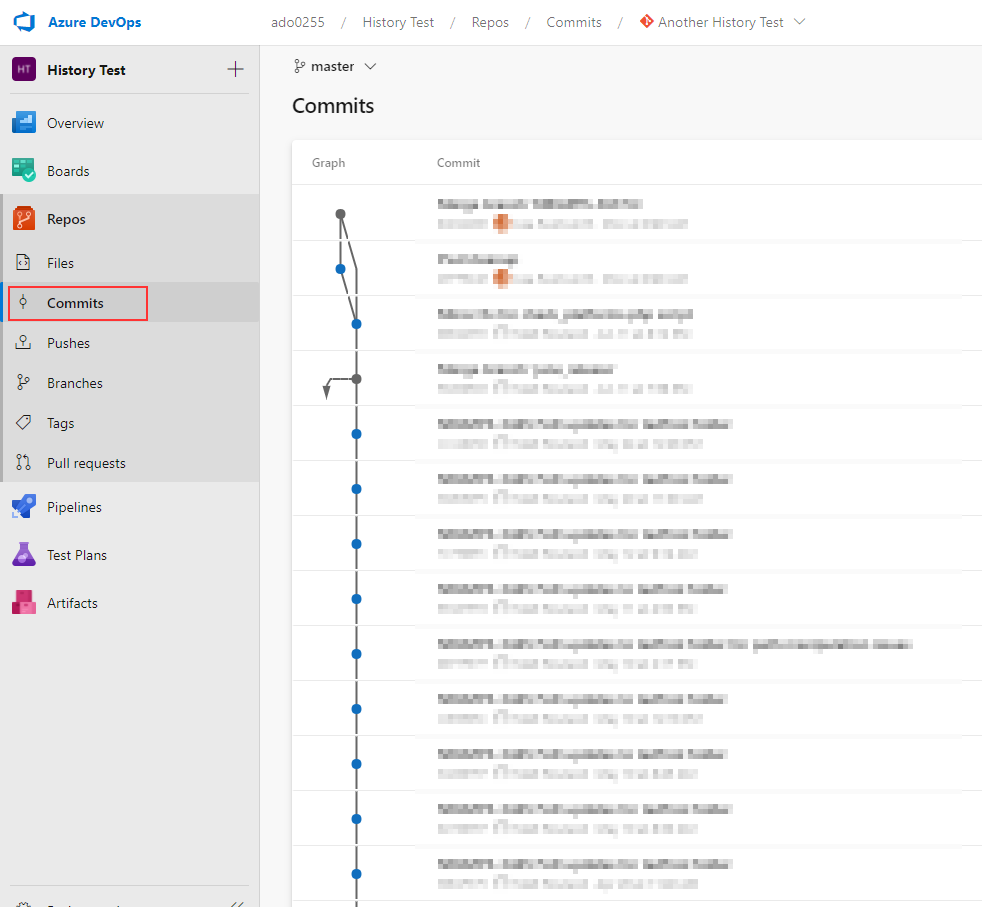
Selecting “Commits” will display the commit history.
Anyone else using the repo will need to add the new remote. Use “git remote rm origin” to remove the existing origin, then use “git remote add origin url” to add the new Azure Repo as origin.