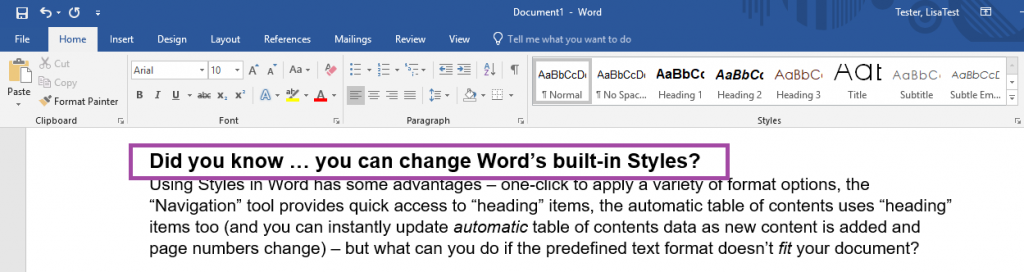
Using Styles in Word has some advantages – one-click to apply a variety of format options, the “Navigation” tool provides quick access to “heading” items, the automatic table of contents uses “heading” items too (and you can instantly update automatic table of contents data as new content is added and page numbers change) – but what can you do if the predefined text format doesn’t fit your document?
Themes
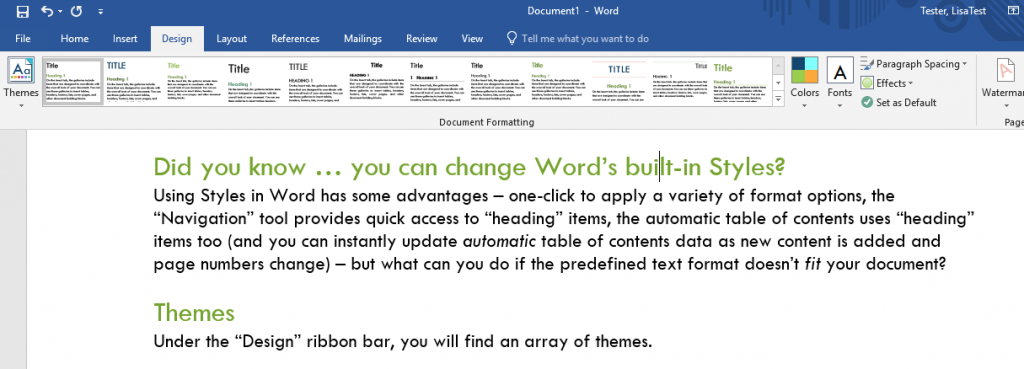
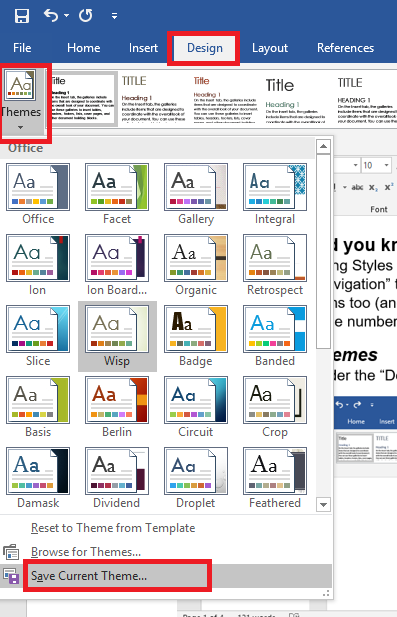
Under the “Design” ribbon bar, you will find an array of themes.

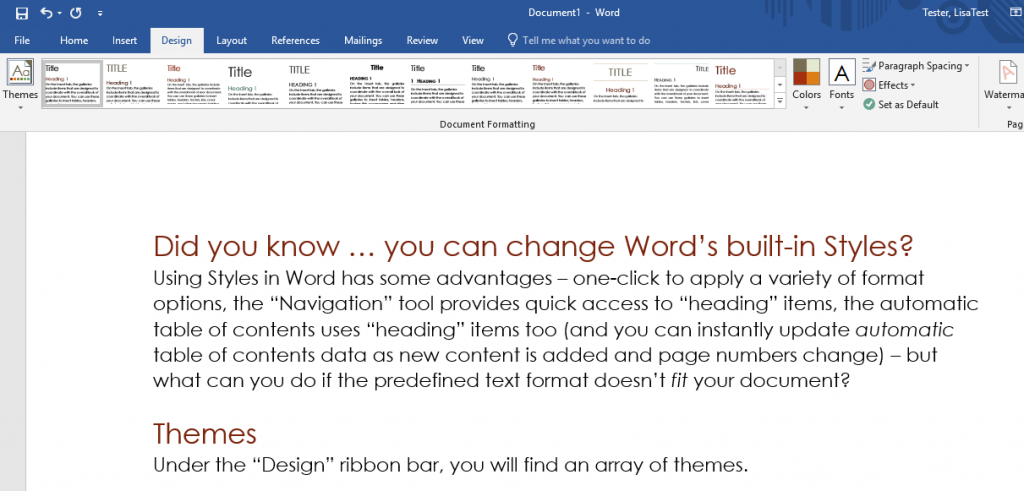
Selecting a different one changes the colors, font faces, font weight, and font sizes used throughout the document. You can change your document to look like this
Or this
Customize Styles
What if the styles still don’t fit your document? I, as an example, prefer my headings bolded and sub-headings both bolded and italicized. You can customize a theme to match your specific preferences.
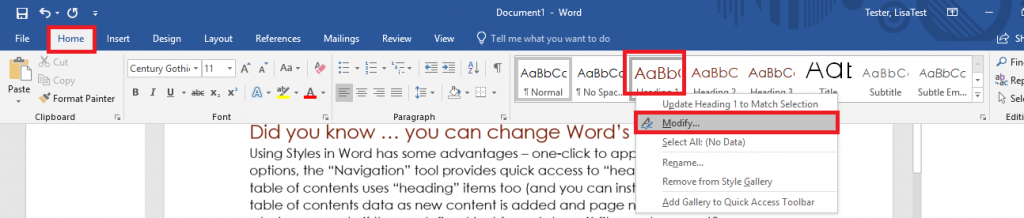
On the ribbon bar, select “Home”. In the “Styles” section, right-click on the style component you want to change and select “Modify”.
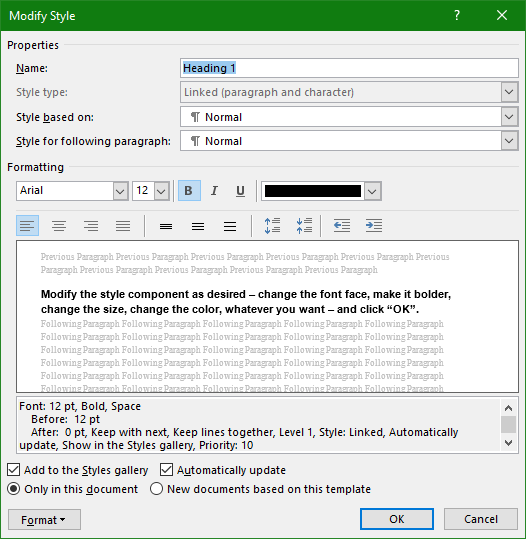
Modify the style component as desired – change the font face, make it bolder, change the size, change the color, add a little more space between lines, whatever you want. Click the box to ‘Update Automatically’ and, if you want to use this customization in other documents, select the radio button that says ‘new documents based on this template’. Click “OK”.
Sections of your document using that style component will be updated. I have customized all of the style components – normal, headings, title and subtitles, quotes, etc.
On the ribbon bar, select “Design”. Click the “Themes” drop-down and select “save current theme”.
If you want to use your theme on every document you create, click “Set as Default”.

Click ‘Yes’ to confirm the change.
