Prerequisites:
You will need the “Git” plugin (https://plugins.jenkins.io/git).
You will need the “GitHub” plugin (https://plugins.jenkins.io/github)
Setting Up Access Within GitHub:
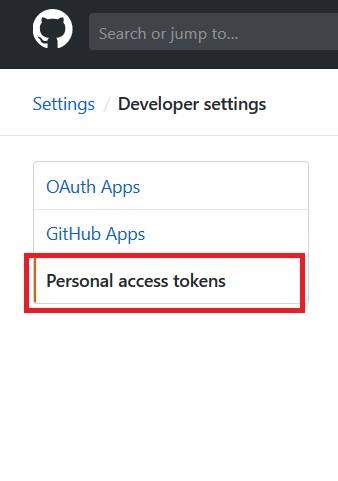
Log into GitHub and navigate to your repository. Click the “Settings” tab, then select “Developer settings” from the bottom of the left-hand menu. From the Developer Settings page, select “Personal access tokens”.
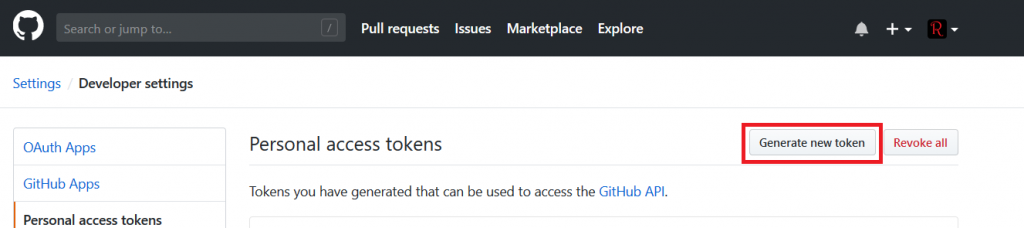
Click “Generate new token” to add a token for your Jenkins integration.
Provide a description for the token and select permissions – read access to the repo is sufficient.
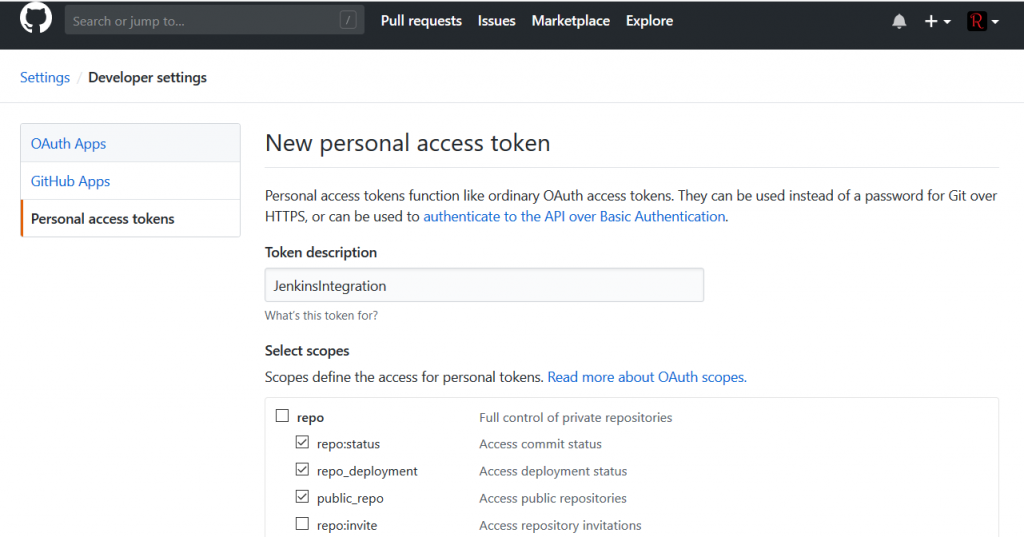
Save the token and copy the secret text.
Setting Up Jenkins – Configuring GitHub Integration
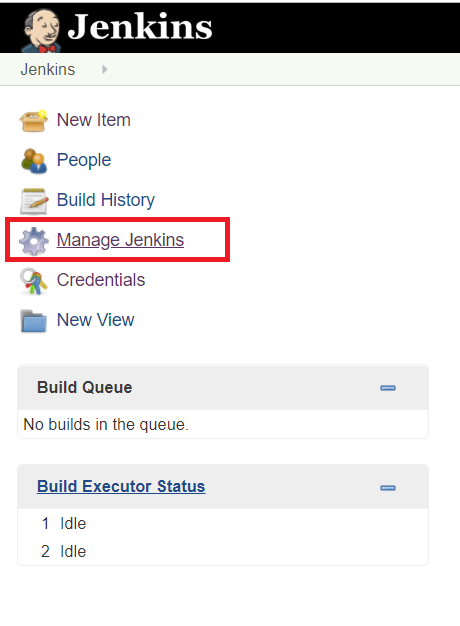
On your Jenkins server, select “Manage Jenkins”
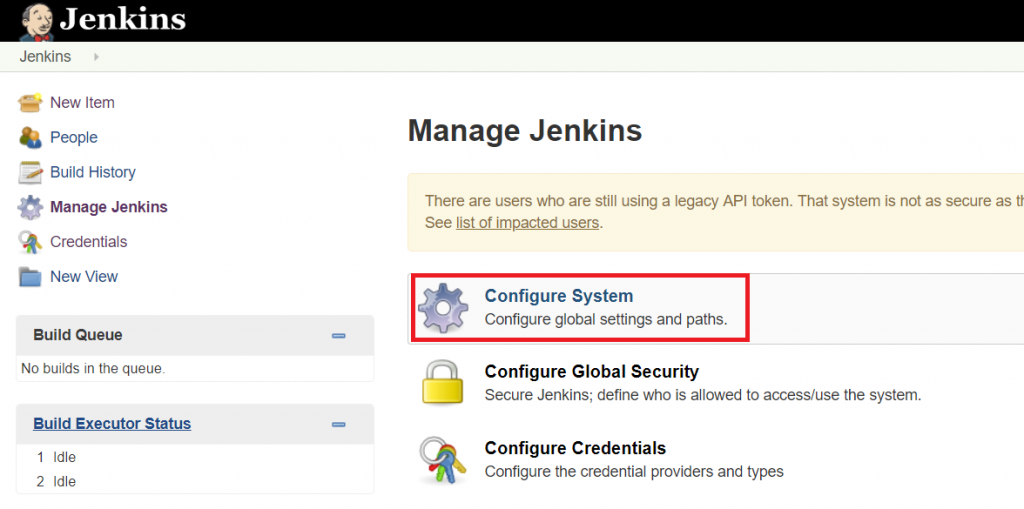
Select “Configure System”
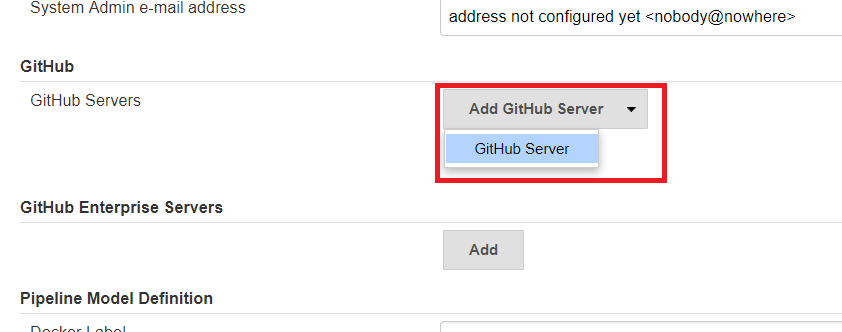
Scroll down – possibly a lot – to the GitHub section. Click on the “Add GitHub Server” drop-down and select “GitHub Server”
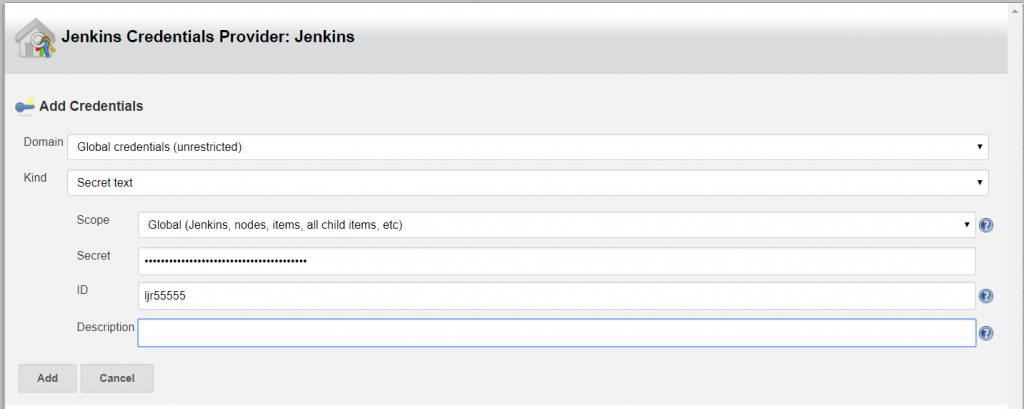
Provide a name, the API URL is pre-populated. Next to Credentials, click the drop-down for “Add” and select “Jenkins”.
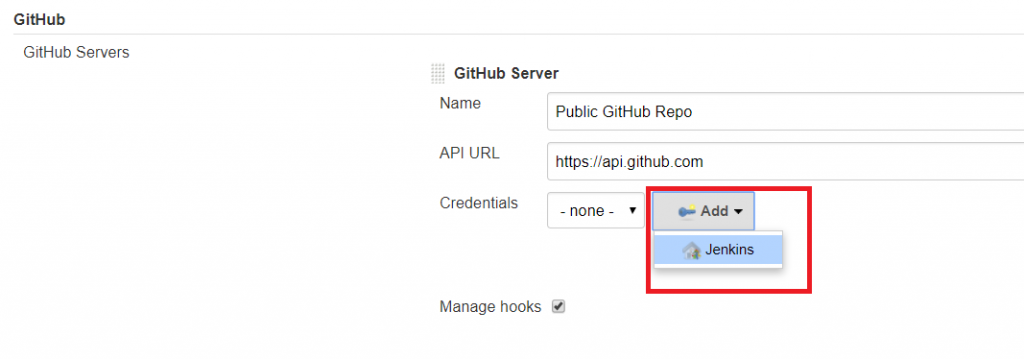
The credential kind is “Secret text”, and “ID” is your GitHub user ID. Save the credential
Select cred from drop-down and test
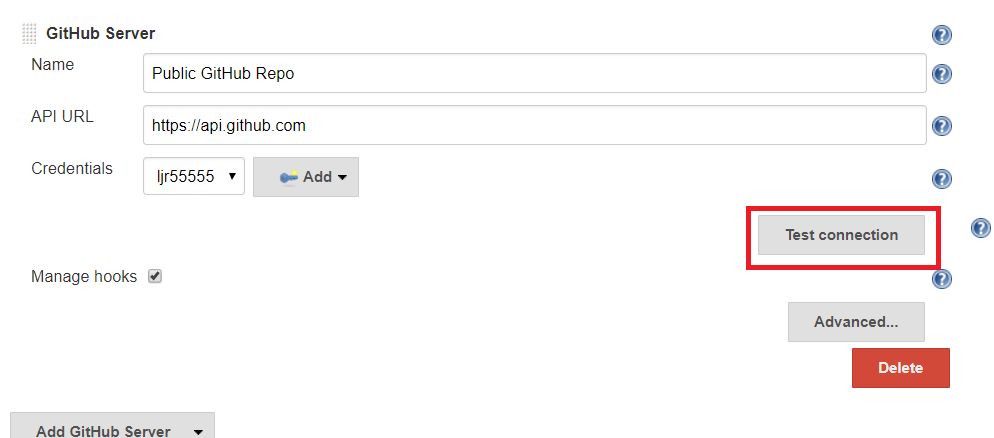
Hopefully the credentials are verified, you are done.

Using Jenkins – Creating A Basic Pipeline:
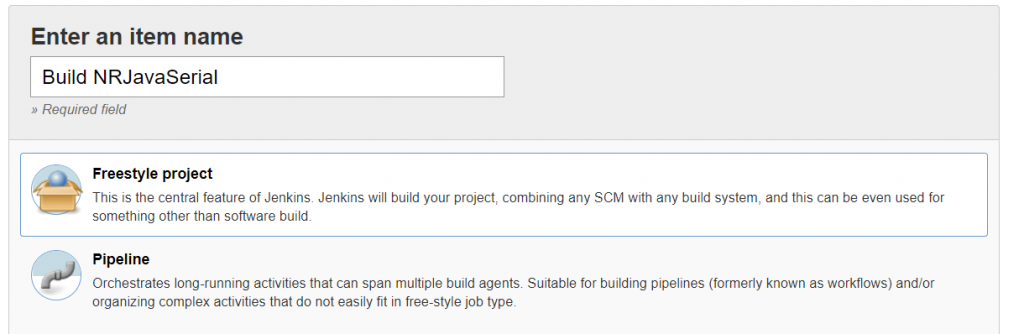
Click on “New Item”, create a new Freestyle project, and give it a descriptive name.
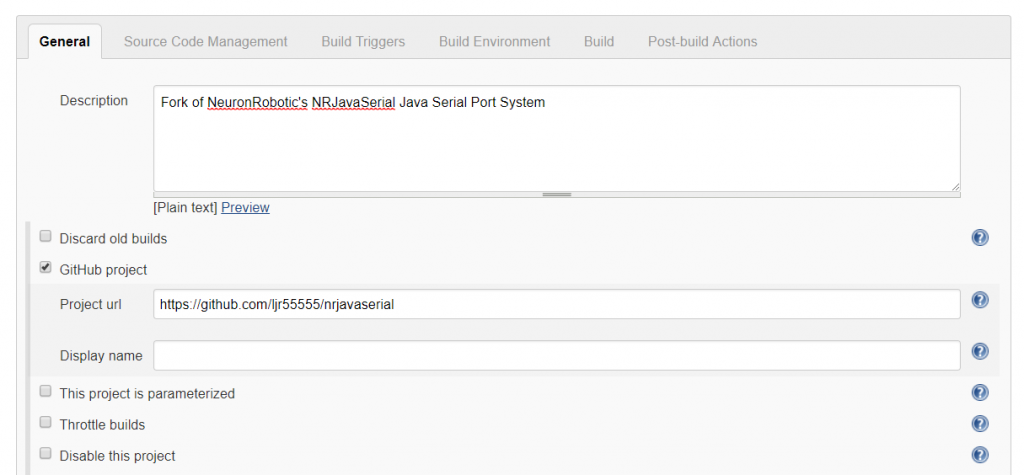
Since this is a GitHub project, I’m adding the project URL – that’s the actual project URL, not the URL for a specific branch or the path to clone the project.
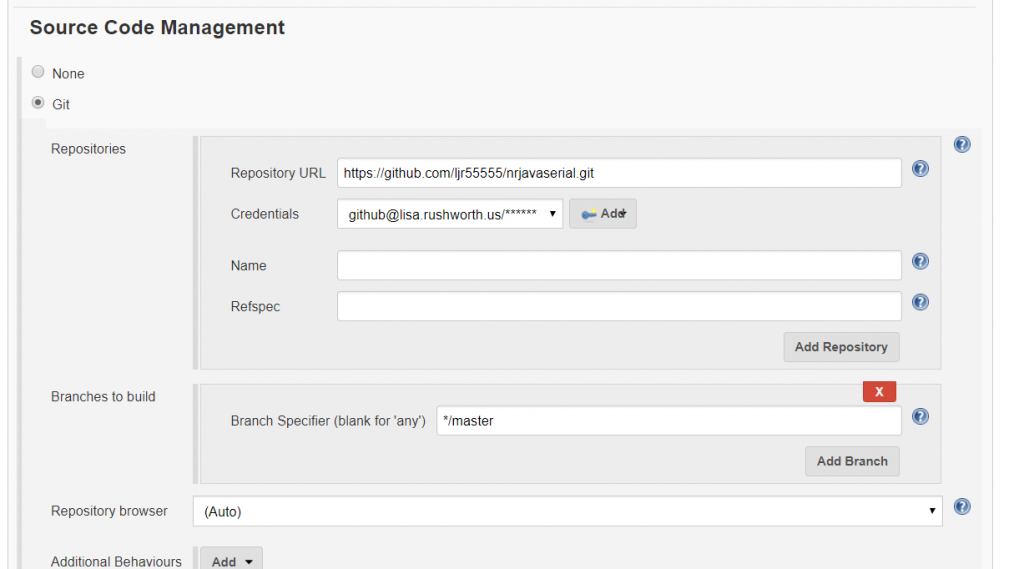
As you scroll down, the tab will change to “Source Code Management”. Select “Git” and enter the URL used to clone the repository. If you have not already added credentials, click “Add”; otherwise select the appropriate credential from the drop-down menu. If you intend to build a branch other than master, correct the branch name.
Build triggers will depend on what exactly you want to happen. You can trigger new builds based on PRs or push activity. You can schedule a nightly build.
If there are a lot of changes, you may not wish to re-build the project every single time the repo changes. Conversely if the repo rarely changes, nightly builds waste a lot of cycles), etc.
Using the hook trigger requires that your Jenkins server be Internet-accessible and as such has a non-zero risk of malicious access. You can expose your endpoint through a reverse proxy to have more control over service access. I have also experimented with using GitHub provided metadata, https://api.github.com/meta, to restrict access to certain subnets. A potential attacker could still proxy their access by attempting to register your Jenkins endpoint in their GitHub project … but that’s a narrower attack vector than “anyone who can make a web call”.
If you want to trigger builds based on changes within the GitHub project, you can configure Jenkins to automatically register webhooks or you can manually add the webhook to your project.
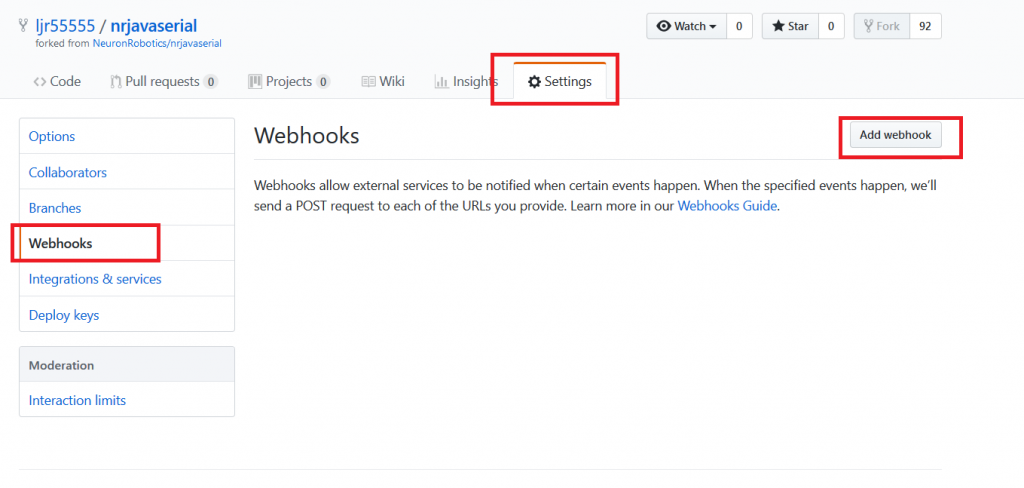
Manual Webhook creation: Within your project’s “Settings” tab, select “Webhooks” and then “Add webhook”.
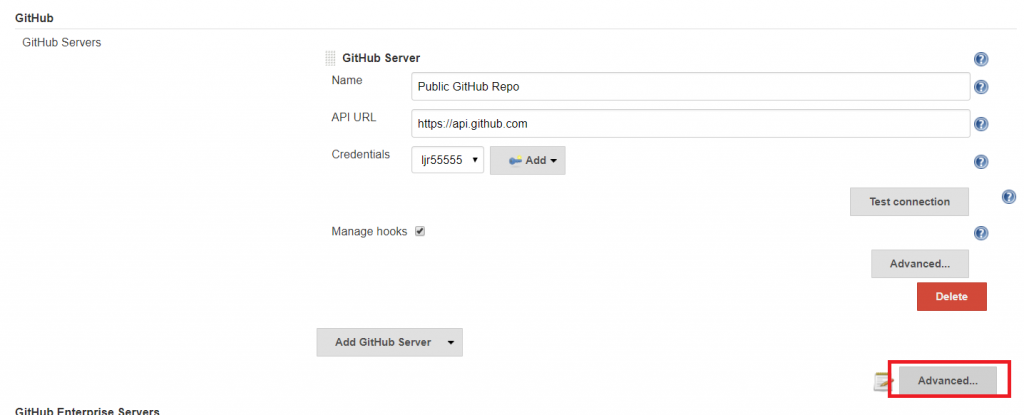
Automatic Webhook creation: Manage Jenkins => Configure System. In the GitHub section, click the second “Advanced” button (with a notepad next to it).
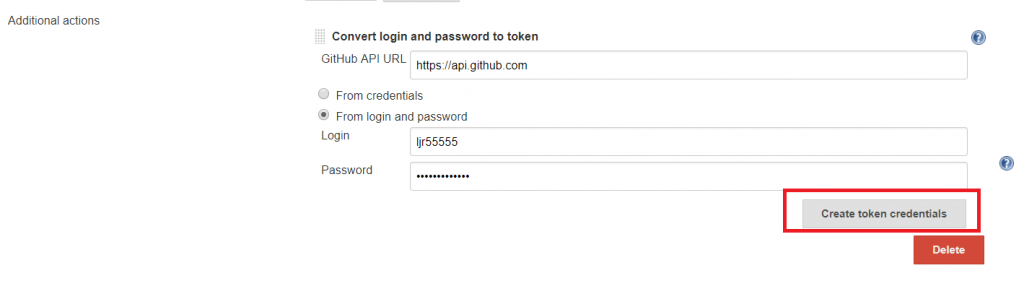
Click the “Additional Actions” drop-down menu and select “Convert login and password to token”
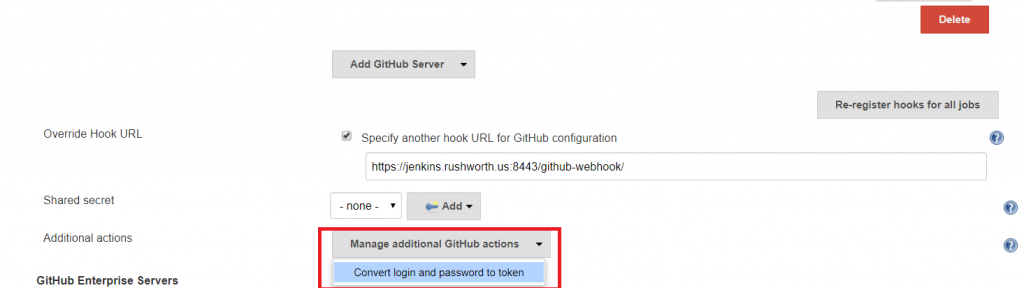
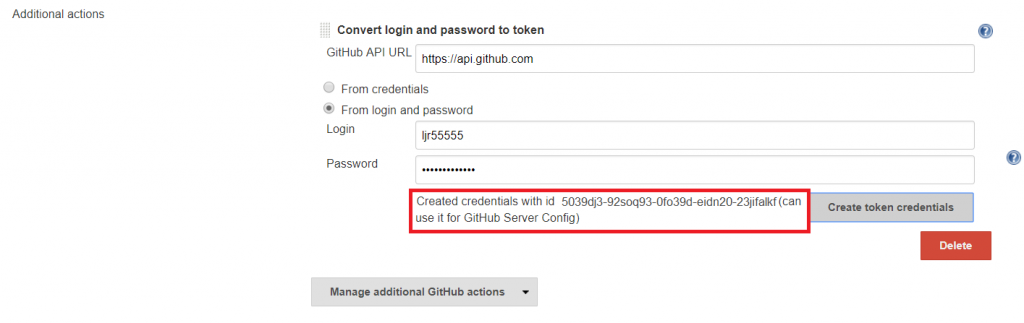
Enter your credentials and click “Create token credentials”
A message will be displayed confirming the credential.
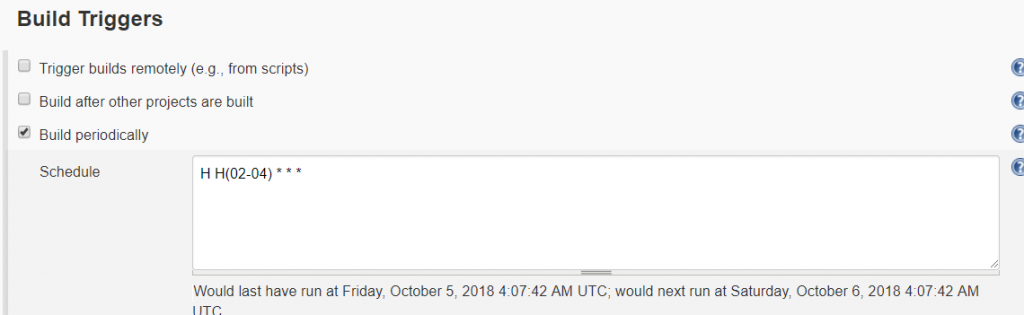
In this case, I will schedule a nightly build of the project. After selecting “Build periodically”, enter the cron-like expression to control when you want builds to occur. To avoid having a lot of project builds initiated at quarter-hour marks, use the modifier “H” to indicate a time range. In this example, the build will be triggered some time between 02:00 and 04:59. Since the value of H is a hash of the job name, the build time will be consistent (i.e. the time displayed below the schedule field will be the time used each cycle). This means it is still possible to have a number of builds scheduled simultaneously.
Time, by default, is relative to your Jenkins’ server JVM configuration. You can override that setting by adding a TZ directive at the beginning of the schedule field.
There are a number of pre-build and post-build actions you can take, and various add-on modules expand this functionality. You can manage builds, Docker containerization, and deployment into Kubernetes clusters from Jenkins build pipelines.
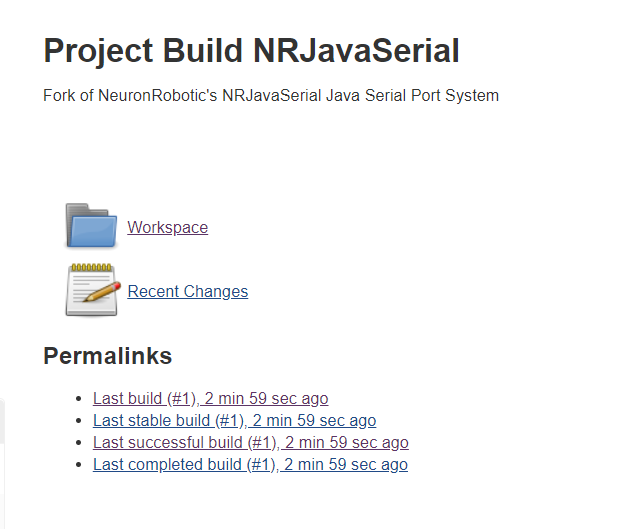
Once the job has been saved, you can run it immediately by returning to the dashboard. Click the little clock to the right of the item listing.

Once a build has been completed, the item’s workspace will contain the build and console output from the build job. If a job fails, console output is a good point to start troubleshooting.