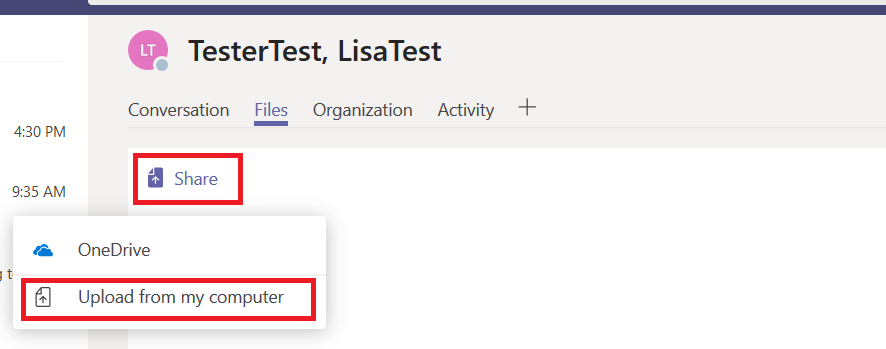
You can share files in both individual and group chats. In the chat, click on “Files”

Then click on “Share” and “Upload from my computer” to share a new file.
While it is uploading, you’ll see a status indicator.

And once the upload completes, you will get a desktop notification.

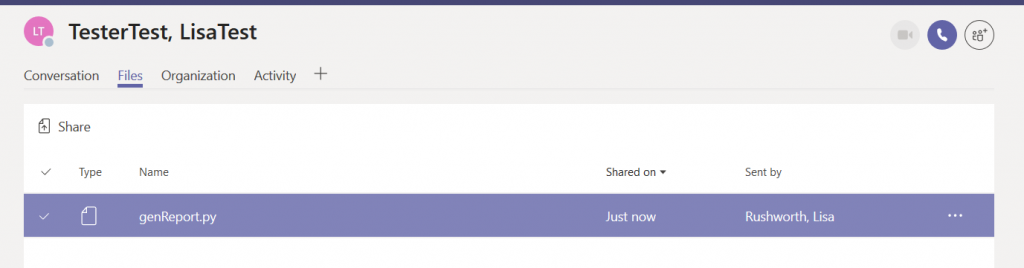
Voila – a shared file.
Where is that file? It’s been uploaded to your OneDrive for Business. Open the OneDrive web app and you’ll see a folder titled “Microsoft Teams Chat Files”.
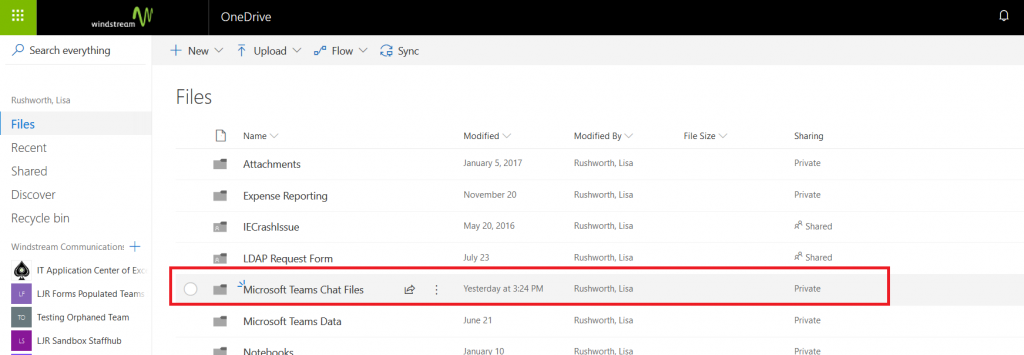
In there, you’ll see all of the files you’ve shared in Teams. Click on “Shared”

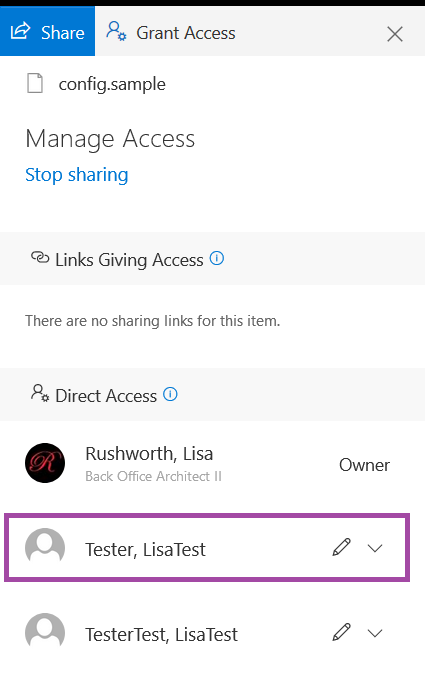
And you can see with whom the file was shared.
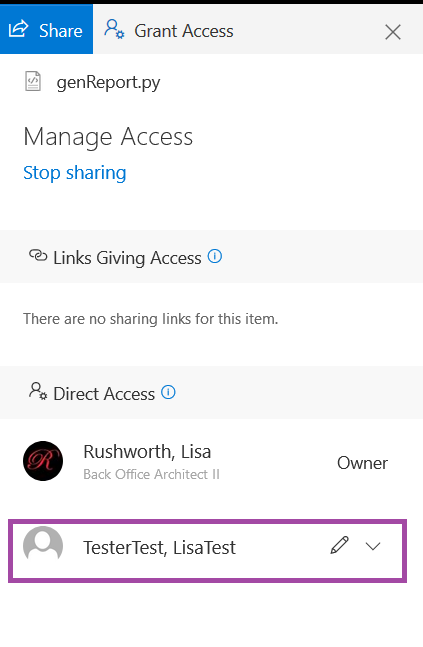
If you shared a file in a group chat, everyone in the chat will be added to the file permission. If you shared a file in an individual chat, just that individual will be added.
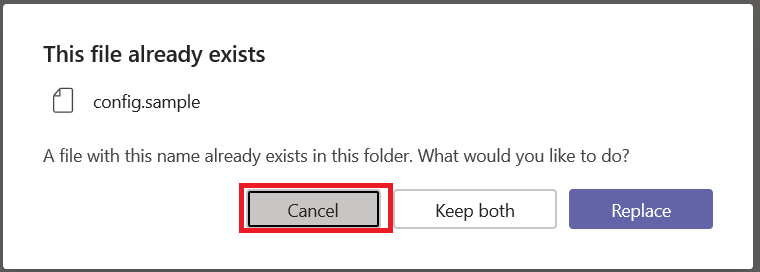
If you want to share the same file with a second person, there’s no need to upload it again … doing so would remove the original permissions. When you see a warning that the file already exists, cancel.
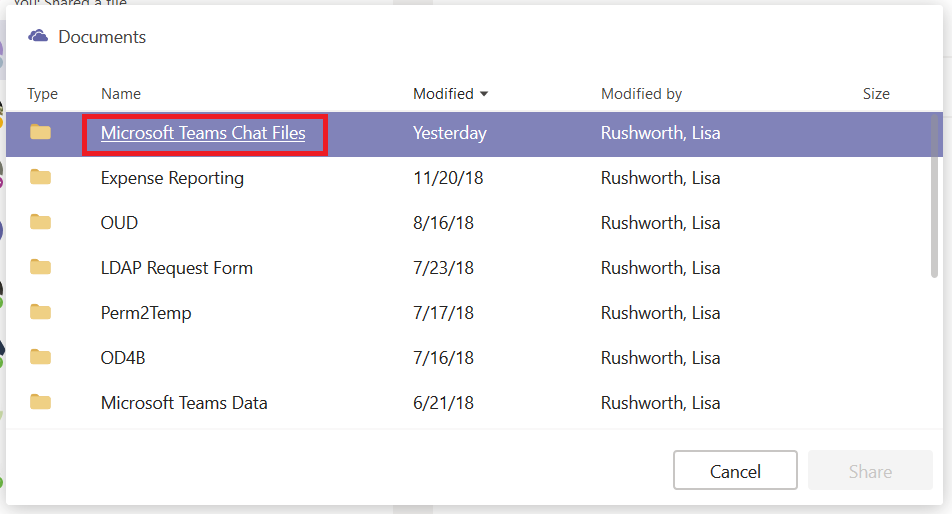
Instead of uploading the file from your computer, select “OneDrive” from the “Share” menu.

Navigate into the “Microsoft Teams Chat Files” folder.
And select the file you wanted to share.
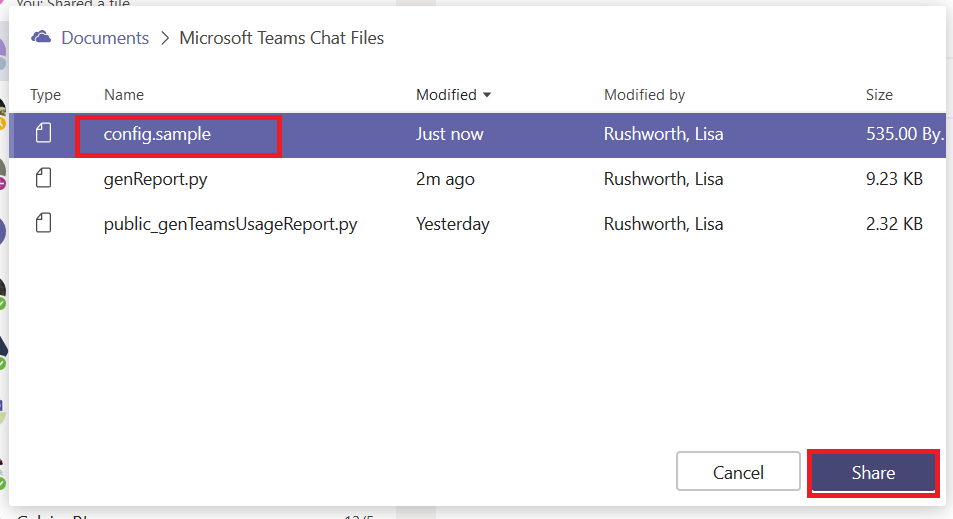
The new person with whom you want to share the file is added to the share list, and both individuals will see the file in the “Files” section of your Teams chat.
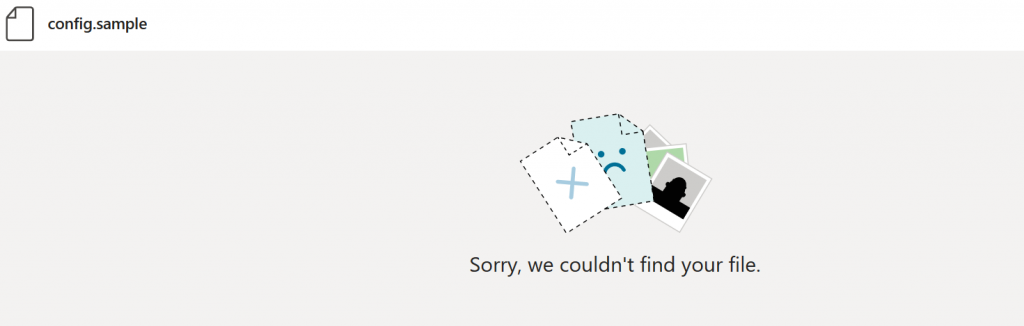
Be careful — deleting the file from your OneDrive space does not remove it from the Teams files list. The chat participants will get an error when they attempt to view the file.