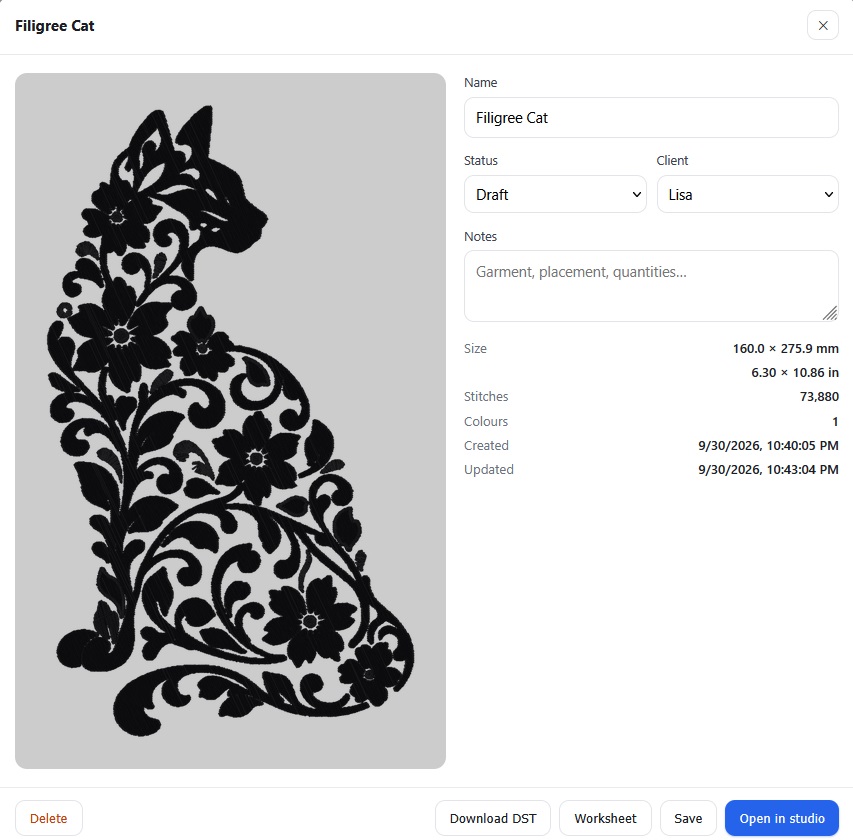
Learning how to use Threads to digitize pixel art into embroidery patterns. I thought it might be easier to learn with a simpler design. So I created a quick lace/filigree cat silhouette.
If this is your first time designing for this hoop size, go to settings

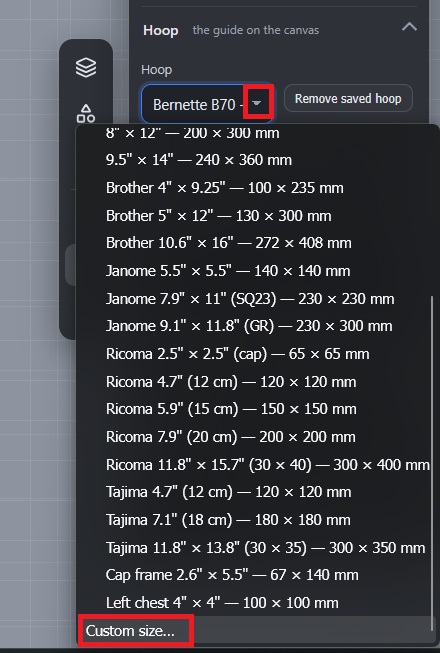
Scroll down and use the drop-down to select “Custom Size” in the hoop selection
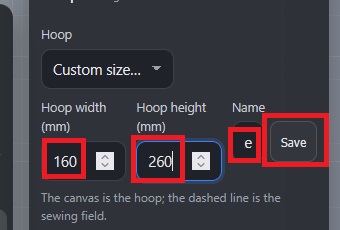
Input the dimensions of the hoop and give it a name (The 6×10 frame for our Bernette is called “Bernette B70 – Large”
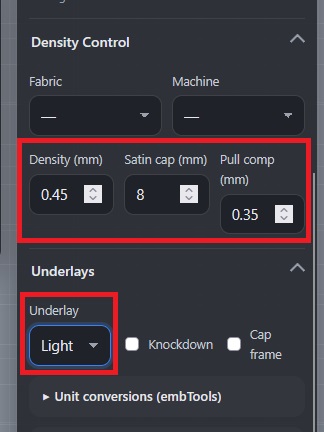
You can also adjust some values to control the stitch density — these are the settings I am using for dense designs being embroidered on t-shirts.
Upload the image —
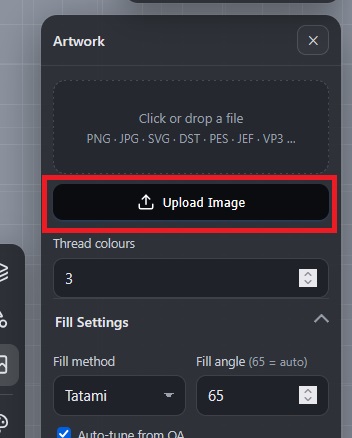
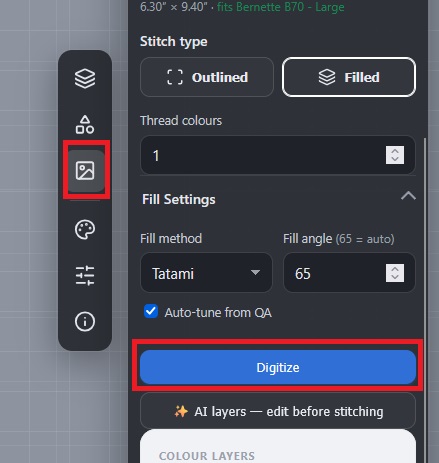
Adjust the size (if needed), select the number of thread colors. For now, I’m leaving the fill method set to the defaults!
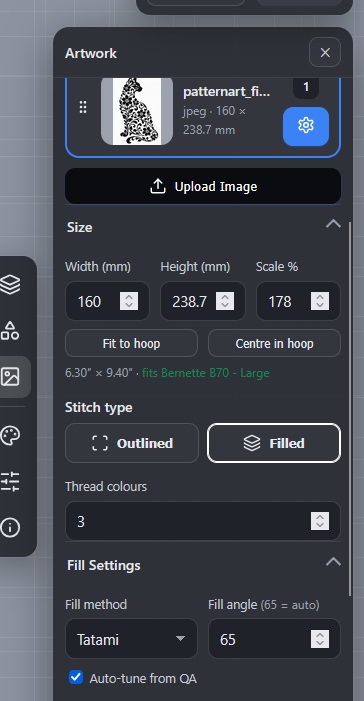
Scroll down and click the “AI Layers” button
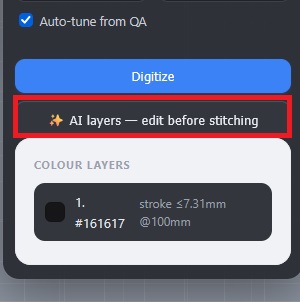
This will break your image into layers and begin the digitization process.
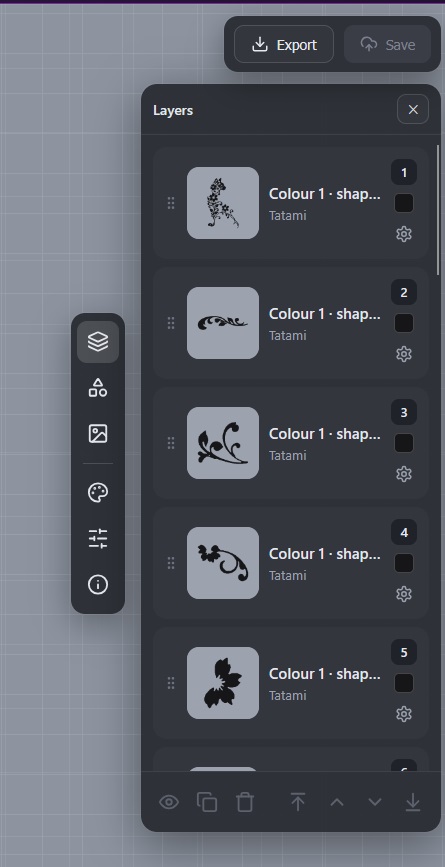
Click on each layer – you can adjust the settings used to compute stitches for the layer. You can change the color, use a different fill pattern, adjust density settings.
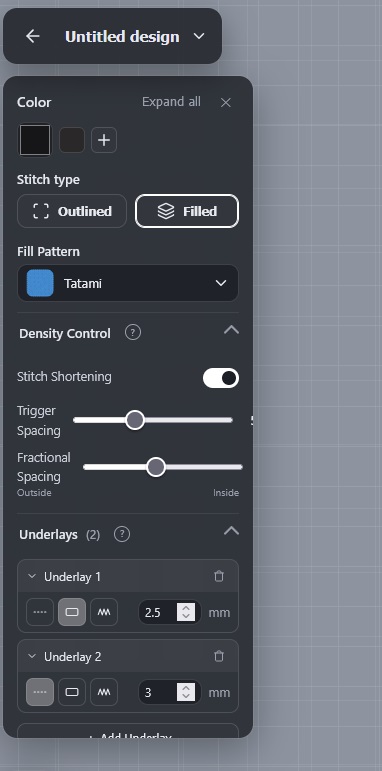
Once you have checked each layer, go back to the image settings page and click “Digitize”
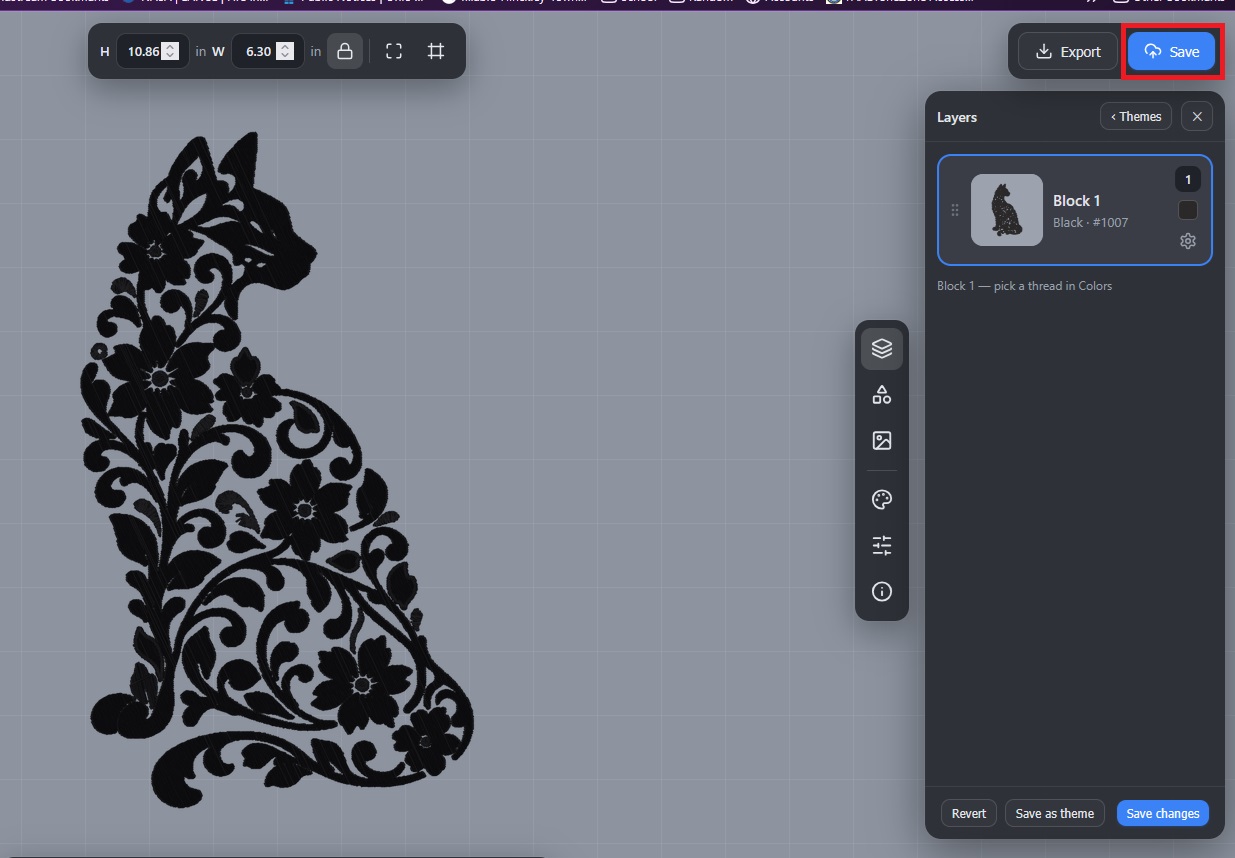
Don’t forget to save the digitized project
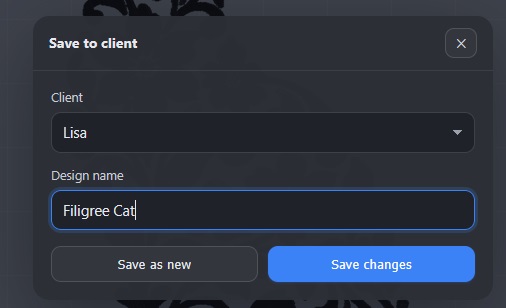
You can sort the patterns by “Client” — I made sections for each of us
Clicking on the project will bring up a summary where you can download a DST file for use in an embroidery machine or the “Worksheet”, which is a PDF with the thread order.