Anyone can create a Team space – this makes Teams an amazing resource for collaboration because you have all of the features of Teams without filling out a request form, writing a business justification, and waiting for someone to complete your request. Whether you want to call it a quote from the Spiderman comics, Churchill, or the Decrees of the French National Convention … responsibility follows inseparably from great power.
The first consideration is should you create a Team? Teams is an amazing platform for interactive communication, but not all communication is meant to be interactive and collaborative. If you want to broadcast information to thousands of people (and maybe get a little feedback too), then a Stream site may be a better choice. If you want to solicit feedback about a specific topic and analyze the results, a Forms questionnaire or SharePoint form will likely better suit your needs. If you want to share documents, OneDrive for Business or a SharePoint site may be more appropriate. But if much of your content warrants responses, you want to increase collaboration, you share documents and Planner boards and OneNote notebooks … then you probably want a Teams space.
Can my Team have too many members? Well, from a technical perspective … no. There’s a limit to the number of members you can add to a team – the service won’t let you add too many people. Practically, though, the question isn’t if there are too many members but rather if the information stored in the Teams space is relevant to the individuals. Maybe you’ve got a topic that fifteen hundred people should be discussing – the information helps them do their job, their input helps others. In that case, a team of fifteen hundred people isn’t too many. But if I add thirty people to my Team space and the information is only relevant to eight of them … then I’ve got too many members of my team.
Once you’ve decided that a Teams is a great place to host your collaborative efforts and identified the people who will find the information relevant, here are some “best practice” guidelines for creating and managing your Team.
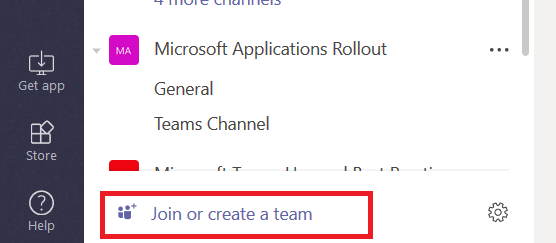
Click on “Join or create a team” at the bottom of your Teams list.
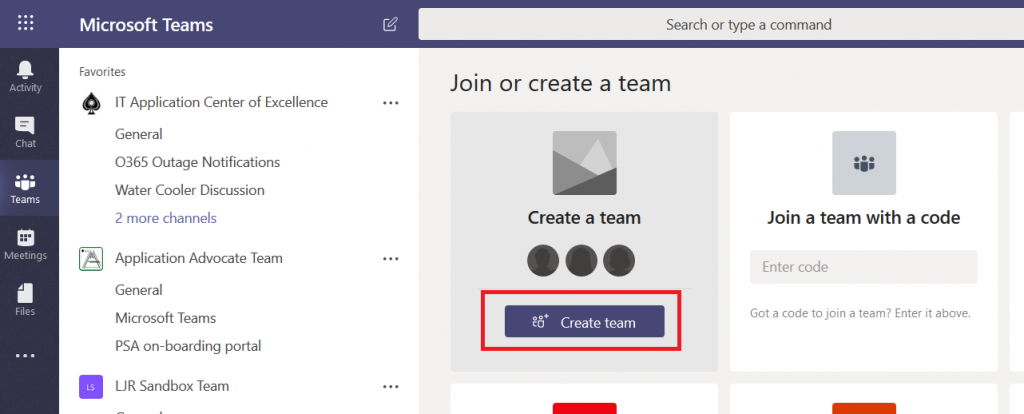
The Teams carousel will be displayed – search your organization’s public teams to make sure there’s not already one out there doing exactly what you want. At the time of writing, this is a starts with search so searching for “Falcon” will not find “Project Golden Falcon”. To create a new team, click “Create team”.
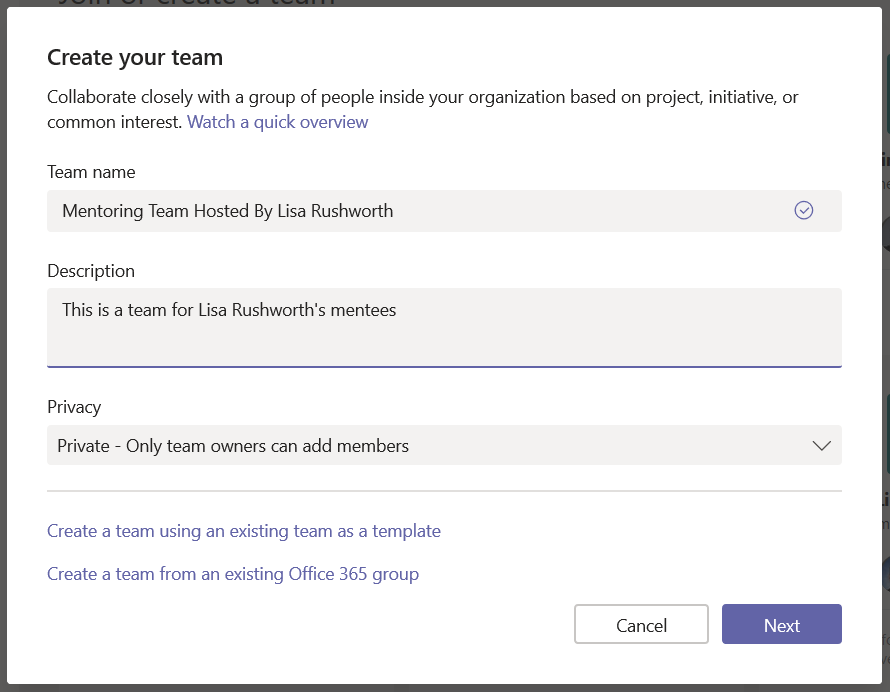
When creating a Team, the first step is to create a name. Team names do not have to be unique, but it will be confusing for members if they have six “Engineering” teams in their list. Use something descriptive. Filling in the Team description will help members identify the purpose of the Team space too. Click “Next” and optionally add team members.
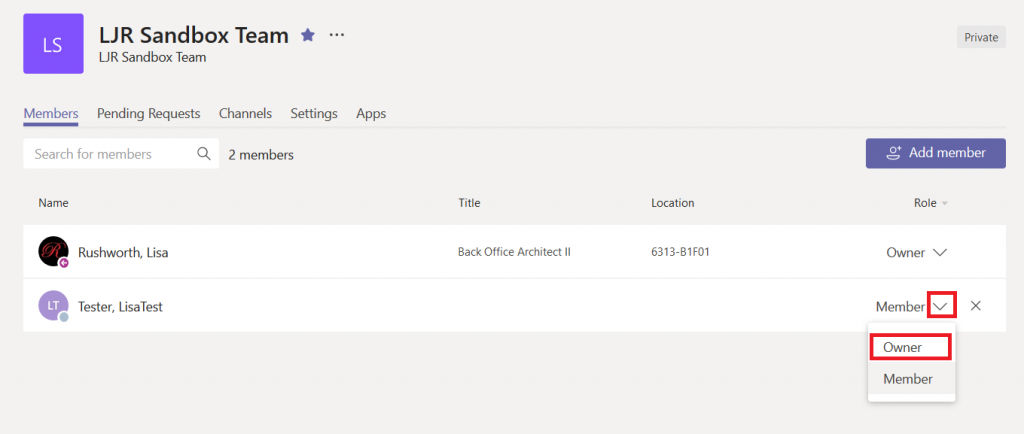
After your team is created, add another owner. While members can perform most functions within a Team space, there are a few rights limited to Team owners. Adding another owner now ensures you’ve got back-up when you go on holiday or are otherwise unavailable.
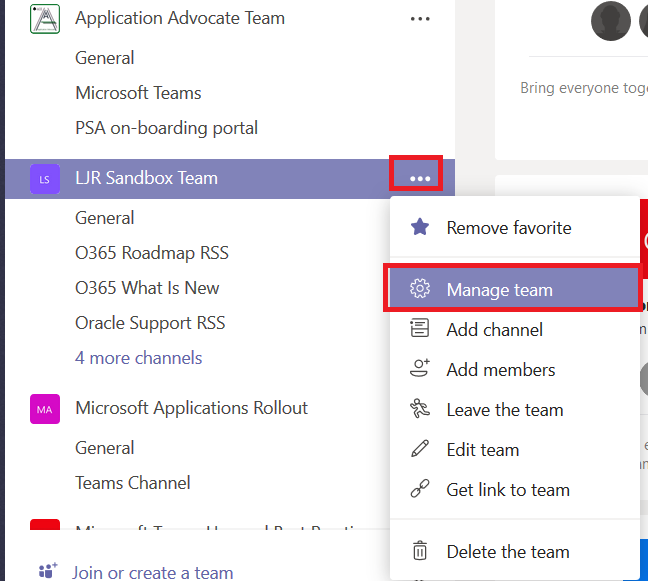
Click the hamburger menu next to your team name and select “Manage Team”.
You can add additional members here. And click the drop-down next to any member you wish to become an owner and select “Member” – voila, another owner.
On the “General” channel, add tools and resources that are frequently used – that might be a link to a vendor’s web site (in the Team where we discuss updates and issues with a vendor’s product, having a link to the vendor’s support site is really helpful) or a Planner board to keep track of tasks <ref out to ‘did you know’ on adding the auto-created ones!>. Click the “General” channel then click the + next to the channel’s tabs.
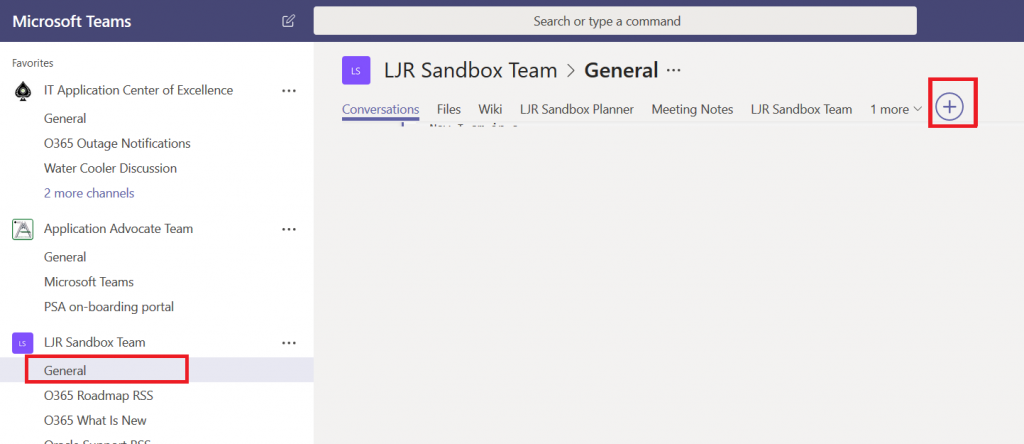
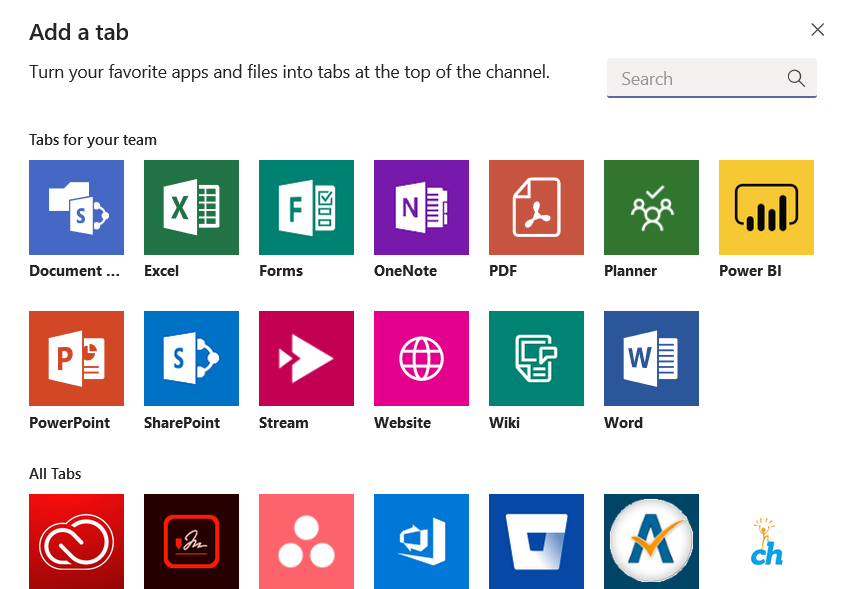
You’ll be presented with a list of resources you can add to your Teams space.
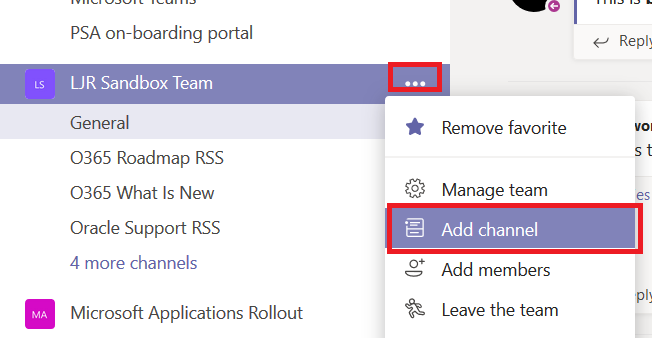
To separate discussions into different channels, click the hamburger menu next to your Team name and select “Add channel”. We will create a new channel for different projects and sub-groups to avoid confusion and information overload.